6.2 How to Install a Power Supply
6.2.1 Before You Begin
If you are installing a redundant power supply, it is not necessary to power off the system. For more information, see "About Power Supplies" in your Sun Enterprise 220R Server Owner's Guide.
6.2.2 What to Do
-
Unlock the system doors and swing them open.
Turn the keyswitch to the Power-On/Off position. This unlocks the system front access doors.
-
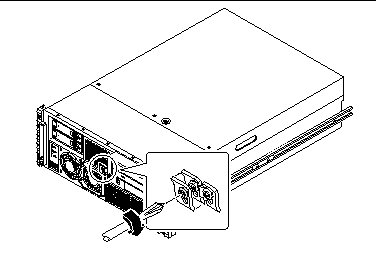
Loosen the Phillips screw that secures the power supply retaining clip until you can push the clip upward.
-
If you are upgrading your system with an additional power supply, remove the filler panel covering the power supply bay.
-
With one hand, push up the retaining clip until it clears the filler panel.
-
Partially pry the top of the filler panel out of the bay, using a flat-blade screwdriver.
-
Lift the filler panel out and away from the bay, and set it aside.
-
Keep the filler panel in case you need to remove the power supply later.
The filler panel maintains proper system cooling and prevents electromagnetic interference in the absence of a second power supply.
-
-
Using your thumb, push up the retaining clip until there is enough clearance to slide the power supply into its bay.

-
With your other hand, align the new power supply with its bay.
-
Slide the new power supply into the power supply bay until the power supply connectors start to engage the connectors on the power distribution board.
 Caution -
 Be sure to keep the thumb holding up the retainer clip out of the way as you slide the power supply into its bay.
When the back of the power supply has cleared the retainer clip and is in the bay, release the clip.
-
Push on the front of the power supply firmly to engage the connectors with the power distribution board.
 Caution -
 If you are hot-plugging a redundant supply, take care to avoid jarring or shocking the system.
-
Tighten the Phillips screw on the power supply retaining clip.
Note -As you tighten the screw, the lower end of the retaining clip presses on the front of the power supply. Fully tightening the Phillips screw ensures that the power supply is properly seated in its bay.
6.2.3 What Next
Verify correct operation of the power supply by checking the fan and LED indicators on the power supply. You should hear the fan start spinning and two green LEDs should light within three seconds of completing a hot-plug installation (or after restoring power to the system).
For more information about the power supply LEDs, see:
- © 2010, Oracle Corporation and/or its affiliates
