What to Do
-
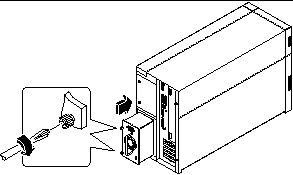
If you are upgrading your system with an additional power supply, remove the filler panel covering the power supply bay:
-
Slide the new power supply into the power supply bay until the power supply connectors start to engage the connectors on the power distribution board.
Figure 8-6

-
Push on the power supply handle to firmly engage the connectors with the power distribution board.
Press firmly to engage the power supply connectors. If you are "hot-plugging" a redundant supply, take care to avoid jarring or shocking the system.
Note -When installing a "hot-pluggable" power supply, do not engage and disengage the supply in rapid succession. Always remove a supply completely before reinserting the same supply or a replacement supply. Rapid seating and unseating of power supplies will result in false error conditions.
-
Tighten the two captive screws that secure the power supply to the chassis.
-
Connect the AC power cord to both the power supply and an AC power outlet.
Secure the cord to the rear panel with the strain-relief tie-wrap.
- © 2010, Oracle Corporation and/or its affiliates
