| Skip Navigation Links | |
| Exit Print View | |

|
Sun Fire X4800 Server Product Documentation |
Communicating With the ILOM and the System Console
About ILOM SP IP Addresses and the ILOM Interfaces
How to Get the SP IP Address by Using the BIOS Setup Utility
How to Get the SP IP Address by Using a Serial Connection and the CLI
How to Connect to the ILOM CLI Using the Serial Management Port
How to Connect to the ILOM CLI Using SSH
How to Connect to the ILOM Web Interface
Connecting to the System Console
How to Connect to the Server Locally (Physical Console)
How to Connect to the Host's Serial Console Using the ILOM Command-Line Interface
Before You Begin
The requirements for the JavaRConsole (remote console) system include:
An operating system such as Oracle Solaris, Linux, or Windows is installed.
The system must be connected to a network that has access to the server’s Ethernet management port.
Java Runtime Environment (JRE) 1.5 or later is installed.
If the remote console system is running Oracle Solaris OS, volume management must be disabled for the remote console to access the physical floppy and CD/DVD-ROM drives.
If the remote console system is running Windows, Internet Explorer Enhanced Security must be disabled.
The remote console system and ILOM service processor are set up according to the instructions in the Sun Integrated Lights Out Manager (ILOM) Web Interface Procedures Guide.

A Security Alert dialog box might be displayed.
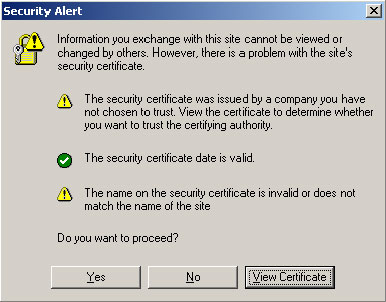
The ILOM login screen appears.
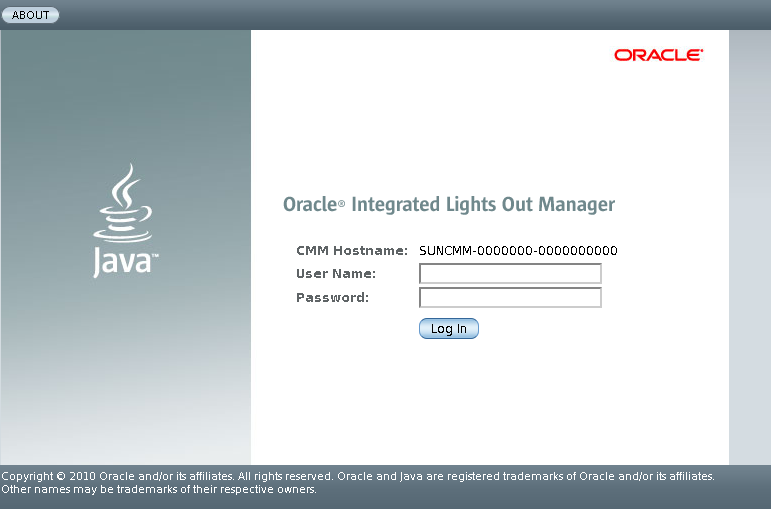
The default user name is root, and default password is changeme.
The ILOM main screen appears.
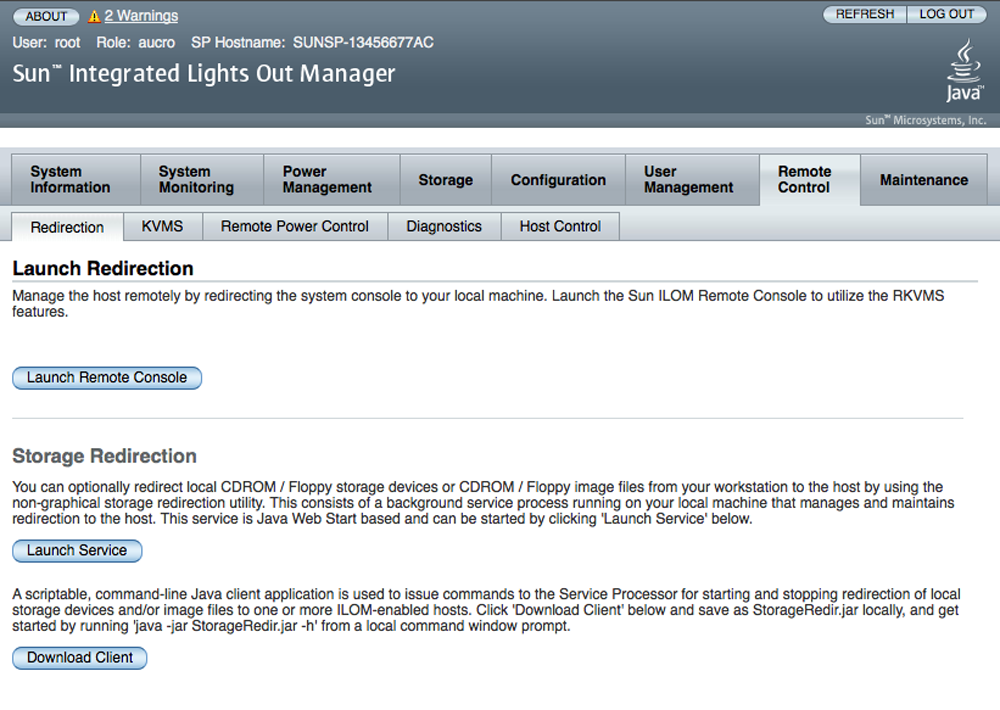
The Launch Redirection screen appears.
Note - Make sure that the mouse mode is set to Absolute mode in the Mouse Mode Settings tab.
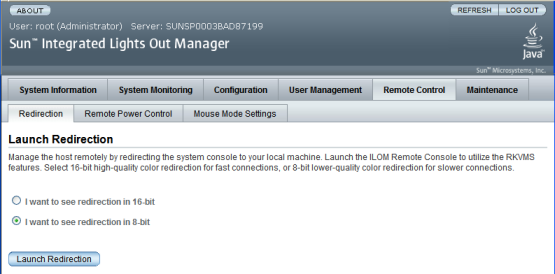
Note - When you are using a Windows system for remote console redirection, an additional warning might appear after clicking Launch Redirection. If the Hostname Mismatch dialog box is displayed, click the Yes button.
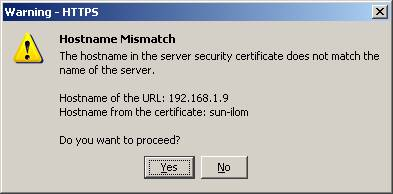
The Remote Control dialog box appears.
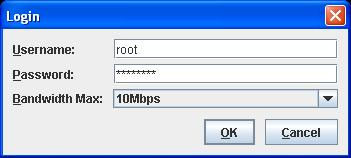
Note - You must have administrator privileges.
The default user name is root and password is changeme.
The JavaRConsole screen appears.
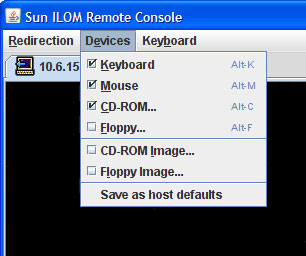
Remote Physical Floppy Disk – Select Floppy to redirect the server to the physical floppy drive attached to the remote console.
Remote Floppy Image – Select Floppy Image to redirect the server to the floppy image file located on the remote console.
Remote Physical CD/DVD – Select CD-ROM to redirect the server to the CD/DVD in the CD/DVD drive attached to the remote console.
Remote CD/DVD Image – Select CD-ROM Image to redirect the server to the .iso image file located on the remote console .
Note - Using either of the CD/DVD options to install software on your server significantly increases the time necessary to perform the installation because the content is accessed over the network. The installation duration depends on the network connectivity and traffic.