Recording Sound
To record an audio file, do the following:
-
If you're recording from a microphone, place the microphone near the sound source.
-
Press MENU on the Volume button and choose Record...
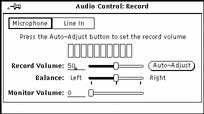
The Audio Control: Record window appears (Figure 11-4).
Figure 11-4 Audio Control: Record Window

-
In the Audio Control: Record window, select a source; either click SELECT on the Microphone button or on the Line In button.
-
Click SELECT on the Auto-Adjust button, and speak into the microphone for three to five seconds. Or, play a selection from the sound source that's connected to your audio hardware's "line in."
Auto adjust automatically sets the recording level. You can also move the Record Volume: slider to adjust the recording level manually.
-
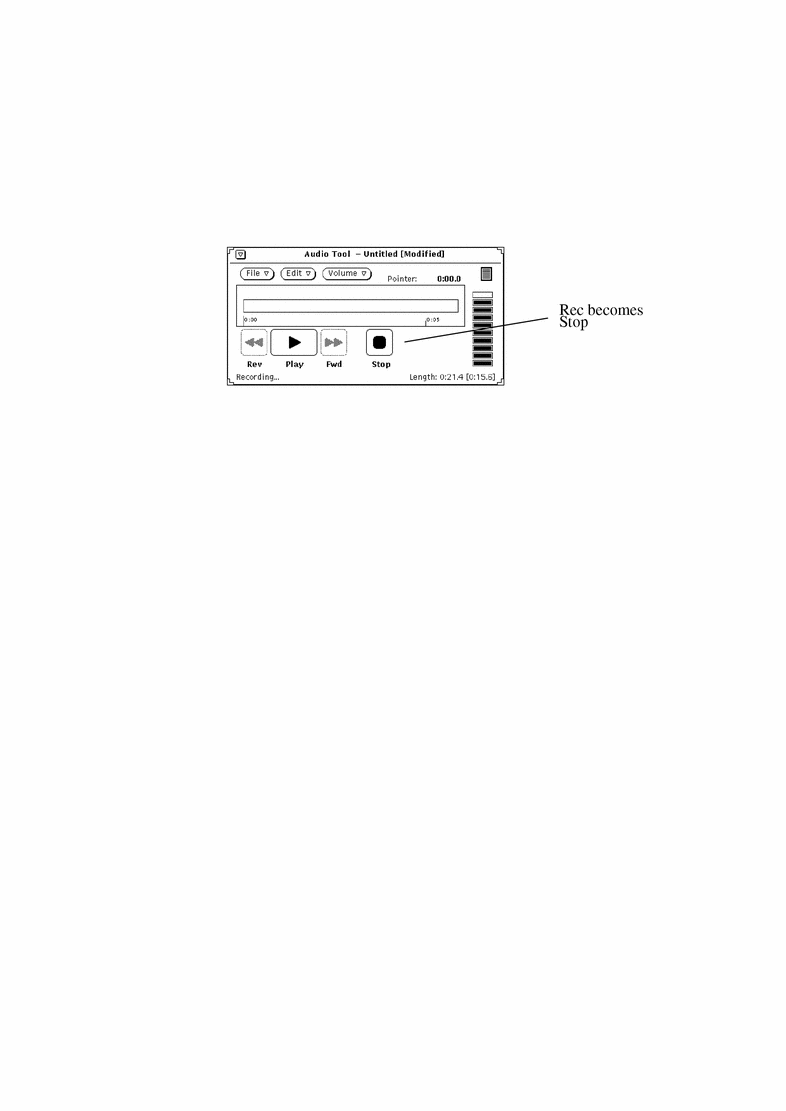
Click SELECT on the Rec button in Audio Tool's base window.
The Rec button changes to Stop, as shown in Figure 11-5.
Figure 11-5 Record Button Changed to Stop

-
Begin speaking into the microphone or playing the music (or other sound source).
-
When you have finished recording, click SELECT on the Stop button.
If you make a mistake, you can either choose File -> New (which cannot be undone) to clear all the sound data and start over, or you can edit the sound later. Refer to "Editing an Audio File" for information on how to do this.
- © 2010, Oracle Corporation and/or its affiliates
