| Sun ONE Application Framework Tutorial |
| Sun ONE Application Framework Tutorial |
| C H A P T E R 17 |
|
Tutorial--Section 4.2 Create the Google Search Page |
This chapter describes how to create a page in the Sun ONE Application Framework that displays data it gets from a model that accesses data from a Web service.
1. Select the main module folder.
2. Click the Add Page button on the Sun ONE Application Framework toolbar.
The Select View Type panel displays.
3. Enter GoogleSearchPage in the Name field (to replace <default>).
The Associate JSP panel displays.
6. Check the Use formatting to beautify fields on JSP option.
The Model Associations panel displays.
8. Expand Current Application Components to expose jatotutorial -> main.
The Bind Display Fields panel displays.
12. Add the first field (as seen above):
a. Expand the doGoogleSearch operation node.
b. Expand the Parameters node.
c. Select the q field (q for query string: q -> String).
d. Select the Text field option.
The q field is added to the Bound fields list box.
13. Add the following fields as Text fields (WebService model fields are not multi selectable like JDBC model fields):
14. Add the following fields as Static text fields (not Text fields):
(Expand the Returns: ... node [above the Parameters node])
You have created the GoogleSearchViewBean.
16. The wizard automatically sets the Auto Retrieving Models property with the model that was used in the Page wizard. Normally, this is a desired setting, and therefore, the wizard assumes that it should be configured that way. However, with the Web service model, this is not the case.
a. Launch the Auto Retrieving Models custom editor by clicking its ellipsis button.
b. Select the googleSearchModel reference in the indexed list, and click the Delete button to remove it from the list.
c. Click the OK button to save the modifications.
17. Rename the fields to have shorter, simpler names (select the field and click F2 to rename).
The following table shows the longer field names in the left column, and the shorter names in the right column.
Set the properties for the start and max text fields according to the table shown below.
Note that you do not need to set properties for the restrict field.
Important: Launch the Initial Value editor by clicking the ellipsis button so you can select the Integer type. If you type the value in place in the property sheet, it is treated as a String.
You have created four search fields and four result fields for this page component, but you will need a few more search fields (required fields by the Google Web service). These are added and bound to the GoogleSearchModel one at a time. You want these fields to be added as something other than text or static text fields, which is why you add these outside of the Page wizard.
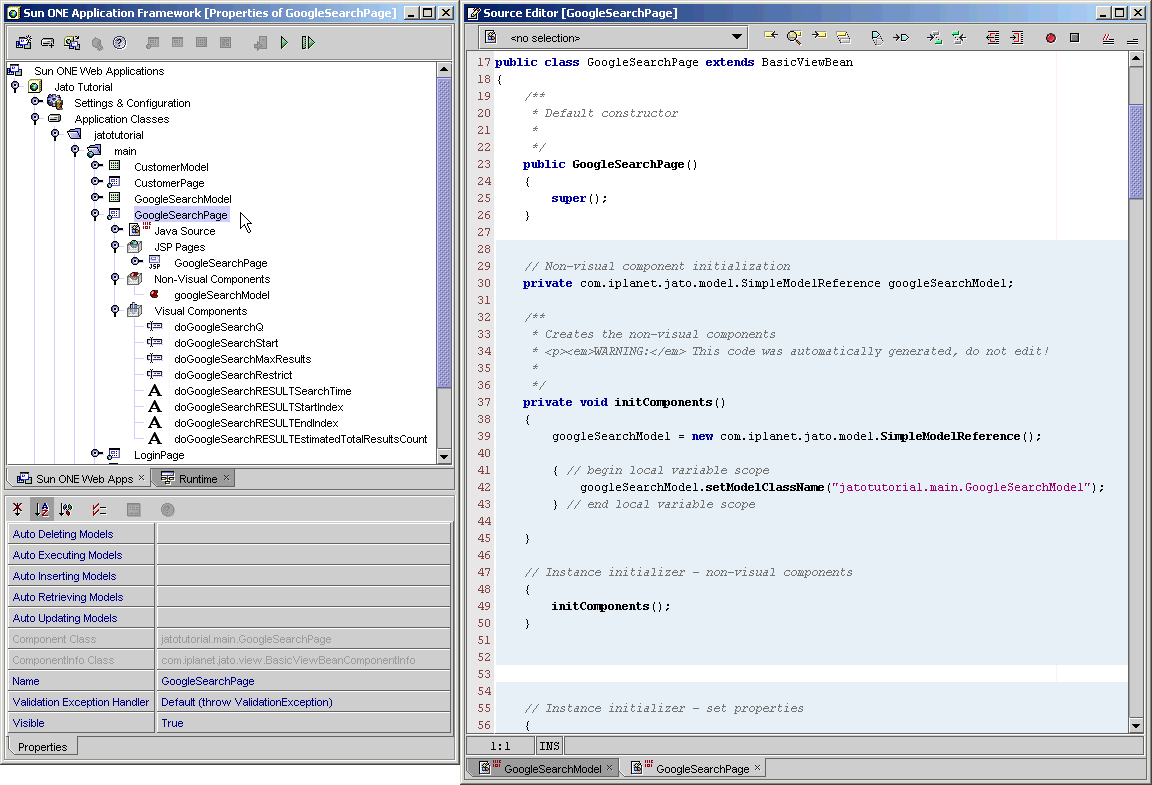
1. Select the GoogleSearchPage.
2. Add a Basic Hidden Field using the Component Palette.
4. Set the Model Reference property for the key field.
5. Select googleSearchModel from the drop down list.
6. Set the Model Field Binding property.
7. Click the ellipsis button to launch the Model Field Binding editor.
8. Click the ellipsis button for the Read field name property in this editor.
9. Expand the doGoogleSearch operation node, then expand the Parameters node.
The read and write fields are populated with the doGoogleSearch.key model field.
12. Click OK to finish setting the Model Field Binding property for the key hidden display field.
13. Set the Initial value property (just above the Model field binding property) for the key field using the key that was emailed to you from Google.
The default Type for the Initial Value property is String. You do not need to launch the editor. Just enter the string value directly in the property cell.
The key field's properties should look something as shown in the figure above, however, your key's initial value will be different.
14. Using the Component Palette, add three more display fields.
The table shown below contains a list of the three display fields and the desired property settings.
Your GoogleSearch Page node structure should look something the following figure:
Currently, the search button has not been implemented to do anything when it is clicked. When the search button is clicked, you need to execute the Web service model and then reload the page to see the results. All you see now is the statistical information:
In the next task, you add visual components to show a list of actual search results.
For the button, there are two techniques from which you can choose to execute the Web service model and reload the page. One technique is to write a few lines of code. The other technique is all point-and-click. Choose only one technique to implement.
1. Right-click the search button.
This inserts the handleSearchRequest event stub into the GoogleSearchPage class.
4. Implement the search button handle request code.
Replace the following default code:
getParentViewBean().forwardTo(getRequestContext());
with the code shown in bold below:
2. Launch the editor for its Request Handler property by clicking the ellipsis button.
3. Select the Execute Model and Goto Page Command option.
4. Set the Name to searchAndReloadCommand.
On the Component Properties tab, you need to set all three properties.
5. For the Executing Model Reference property, launch its editor by clicking the ellipsis button.
6. Select the Model Reference (Default) option.
7. Launch the Model Class Name property editor.
8. Browse and select the GoogleSearchModel.
9. When you return to the editor above, and the Model Class Name property is set properly, click OK.
The Model Operation Name is a drop down control.
10. Select doGoogleSearch from its option list.
11. Launch the Target ViewBean Class Name editor.
12. Browse and choose the GoogleSearchPage.
Your Request Handler editor should now appear as shown in the figure below.
13. Click OK to finish setting the button's Request Handler property.
An addition to the GoogleSearchPage's Non-Visual Components node displays: searchAndReloadCommand.
Before you test run this page, be sure to format the JSP as you prefer.
1. Under the GoogleSearchPage, expand the JSPs node and double-click the GoogleSearchPage JSP to open it in the Sun ONE Studio editor.
2. Give the fields proper case names.
3. Add a label attribute to the checkbox fields and delete the label that has been created automatically.
4. Give the page a title, and split it into two sections with a horizontal rule: input fields on top and display-only static text fields on the bottom.
The most interesting pieces of the JSP/HTML code are shown in bold below:
| Sun ONE Application Framework Tutorial | 817-4358-10 |
Copyright © 2003, Sun Microsystems, Inc. All rights reserved.