Starting the Proxy Cache Administration Server
-
On a remote machine (not your Netra Proxy Cache Server), point your browser at the Netra Proxy Cache Server, as follows:
http://<netra server>:81
where <netra server> is the host name of your Netra Proxy Cache Server. If the host name is not known to a network name service, you must specify the numeric IP address of the administrative host. Depending on the capabilities of your router, you might need to use the browser on a machine on the same subnet as the Netra Proxy Cache Server.
Upon successful connection, you receive a prompt for an administrator's name and password. Enter the password you specified in Step 17. Following successful login, the Netra Proxy Cache Main Administration page is displayed, as shown below:
Figure 3-1 Main Administration Page Following Initial Configuration

Regarding the reminder note at the top of the Main Administration page, you will backup you configuration later in the configuration procedure.
-
In the Main Administration page, click Proxy Cache Service.
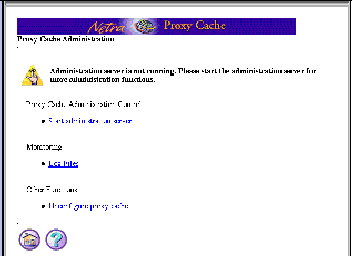
The Proxy Cache Administration page is displayed, as shown below.
Figure 3-2 Proxy Cache Administration Page: Server Stopped

-
In the Proxy Cache Administration page, click Start Administration Server.
-
A page indicating a successful operation is displayed. In this page, click the up-arrow icon to return to the Proxy Cache Administration page.
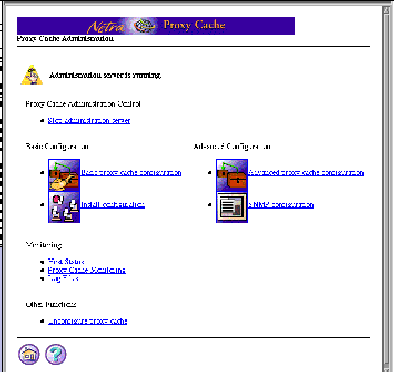
This time, the Proxy Cache Administration page displays a full set of options for configuration, as shown below.
Figure 3-3 Proxy Cache Administration Page (Server Started)

The remainder of this chapter covers the basic proxy cache configuration and install configuration links. Advanced proxy cache configuration and SNMP configuration are described in the Netra Proxy Cache Server User's Manual.
Proceed to the next section for instructions on configuring the proxy cache service.
- © 2010, Oracle Corporation and/or its affiliates
