Click Select in the "Create a New Query - Initial Query Type" dialog box and click Continue (or click the Insert Select Query toolbar button; or choose Insert, and then choose Select Query). Netscape Application Builder displays the following dialog box:
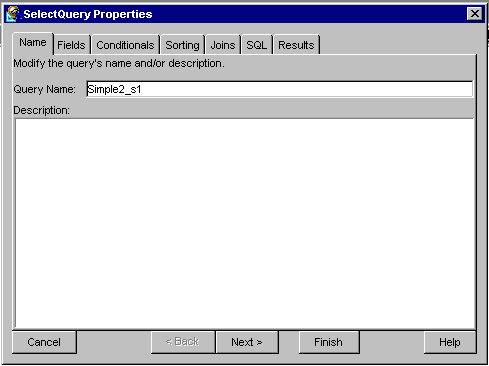
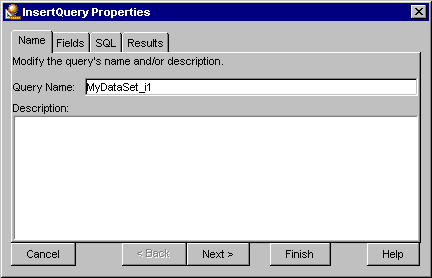
Type a name for your query in Query Name, then click Next. Netscape Application Builder displays the Select Query Properties Fields information:
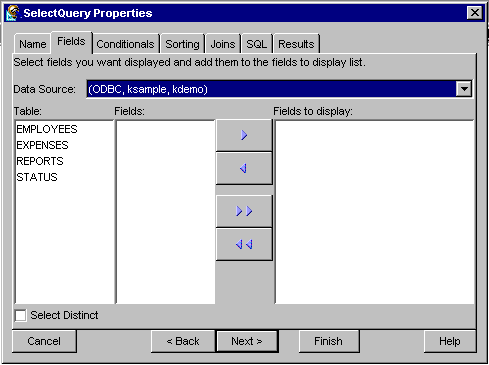
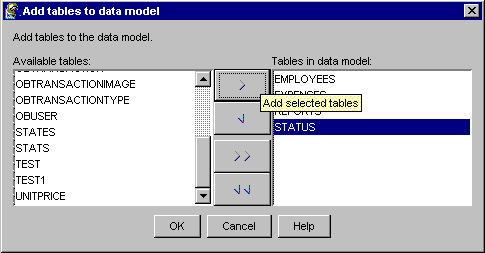
Follow these steps for each table containing fields you want to display:
Select a table from the Table box. The available fields for that table appear in the Fields box.
Move fields into or out of the Fields to Display box by clicking the arrow icons. The double-arrow icons move all fields from one box to the other. Fields that appear in the Fields to Display box are selected for display by the query.
For query fields, check the Select Distinct checkbox if you want to perform a restricted search for all fields. A SELECT DISTINCT query retrieves only the unique instances of the requested target search items (for example, if you were searching for customers from different states, and your data source contained two customers named "Jerone Garcia," both from California, the select distinct query would only return the first instance). For more information, consult the SQL reference for your data source.
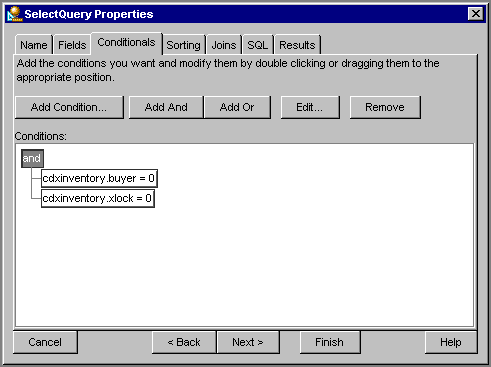
You can specify conditional behavior for the query by adding conditions.
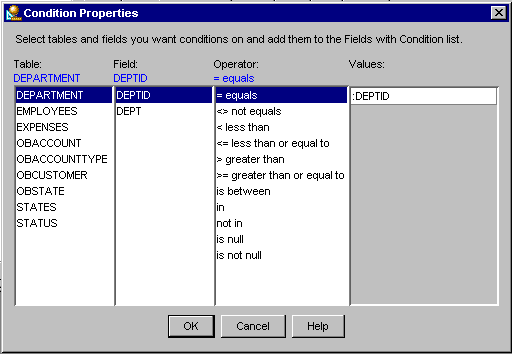
Click the Conditionals tab on the Select Query Properties dialog box. Netscape Application Builder displays the information displayed in the following illustration:
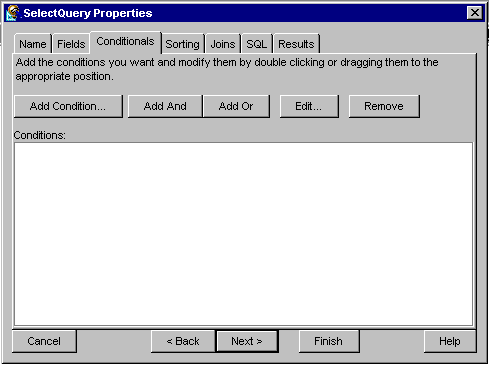
Add a condition by clicking Add Condition.
Build the condition by selecting the table and field to use, selecting a conditional operator, and entering a value to limit the field's scope.
You can sort the results of your query by specifying which fields to sort and moving them into the Sorted Fields box.
Click the Sorting tab on the Select Query Properties dialog box. Netscape Application Builder displays the associated data source fields:
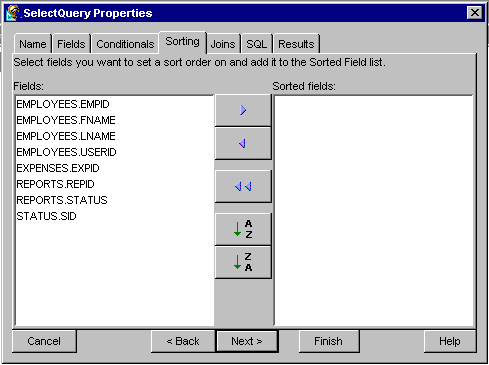
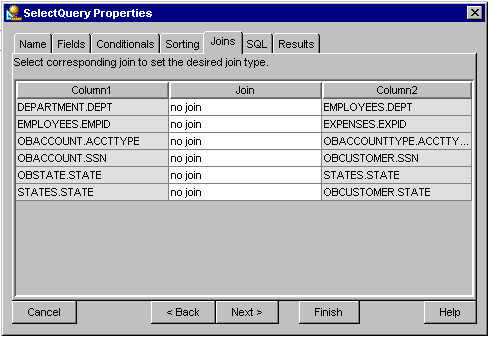
Change the sort order on a given field by clicking the Ascending (A to Z) or Descending (Z to A) button. For additional information that describes how to sort your query results, see Sorting Query ResultsFields must be joined in order to show the relationship between tables in the selection. For each set of fields to be joined, click the cell between them in the Join column and select the appropriate operator. For additional information regarding the possible join conditionals, see Adding Conditionals to a Query.
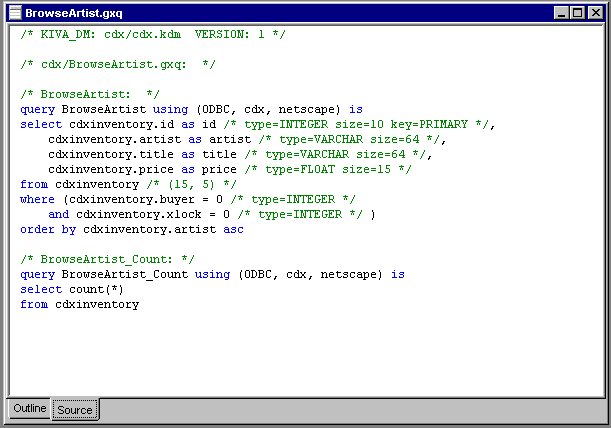
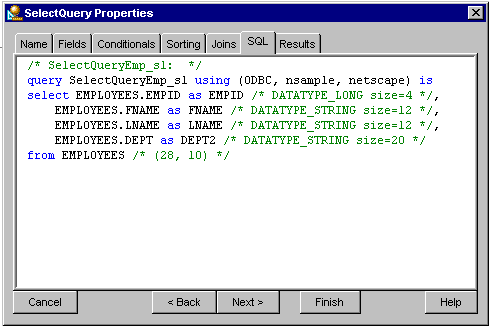
Click the SQL tab to review the generated SQL (or you can edit the query directly). For information that describes how to edit your queries, see Editing Generated Code: Queries.
To test the generated SQL, see Testing Queries.
Click Finish. Netscape Application Builder adds the query to your project and displays it on the main window. The properties for your query are shown in the Properties window, if it is visible.


 in the property definition. The custom property editor, shown below, appears: