The following sections describe the forms included in the Insurance Claim application.
Entry.html
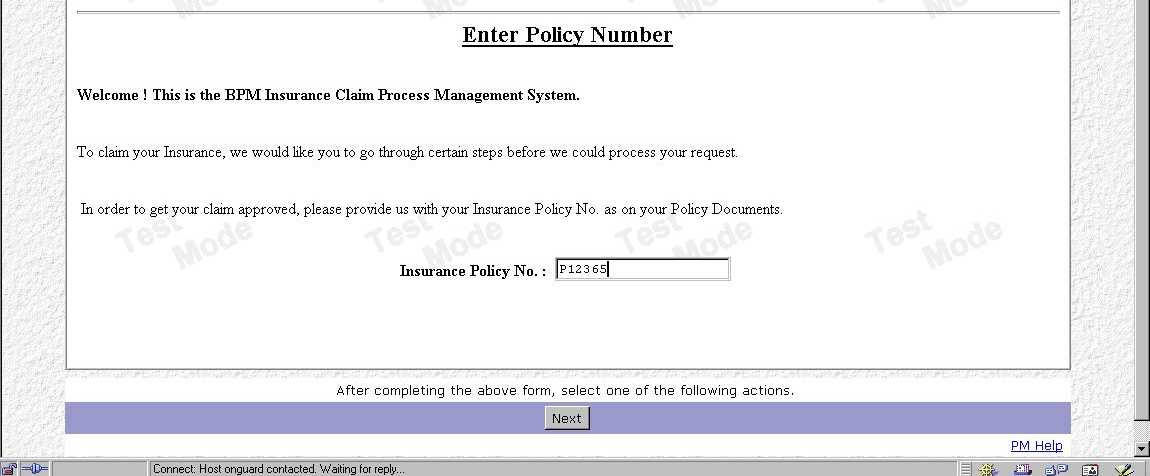
Customers enter the Policy Number to begin the Insurance Claim process in this form, as shown in Figure 14.3.
Figure 14.3 Entry.html
Resubmit.html
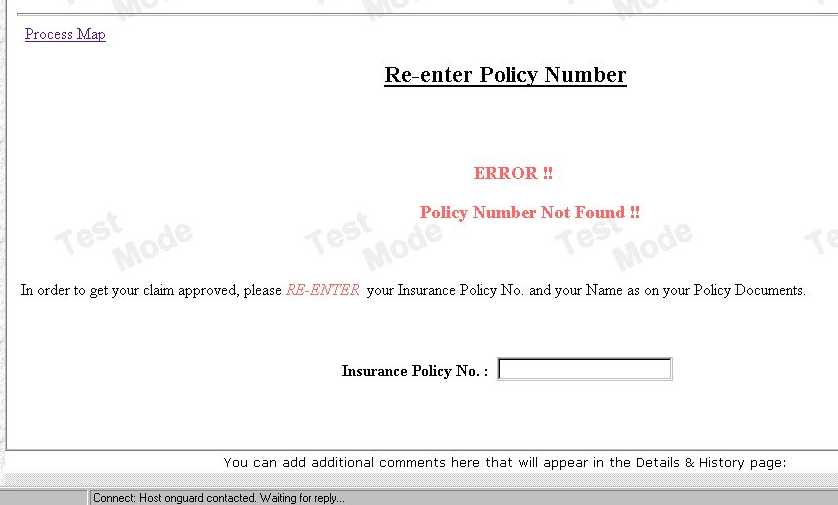
This form, shown in Figure 14.4, is displayed whenever the Policy Number, which the customer entered in Entry.htm, is not found in the flat file.
Figure 14.4 Resubmit.html
Details.html
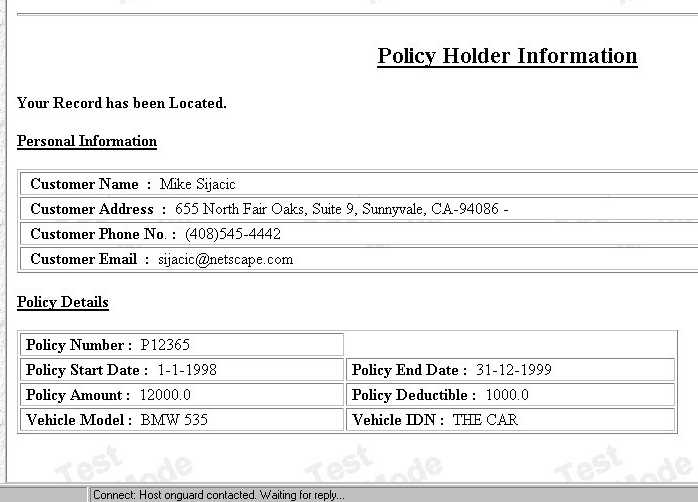
This form, shown in Figure 14.5, displays the customer's personal information and the policy information that was found in the flat file.
Figure 14.5 Details.html
EnterClaim.html
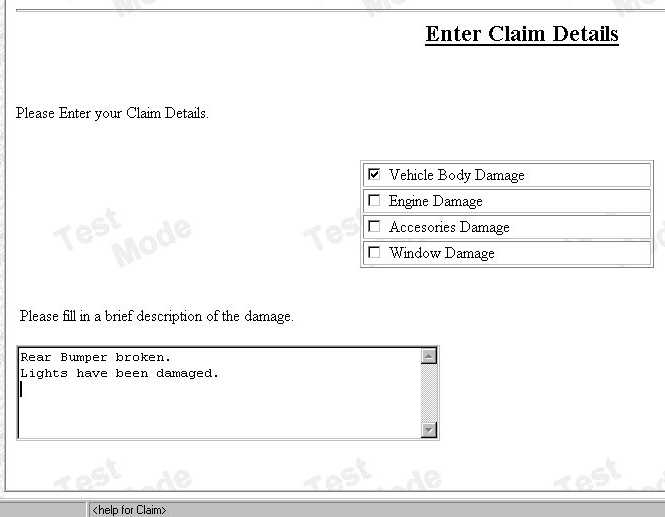
Customers enter the claim in this form, shown in Figure 14.6. It has a predefined claim check boxes and a text area where the customer can enter a small description of the claim.
Figure 14.6 EnterClaim.html
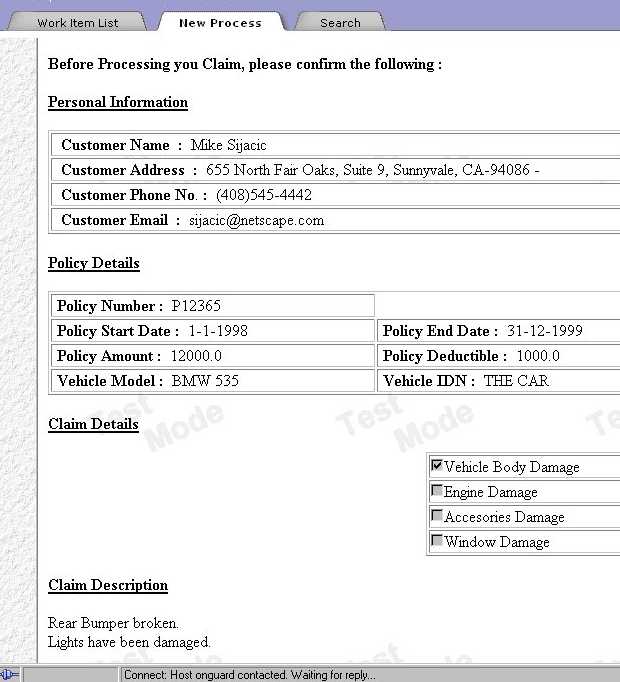
Confirmation.html
This form, shown in Figure 14.7, displays customer details from Details.html and claim details from EnterClaim.html.
Figure 14.7 Confirmation.html
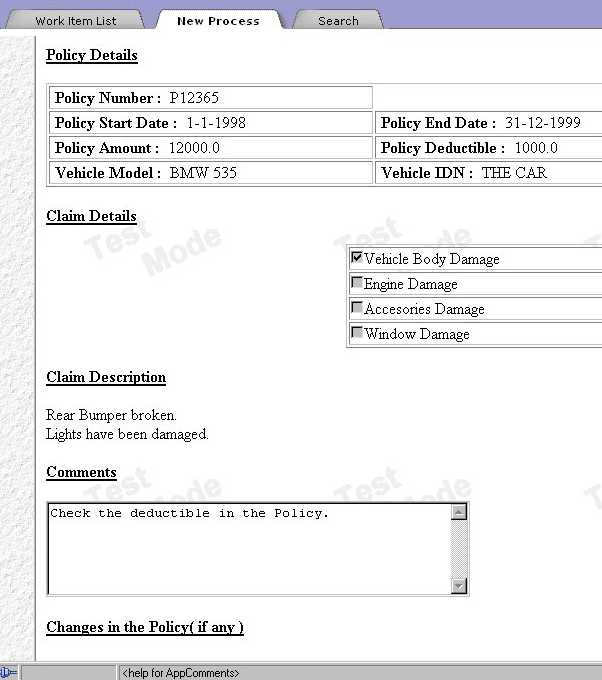
Approver.html
This form, shown in Figure 14.8, is same as Confirmation.html with an additional text area for the approver's comments.
Figure 14.8 Approver.html
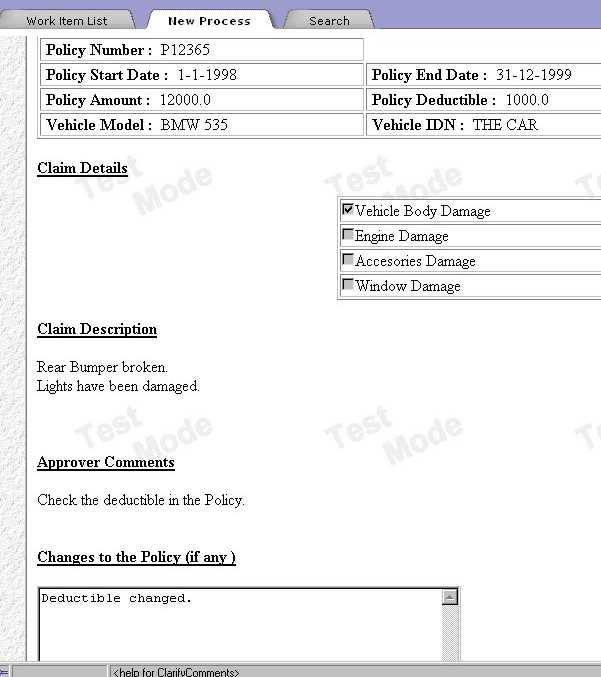
Clarify.html
This form, shown in Figure 14.9, is similar to Approve.html but has an additional text area for the clarifier's comments.
Figure 14.9 Clarify.html
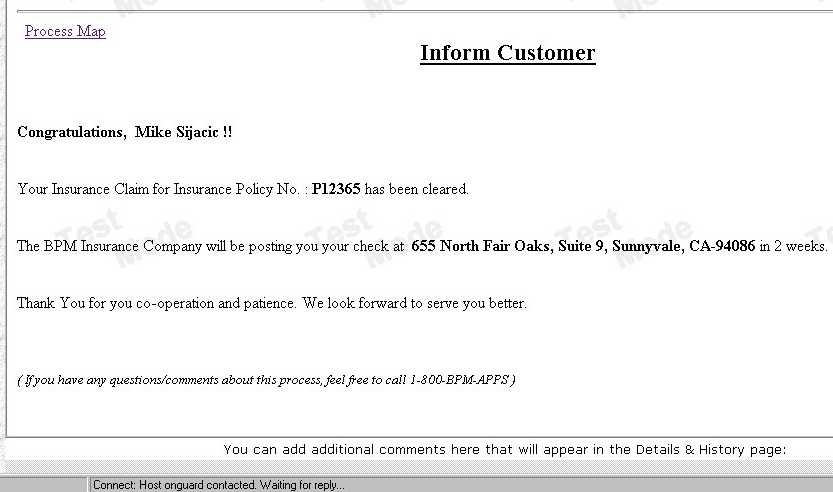
InfCustomer.html
This form, shown in Figure 14.10, is displayed whenever a claim is approved. It shows the customer's name, customer's address, and the policy number.
Figure 14.10 InfCustomer.html
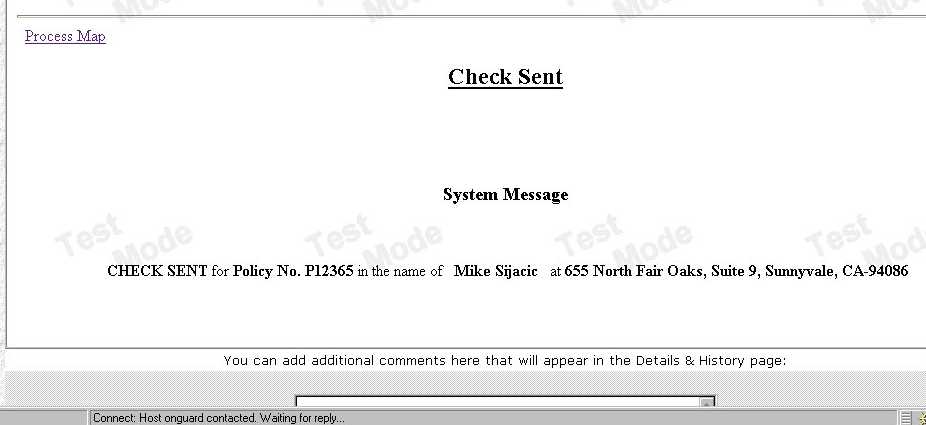
SendCheck.html
This form (see Figure 14.11) tells the customer that the claim check was sent.
Figure 14.11 SendCheck.html
ClaimApproved.html
This exit form is displayed whenever a claim is approved and the process is successfully completed.
ClaimDenied.html
This exit form is displayed whenever a claim is denied and the process is successfully completed.
ExpirationExit.html
This exit form is displayed whenever a form has expired and it goes to the exit point.
|

 The banner.gif file
 The background image is called Gray_Textured1040.gif