| Skip Navigation Links | |
| Exit Print View | |

|
Sun Server X2-8 (formerly Sun Fire X4800 M2) Rackmounting Hardware Installation Guide Sun Server X2-8 (formerly Sun Fire X4800 M2) Documentation Library |
| Skip Navigation Links | |
| Exit Print View | |

|
Sun Server X2-8 (formerly Sun Fire X4800 M2) Rackmounting Hardware Installation Guide Sun Server X2-8 (formerly Sun Fire X4800 M2) Documentation Library |
Introduction to Rack Mounting Hardware Installation
How to Identify Your Rack Mounting Kit
Installing the Server In the Rack Using the Standard Rack Mounting Kit
Contents of the Standard Rack Mounting Kit
Location of the Rack Mounting Kit and the Shipping Bracket Kit
Installing the Server In a Rack Using the Standard Rack Mounting Kit
Removing and Installing the Standard Rack Mounting Kit Shipping Brackets
Installing the Server in the Rack Using the Universal Rack Mounting Kit
Contents of the Universal Rack Mounting Kit
Installing the Server in a Rack Using the Universal Rack Mounting Kit
How to Remove Components to Reduce Weight
How to Replace the Components in the Server
How to Install the Universal Rack Mounting Hardware in a Square-Hole Rack
How to Install the Universal Rack Mounting Hardware in a Round-Hole Rack
How to Insert the Server Into the Rack
Installing and Removing the Universal Rack Mounting Kit Shipping Brackets
How to Install the Universal Rack Mounting Kit Shipping Brackets
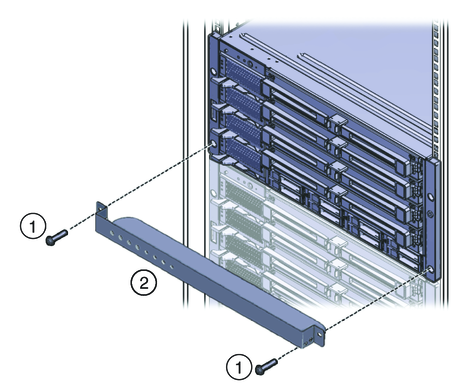
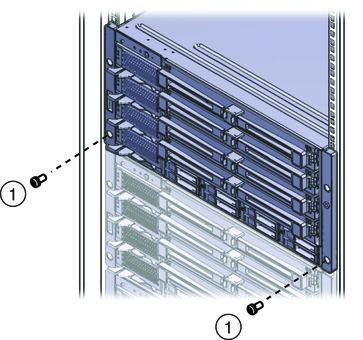
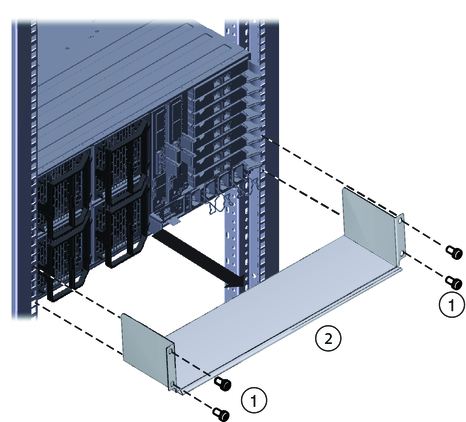
This procedure describes how to remove shipping brackets from a system equipped with a universal rack mounting kit.
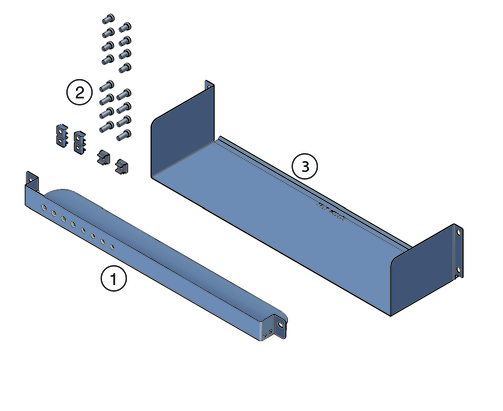
The shipping bracket kit consists of a front bracket, a rear bottom bracket, and screws to connect them to the rack.

| ||||||||

The front shipping bracket contains eight threaded holes used for storing unused screws (four M6 and four 10-32). Remove the screws that match the threads on your rack and use them to secure the server to the rack.

They will be stored there in case you need to reinstall the shipping bracket.
