JavaScript is required to for searching.
Skip Navigation Links
Exit Print View
Oracle Java CAPS Java EE Service Engine Tutorial     Java CAPS Documentation
search filter icon
search icon

Document Information

Using the Java EE Service Engine to Create a Composite Application

Tutorial Requirements

Prerequisites

Tutorial Scenario

Starting the GlassFish Application Server

To Check the Status of the GlassFish Application Server in the NetBeans IDE

To Register the GlassFish Application Server with the NetBeans IDE

To Start the GlassFish Application Server in the NetBeans IDE

Enabling the JBI Framework

Creating an EJB Module Project

To Create the EJB Module Project

To Create a WSDL Document

To Create a Web Service from WSDL

To Clean and Build the EJB Module Project

Creating a Composite Application Project

To Create a Composite Application Project

Building and Deploying the Composite Application Project

To Build and Deploy the Composite Application

Testing the Composite Application

To Add a Test Case

To Run the Test Case

Summary

Creating an EJB Module Project

In this section you will create a new EJB module project called Hello. You will also create a WSDL document, a web service and then clean and build the EJB module project.

To Create the EJB Module Project

  1. From the NetBeans IDE's main menu, choose File -> New Project.

    The New Project wizard opens.

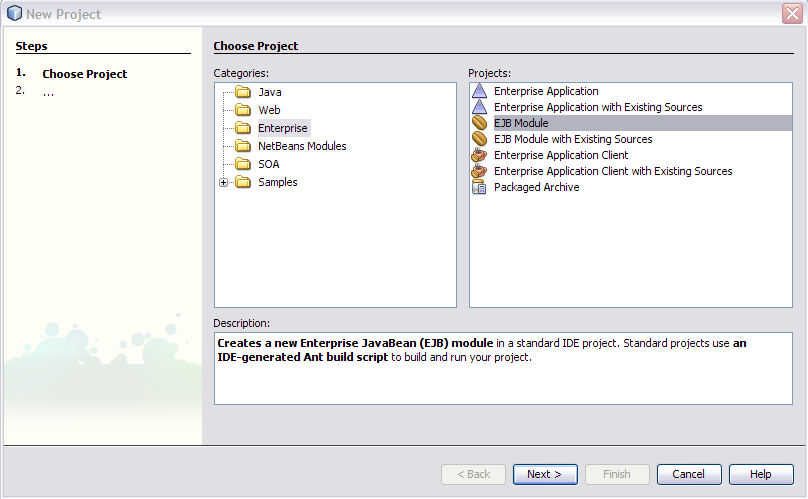
  2. In the Categories list, select the Enterprise node and in the Projects list select EJB Module.
    image:Selecting category and project
  3. Click Next.
  4. In the Project Name field, type Hello.

    You may choose to change the Project Location or use the default location.
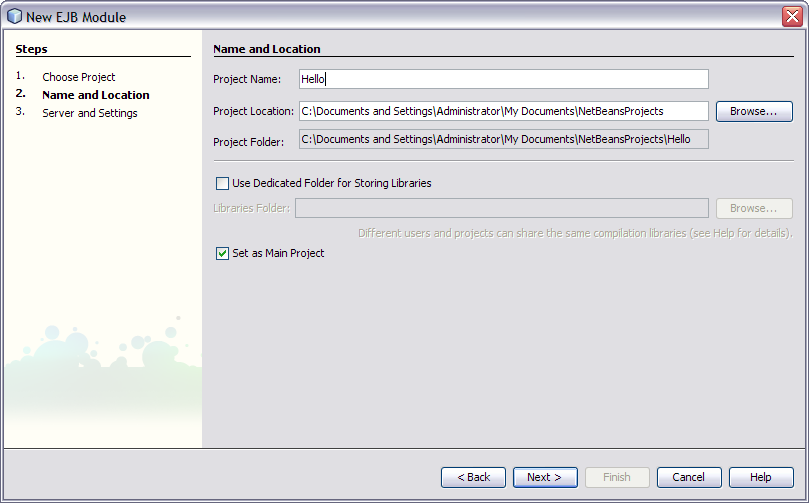

    image:Selecting the project location
  5. Click Next.
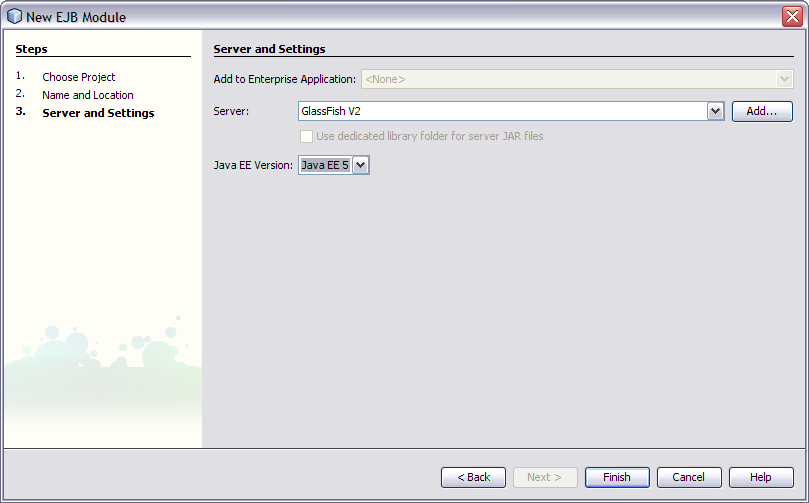
  6. In the Server field select your server and in Java EE Version field select the appropriate version.
    image:Selecting server name and Java EE version
  7. Click Finish.

    The Projects window now contains a node for a EJB Module project called Hello.
To Create a WSDL Document

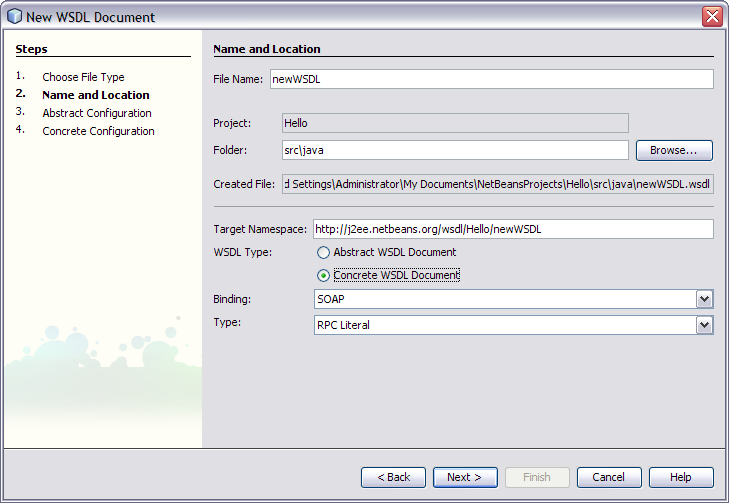
  1. In the Projects window of the IDE, right-click the Hello node and choose New -> WSDL Document.
  2. In the File Name field type HelloWSDL.
  3. In the WSDL Type, select the Concrete WSDL Document option.
  4. In the Binding field, select SOAP and in the Type field, select RPC Literal.
    image:Selecting the binding component and type
  5. Click Next.
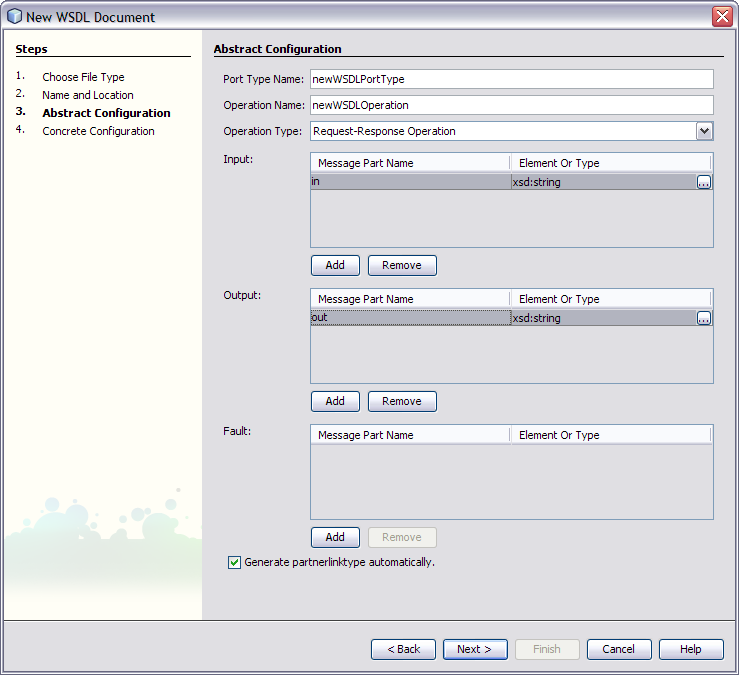
  6. On the Abstract Configuration page, in Input, under the Message Part Name double-click Part1 and change the value to in and press Return.
  7. Doing the same way in Output, change Part2 to out under Message Part Name and press Return.
    image:Input the string characters
  8. Click Next.
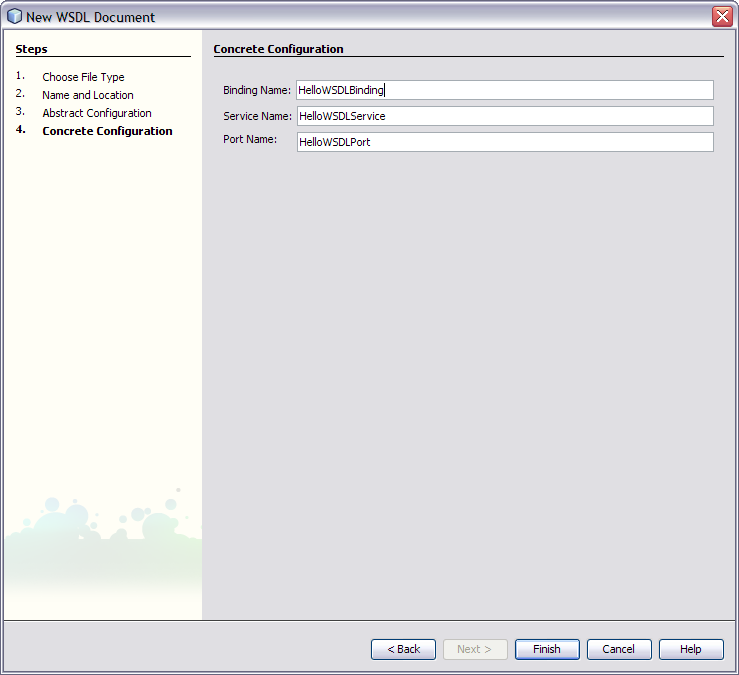
  9. Choose the defaults and click Finish on the Concrete Configuration page.
    image:Concrete configuration dialog box

To Create a Web Service from WSDL

  1. In the Projects window of the IDE, right-click the Hello node and choose New -> Other.
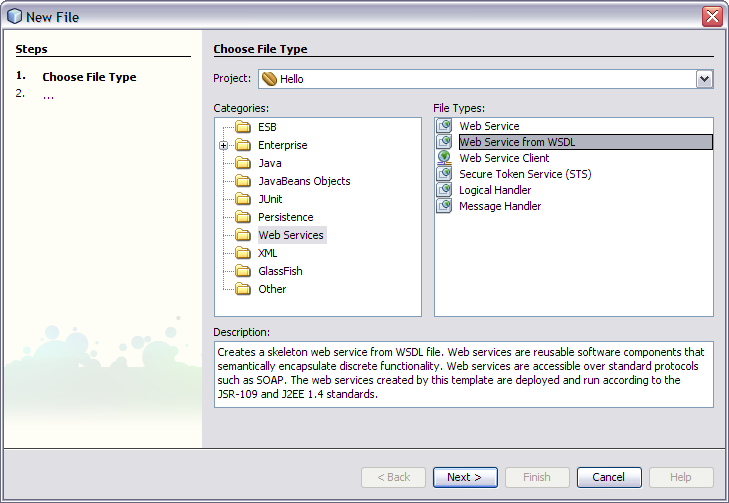
  2. In the Categories list select Web Services and in File Types select Web Service from WSDL.
    image:Categories and File Type
  3. Click Next.
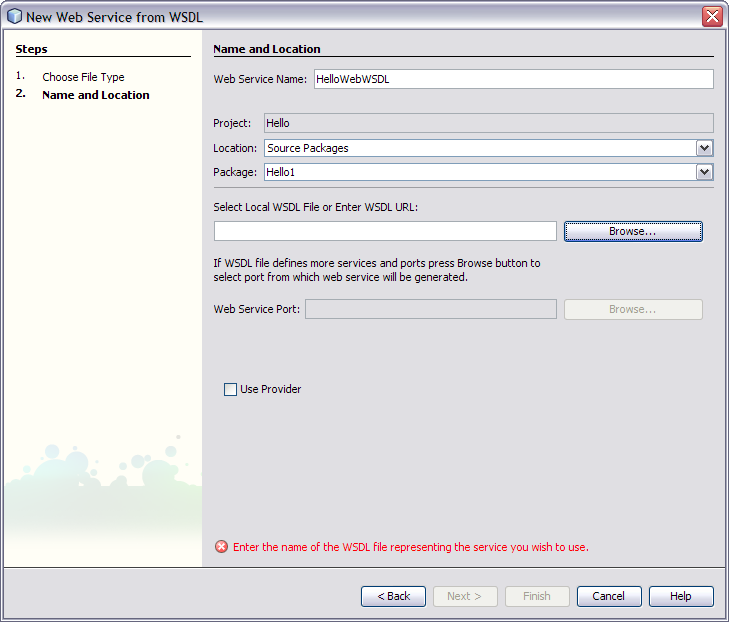
  4. Type the Web Service Name as HelloWebWSDL and the Package name as Hello1.
    image:Web Service and Package Names
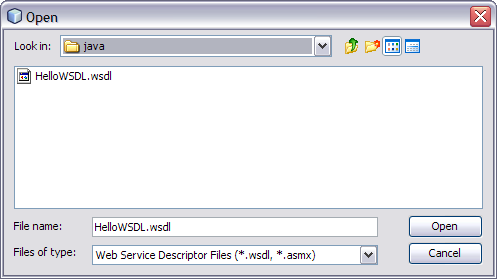
  5. Click the Browse button to select local WSDL file or the WSDL URL and then click Open.
    image:Selecting the WSDL URL

    Note - This WSDL File or the WSDL URL is located in the NetBeans Projects folder. For example: C:\Documents and Settings\Administrator\My Documents\NetBeansProjects\Hello\src\java This path is valid if you have used the default project location while creating the EJB module project.


  6. Click Finish.
  7. Click the Source button and add the following line to the public class.

    return "Java EE Service Engine" + in;
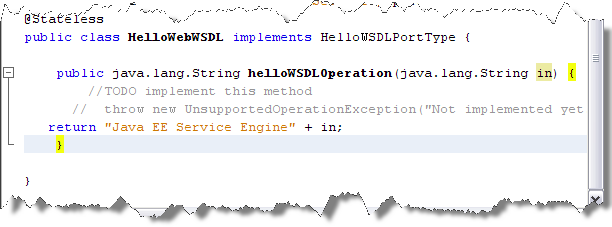

    image:Adding String to Public Class
  8. From the NetBeans IDE toolbar click Save All button.

To Clean and Build the EJB Module Project