2 Oracle WebCenter Portal
This chapter contains these topics:
2.1 Understanding WebCenter Portal Server
-
Install WebCenter Database Schemas (See Appendix A).
-
Install WebLogic Server (See Appendix B).
Important: the WebCenter database schemas must be created and the WebLogic Server must be installed before you install Oracle WebCenter Portal.
Oracle WebCenter Portal 11.1.1.8.0 with Bundle Patch 5 support starts with:
-
JD Edwards EnterpriseOne Tools Release 9.1.5 Update 0
-
JD Edwards EnterpriseOne Tools Release 9.1.4.Update 6
2.2 Installing Oracle WebCenter Portal
When you install the WebCenter components on your machine, be sure to enter the correct data (machine name, ports, and so on) for your configuration. When you download the software from the Oracle Software Cloud, note the directories to which you downloaded the software and replace the directory location specified in this chapter with your directory locations. Be sure to install the executable files for your platform.
Use these steps to install Oracle WebCenter Portal 11.1.1.8.0.
-
Download and unzip the WebCenter installation file:
Oracle WebCenter Portal 11g (11.1.1.8.0), part number = V38995-01
-
Execute the install process from the Disk1 folder:
-
On Windows: setup.exe with Run as administrator option
-
On UNIX: ./runInstaller as a non-root user
-
-
Enter the JRE/JDK location when prompted.
-
Review the Welcome page information. Click Next.
-
Select your Software Updates option.
-
The installer performs prerequisite checks.
-
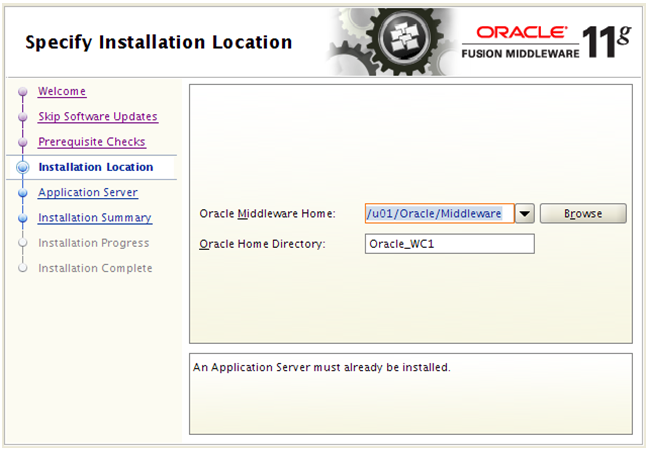
Enter a Middleware Home and a WebCenter Home Directory.
-
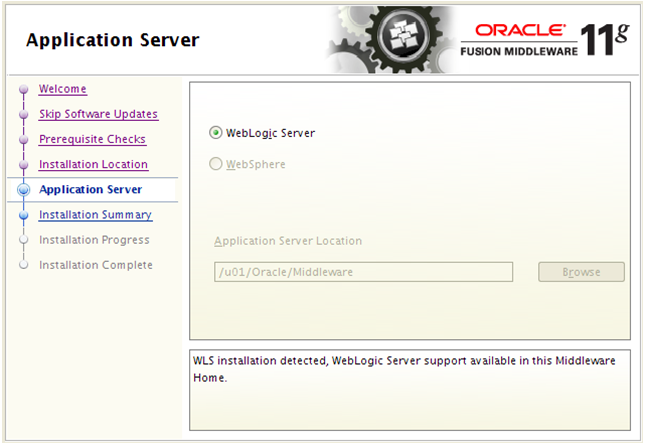
Select WebLogic Server as the application server and click Next.
Note:
EnterpriseOne supports only a WebLogic Server as the application server.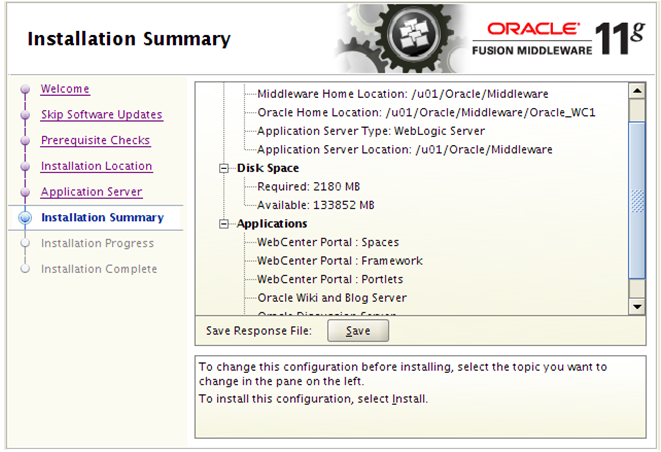
-
Review the Install Summary.
-
Click Install to start the install process.
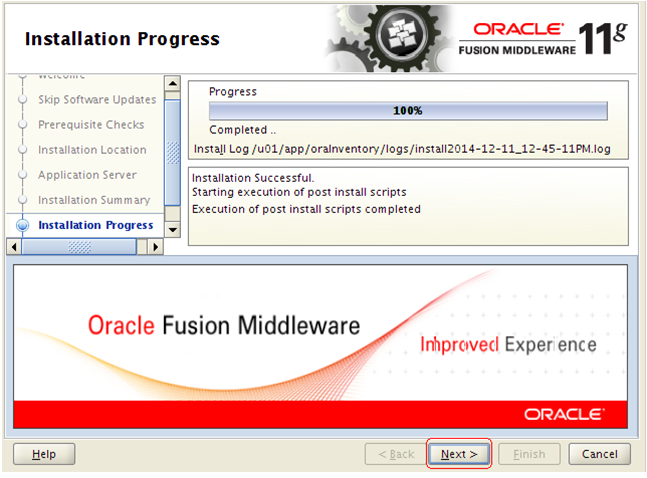
-
Click Next to continue when the install has completed.
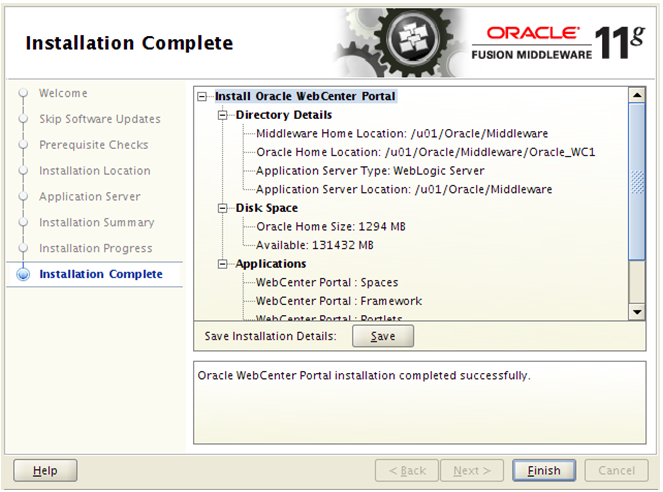
-
Click Finish when the install process is completed.
-
Run config.sh (.cmd) from <MW_Home>/Oracle_WC1/common/bin folder to create the WebCenter domain.
-
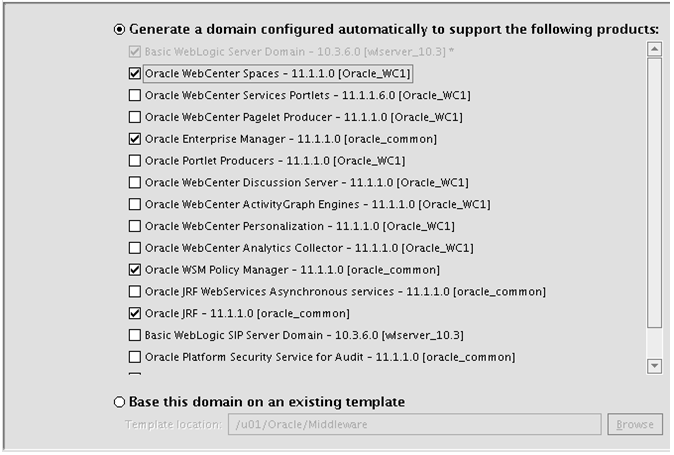
Select Create a new WebLogic domain option and click Next.
-
Select Oracle WebCenter Spaces to be part of this domain. Other required products will be selected automatically. You can add more products later if needed.
-
Click Next.
-
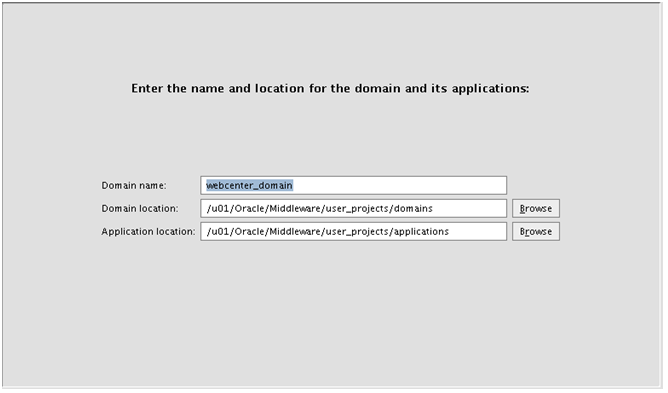
Enter the domain name. For example: webcenter_domain.

-
Enter the domain Administrator user and password.
-
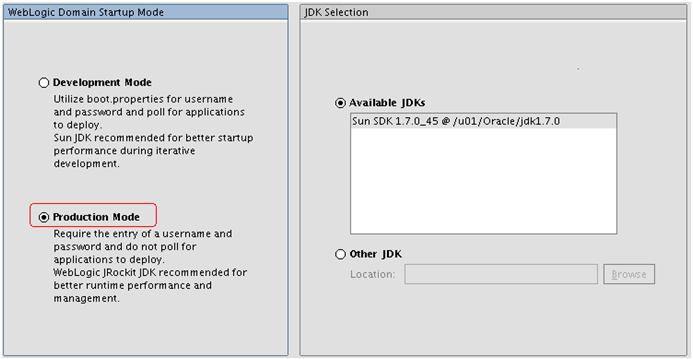
Select Production Mode and verify the available JDK.
-
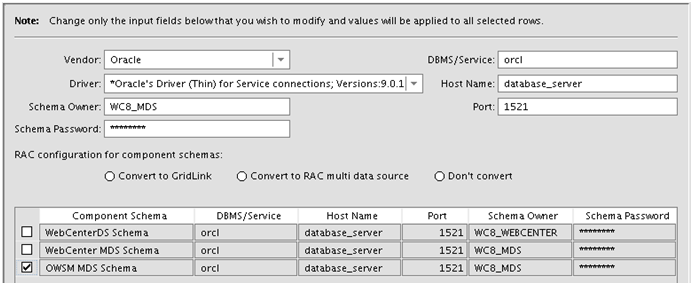
Enter the JDBC Component Schema database connection.
Note:
If you are not using the default Schema Owner, you must modify them one line at a time.
-
Test the JDBC Schema connection.
-
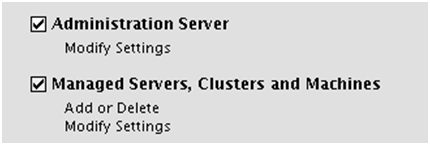
Select the Administration Server and Managed Server, Cluster and Machine.
-
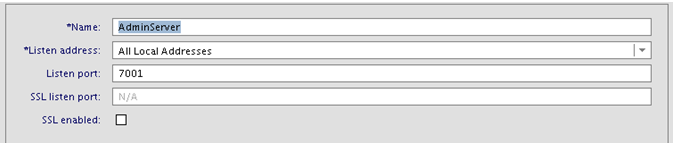
Enter the Administration Server name and Listen port.

-
Accept the default Managed Server name and port.
-
Click Next to skip the cluster configuration.

-
From the Configure Machines page, select your platform and click Add to create a Machine name.
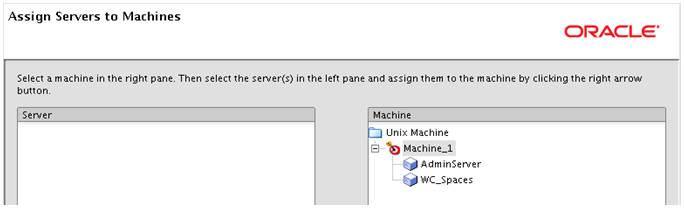
-
Assign Server to the Machine by moving the server in the left to the right under the Machine name.
-
Review the Configuration Summary and click Create.
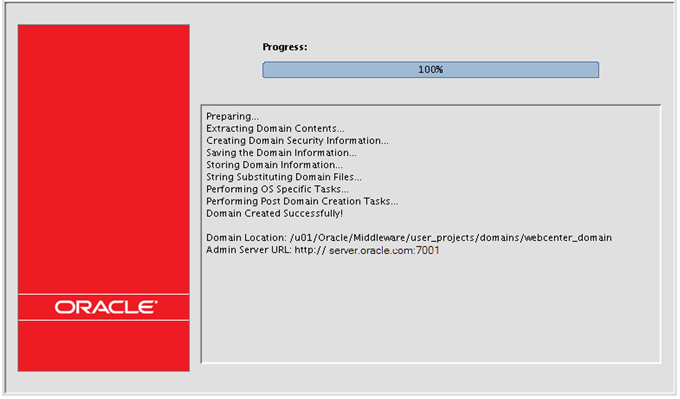
-
Click Done when the domain is created.
2.2.1 Post Installation Configuration
This section discusses:
-
Applying the Required Patches
-
Starting the WebLogic Administration Server
2.2.1.1 Applying the Required Patches
The following patches are required:
-
p6880880 - Obtain the latest Opatch version (11.1.0.8.3 or higher)
-
p18712656 - Microsoft Internet Explorer 11 support (Must apply before Bundle Patch)
-
p19194669 - WebCenter 11.1.1.8.0 Bundle Patch 5
Please follow the instructions on each patch when applying these patches.
2.2.1.2 Starting the WebLogic Administration Server
To start the Weblogic Administration Server:
-
Start the WebLogic Admin Server (startWebLogic.sh(.cmd)) from <MW_ Home>\user_projects\domains\<webcenter_domain>\bin folder.
-
Start WebLogic NodeManager (startNodeManager.sh(.cmd)) from <MW_home>\wlserver_10.3\server\bin.
-
The startNodeManager process creates a nodemanager.properties file in <MW_home>\wlserver_10.3\common\nodemanager folder.
-
Once the file is created, run setNMProps.sh(.cmd) from <MW_home>oracle_common\common\bin folder.
Note:
Another option is that you can edit the nodemanager.properties by opening the file with an editor and change StartScriptEnabled to true.Important:
WebCenter Portal Enterprise Manager will not start correctly if this value is not set. -
After the value is changed, you must stop and restart NodeManager.
-
Start the domain Admin Server and WC_Spaces.
-
After the Admin Server is started, you can access the domain console, Enterprise Manager, and WebCenter Portal.
http://server:7001/console (Domain Console)
http://server:7001/em (Enterprise Manager)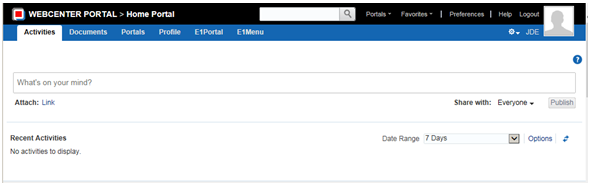
http://server:8888/webcenter
-
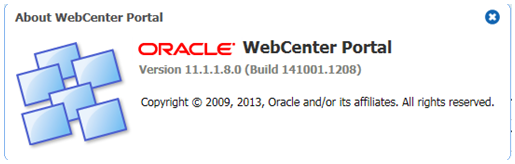
Click About WebCenter Portal on the bottom right to verify the version level.
Note:
The bundle patch level will not be displayed. You will have to use the OPatch command "opatch lsinventory" to verify the patch.
2.3 Configuring the External LDAP Server
Oracle WebCenter comes with an embedded OID LDAP server. This embedded server should not be used for a production environment. You should configure an external LDAP server such as Oracle Internet Directory (OID) or other 3rd party LDAP server.
2.3.1 Configuring the Oracle Internet Directory Authenticator
In order to configure Oracle Internet Directory as an external LDAP server, you must have it installed and functioning.
Use these steps to configure the Oracle Internet Directory Authenticator.
-
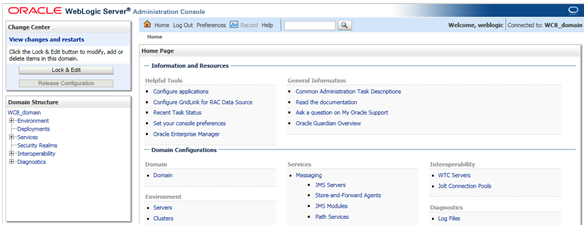
Login to the WebLogic Server Administration Console.
-
From the Domain Structure pane, click Security Realms.
-
Select the myrealm entry to configure the OID authenticator.
-
Select the Providers tab.
-
Click Lock and Edit.
-
Click New to create a provider.
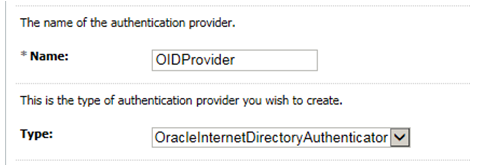
-
Enter a name for the new provider (for example, OIDProvider).
-
Select OracleInternetDirectoryAuthenticator as the type, and then click OK.
-
On the Providers tab, click the newly added provider. The common setting pane appears.
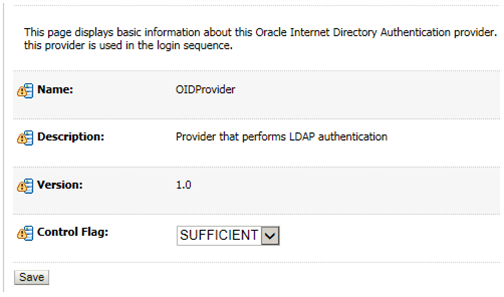
-
Set the control flag to SUFFICIENT and click Save.

-
Open the Provider Specific tab.
Field Value Comment Host: The host ID for the LDAP server Port: The LDAP server port number Principal: The LDAP administrator principal Credential: <password> The administrator principal password Confirm Credential: <password> User Base DN: User Search Base All User Filter: (&(uid=*)(objectclass=person)) User Name Attribute uid Group Base DN: Group search base - same as user base DN Use Retrieved User Name as Principal Checked User login IDs are usually case insensitive. This flag is required so that the subject established contains the user name as stored in the OID. -
Complete the fields as shown in the table below. Leave the rest of the fields set to their default values.
-
Click Save.
2.3.2 Configuring the Default Authenticator and Provider Order
After configuring the OID Authenticator, ensure that the default authenticator's control flag is set to SUFFICIENT and reorder the providers.
Use these steps to configure the default authenticator and provider order:
-
Navigate to the Provider Settings pane.
-
Open the Default Authenticator and set the control flag to SUFFICIENT.
-
Do the same for any providers that you might have.

-
On the Setting Pane, reset the provider order to:
-
OIDProvider (SUFFICIENT)
-
DefaultAuthenticator (SUFFICIENT)
-
DefaultIdentityAsserter
Note:
If your WebLogic user is not part of the OID Administrators group, you will not be able to restart the WebLogic Admin Server.
-
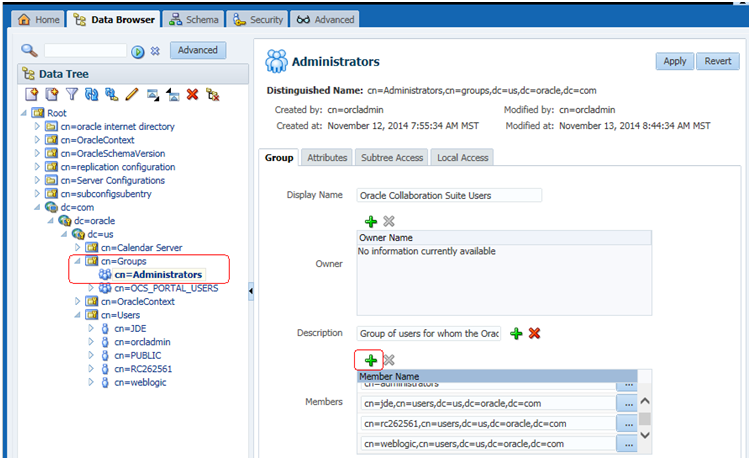
You can use the following steps to add an Administrators group and add your user from OID.
-
Connect to Oracle Directory Manager, http://host:port:7005/odsm.
-
Create a new Group, Administrators. You can use the Create Like option.
-
Add your admin user to this group.
Now, you should able to start the WebLogic Admin Server.
2.4 Configuring Oracle HTTP Server for WebCenter Portal
After you install and configure Oracle HTTP Server, you will then configure the Oracle HTTP server for WebCenter Portal.
Use the following example to configure mod_wl_ohs.conf. Verify that WebLogic port numbers match your configuration.
# WebCenter Portal
<Location /webcenter>
    SetHandler weblogic-handler
    WeblogicHost   webcenter.example.com
    WeblogicPort  8888
</Location>
After you edit the mod_wl_ohs.conf file, restart the HTTP server from MW_Home/instance/instance1/bin folder:
>./opmnctl startall
Now you can access WebCenter Portal using the HTTP port; for example,
http://myserver.com:7777/webcenter