10 Year-End Archiving
Year-end archiving allows you to store year-end information after you print the forms and send them to the government and to your employees. You can access this information to review it, make adjustments, and print corrected forms.
The system does not allow you to archive year-end information before you have printed all of the year-end forms.
This chapter includes the following topics:
10.1 Archiving Year-End Information
After you print year-end forms and send them to your employees and to the government, you archive the year-end information using the Update to Archival program (P077301). The system copies the data from the temporary workfiles to the following permanent production tables:
You can use these permanent tables to review historical forms and their adjustments.
When you archive your data, the system verifies the following:
-
A valid DREAM Writer version
-
The ID is not currently active
-
All forms have been printed
-
The ID is for a previous year, not the current year
After you archive year-end information, you cannot revise it. However, you can create individual amended year-end forms to send to the employee and government agency.
Note:
You must archive the previous year's data before you load a new year-end update.To archive year-end information
From Canadian Year End Processing (G77247), choose Update T4/Relevé to Archival
-
On Update T4/Relevé to Archival, enter the ID for the workfile that you want to archive in the T4/Relevé ID field and click Enter twice.
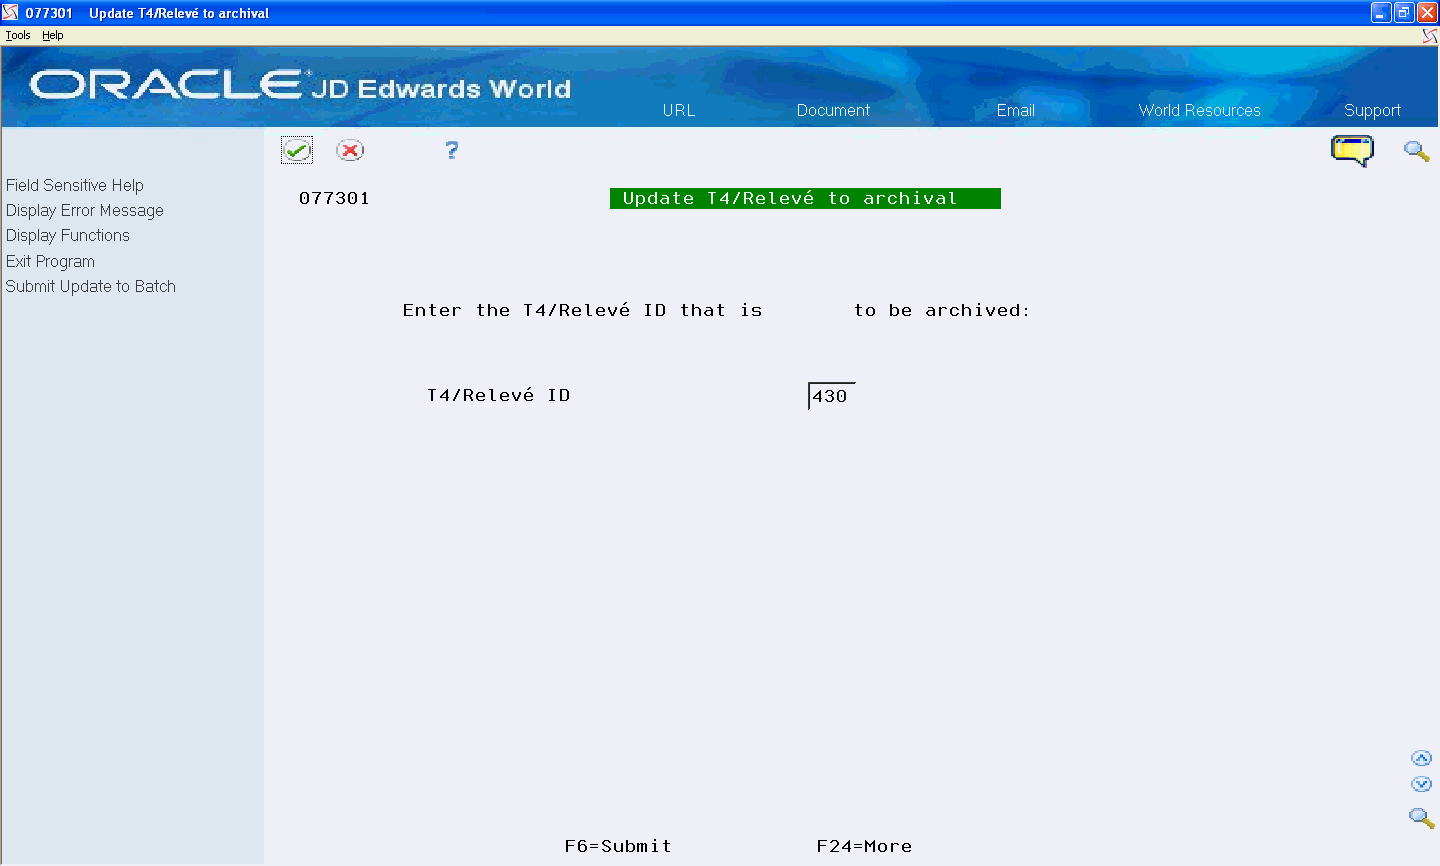
Description of the illustration ''updt_t4_releve_archivl.gif''
If an error message displays, you must resolve the error before you can submit the archive.
-
Choose Submit (F6).
The program prompts you to verify the submission of the reports.
-
Choose Submit Job (F6).
10.2 Working with Archived Information
You cannot revise archived information if you find an error in an employee's year-end information. Instead, you use the Update function to create a new (amended) year-end form. You can then print the amended form and send it to the employee and government agency.
Note:
The Archival Relevé 1 Review program (P077261) displays the salaries of employees. You can prevent unauthorized access to this information by applying business unit security to the Employee Master table (F060116) to prevent employees in certain business units from printing the report.Working with archived information includes the following tasks:
-
Amending archived information
-
Printing archived forms
10.2.1 Amending Archived Information
You cannot revise archived information if you find an error in an employee's year-end information. Instead, you use the Toggle Display/Update function in the appropriate Archival Review program to create a new (amended) year-end form. You can then print the amended form and send it to the employee and government agency.
The system maintains the serial number for the amended form separately from the serial number of the original record. When you amend information for an employee, the system creates a new record with an ID number of AMD (Amended). The employee's old record remains intact.
You cannot amend an original year-end form more than once. However, you can amend the amended year-end form.
To amend archived information, you must have authority to use Toggle Display/Update Mode (F8). Your security officer must enter your user profile in function exit security. Otherwise, you will receive an Invalid Function Key message. If you need authority to amend year-end forms, contact your security officer. Alternatively, you can consult your security officer to find out who in your organization has authority to amend archived information.
The following is an example using T4 forms, to amend other forms, use the same steps but choose the appropriate menu selection.
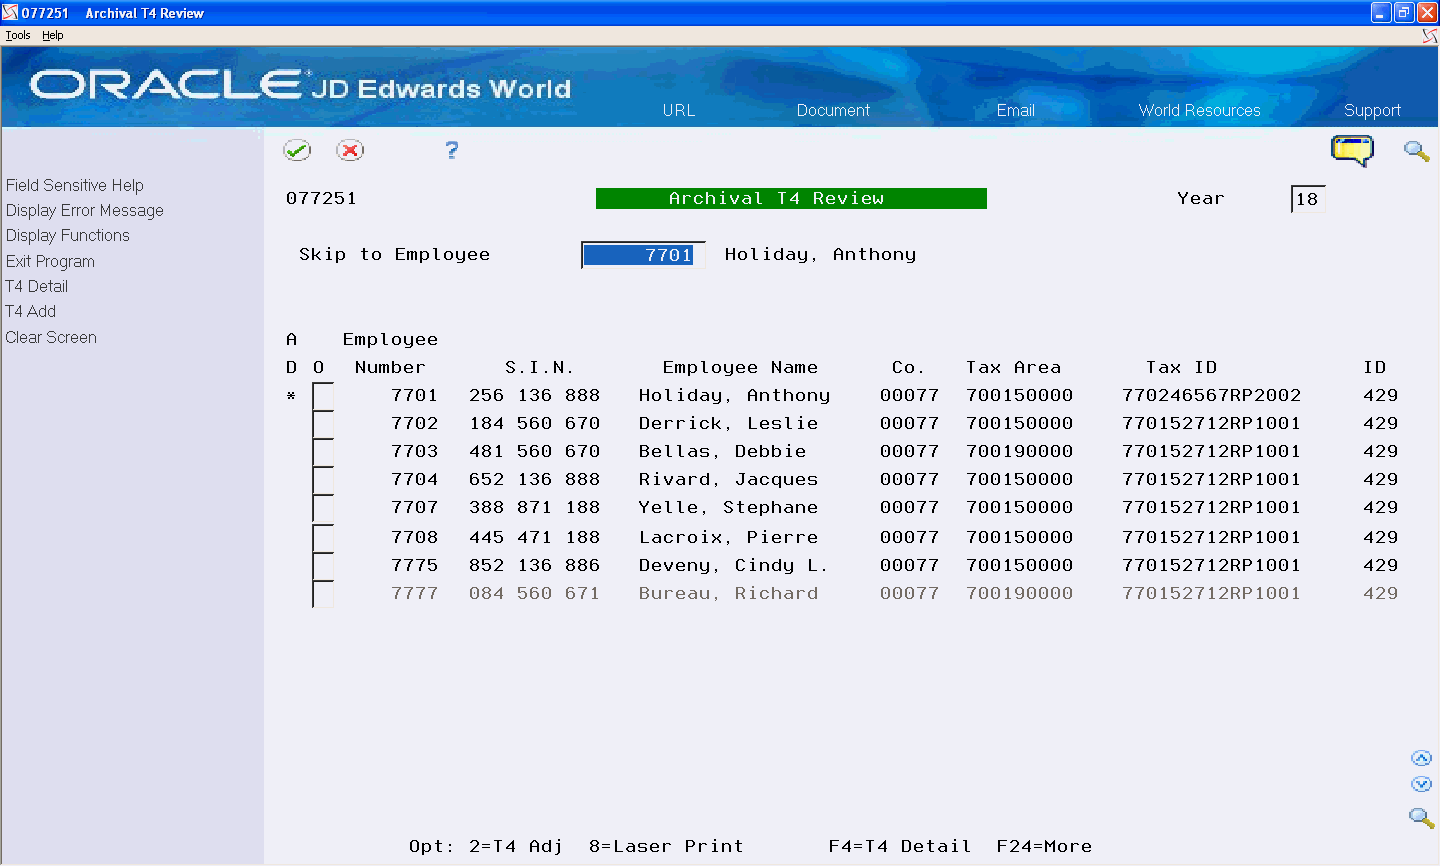
From Canadian Year End Processing (G77247), choose Archival T4 Review
-
On Archival T4 Review, complete the following fields and click Enter:
-
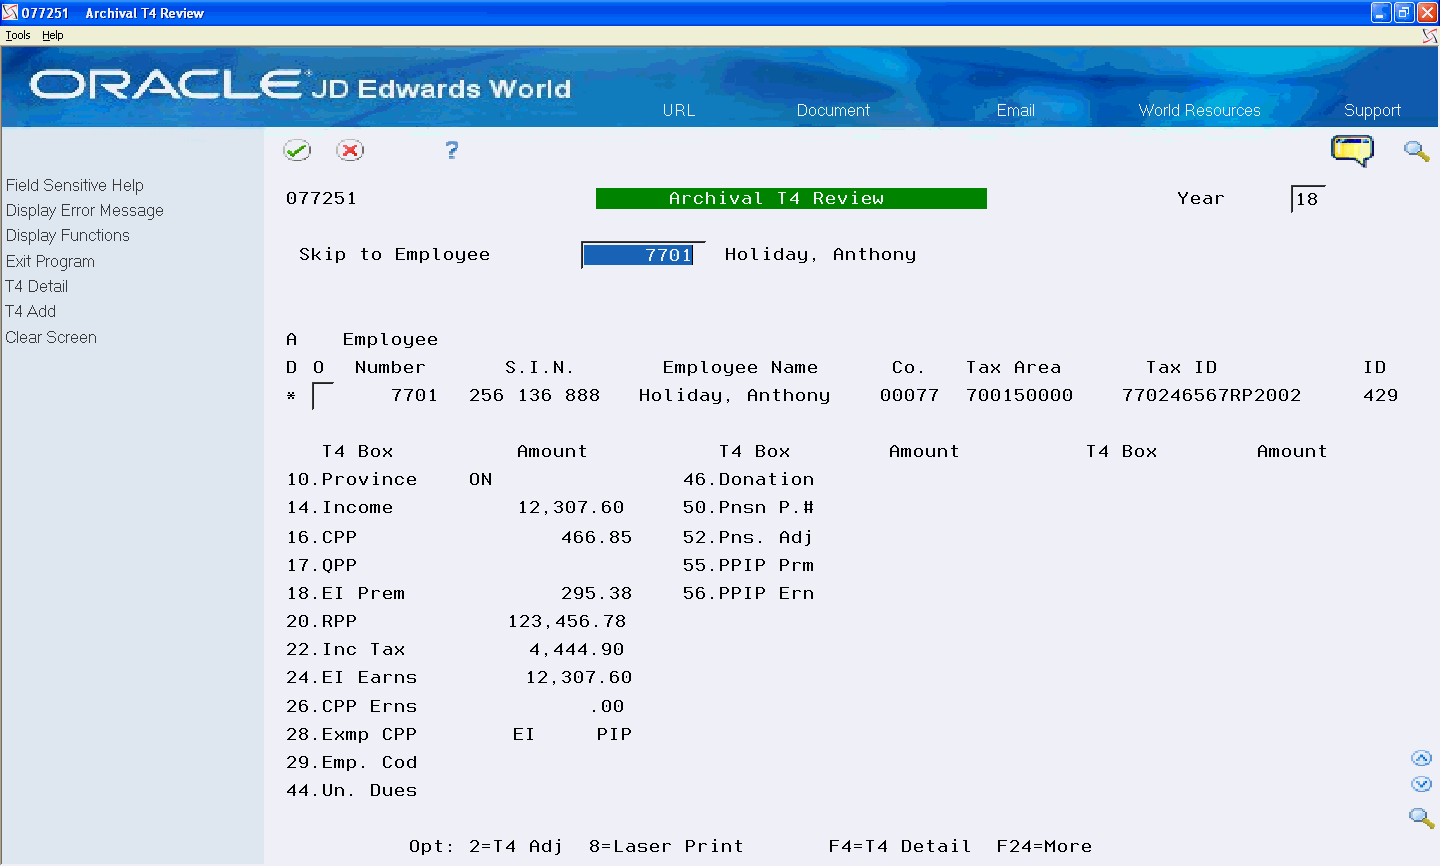
Access the detail area.
-
Choose Toggle Display/Update Mode (F8).
-
Make the necessary changes to the employee's record and click Enter.
10.2.2 Printing Archived Forms
If you create an amended year-end form, you can print the form to replace the original form that you sent to the employee or government agency. The system updates the history table with the new serial number.
These programs print information from the following tables:
The following is an example using Relevé 1 forms, to print other forms, use the same steps but choose the appropriate menu selection. The system does not require a serial number for T4 and T4A forms.
From Canadian Year End Processing (G77247), choose Archival Relevé 1 Review
-
On Archival Relevé 1 Review, complete the following fields and click Enter:
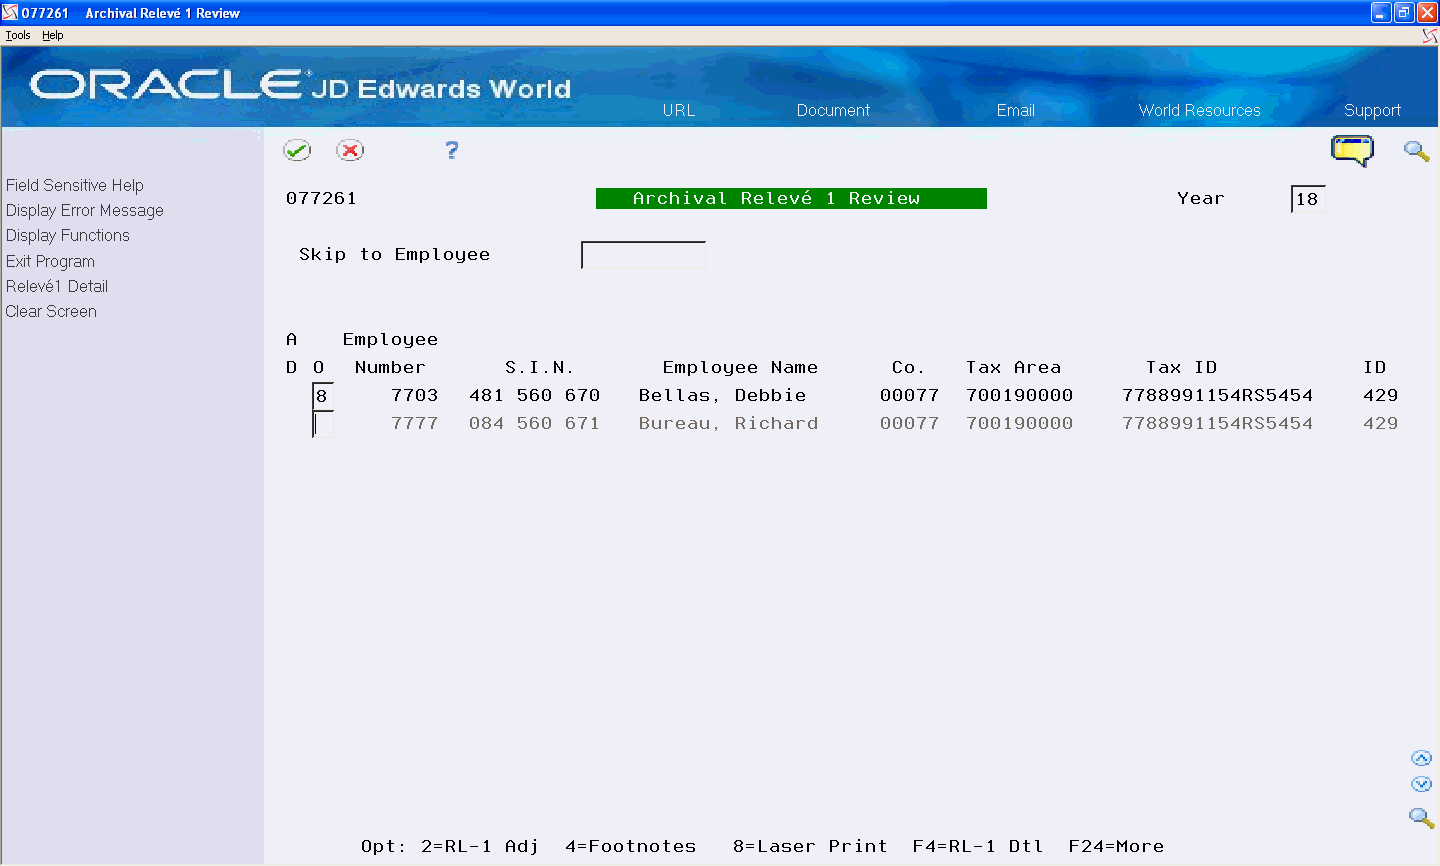
Description of the illustration ''archivl_releve1_review.gif''
-
Enter 8 in the Option field next to the employee and workfile build that you want to print and click Enter.
-
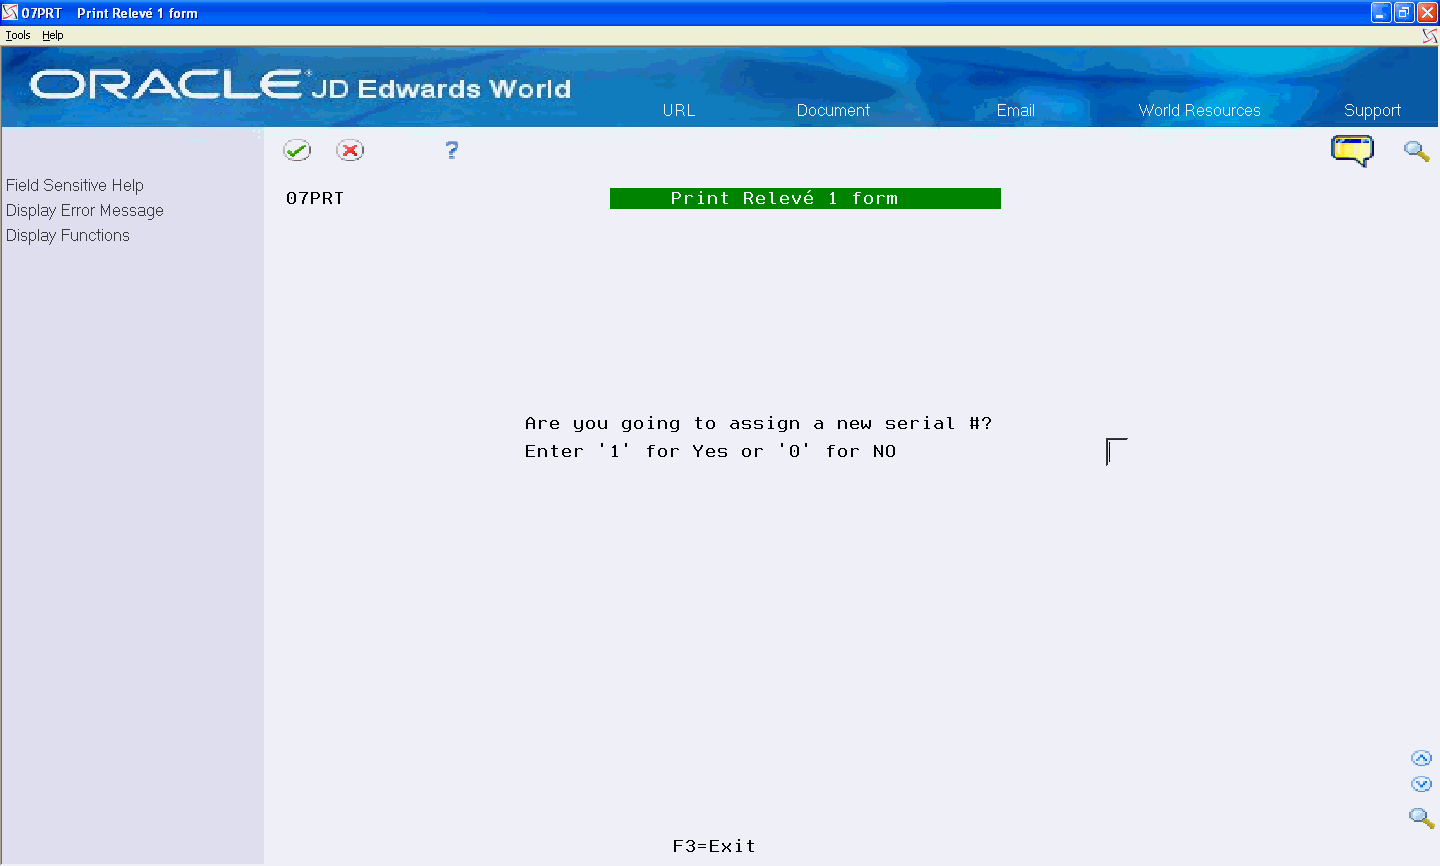
On the first Print Relevé 1 form, complete the Are you going to assign a new serial #? field and click Enter.
-
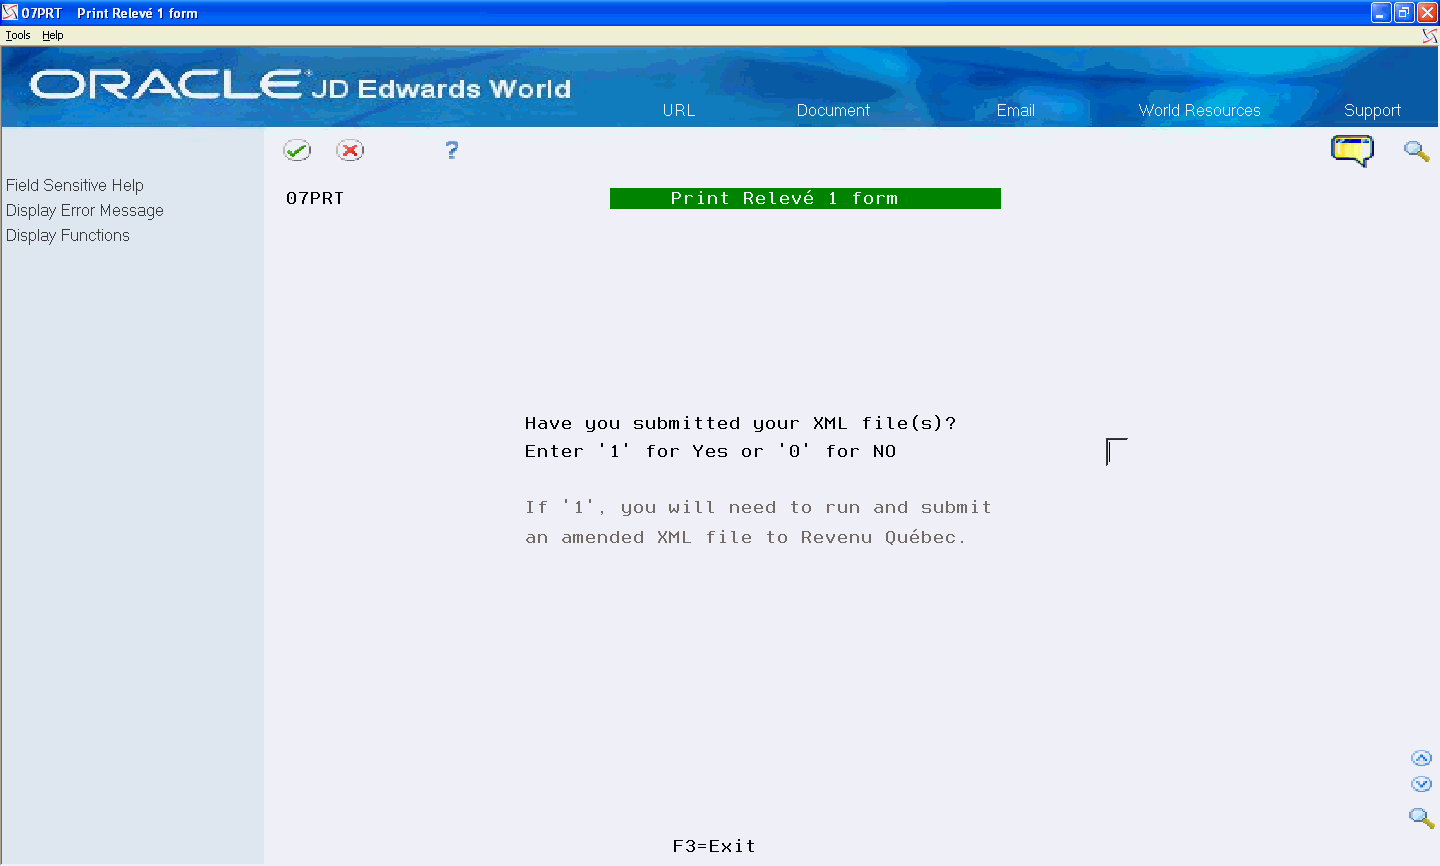
On the second Print Relevé 1 form, complete the Have you submitted your XML file(s)? field and click Enter.
-
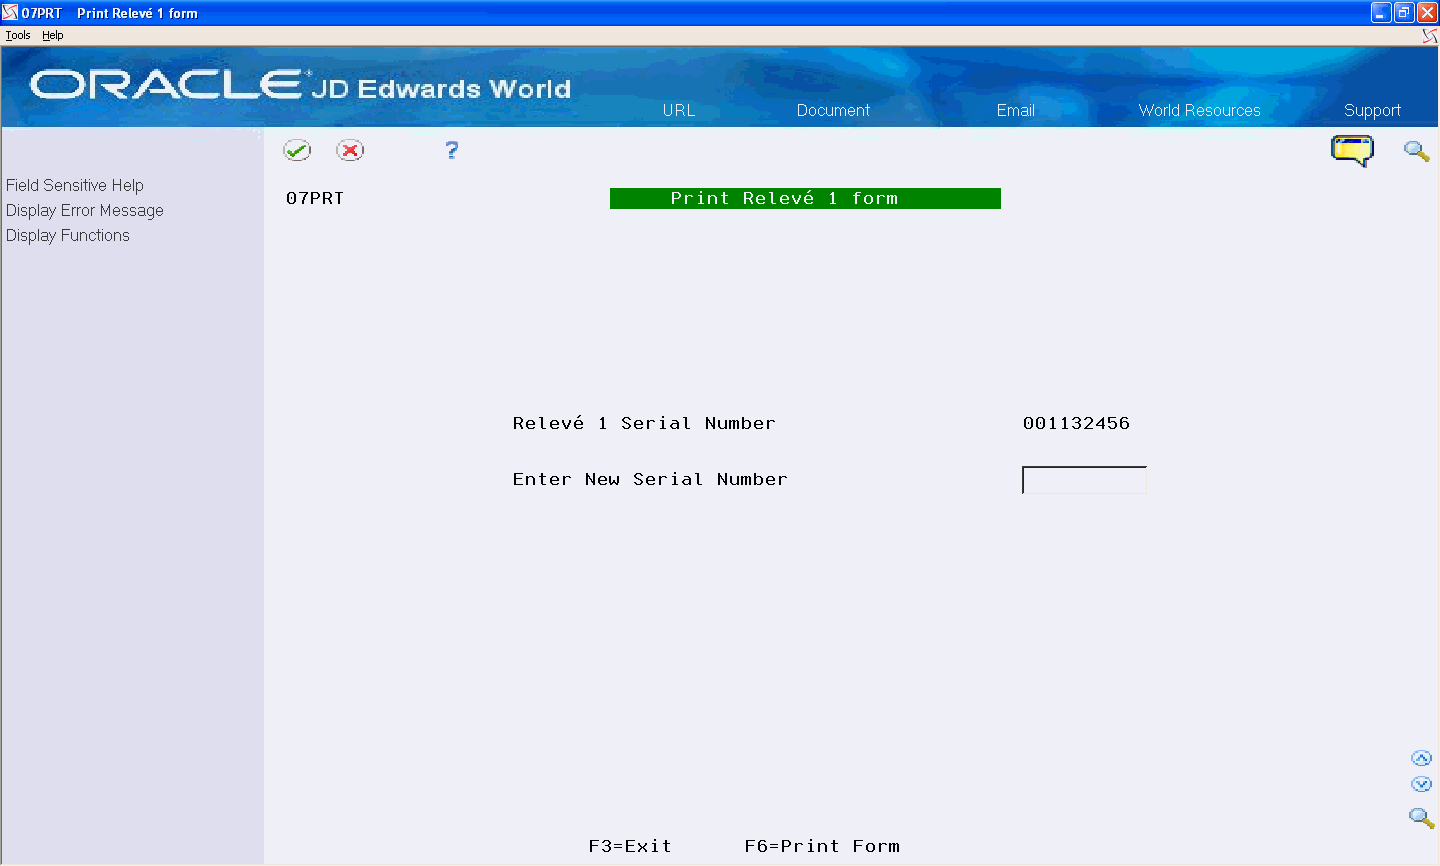
On Print Relevé 1 form, complete the Enter New Serial Number field.
-
Choose Print Form (F6).
| Field | Explanation |
|---|---|
| Are you going to assign a new serial #? | The Yes or No Entry field is a common single character entry field for simple yes or no responses on prompt screens. For International purposes, No = '0' and Yes = '1'.
Screen-specific information Enter 1 for Yes or 0 for No. If you enter 0 (No), you return to the previous screen to make your selections again before rerunning the print procedure. |
| Have you submitted your XML file(s)? | The Yes or No Entry field is a common single character entry field for simple yes or no responses on prompt screens. For International purposes, No = '0' and Yes = '1'.
Screen-specific information Enter `1' for Yes or `0' for No. |
