Each tab defines different objects and functional areas of operations that can be performed in Oracle VM Manager. When you select a tab the default management pane for that tab is displayed. The management pane change depending on the selected object in the navigation tree and the Perspective selected in the drop-down list in the management pane toolbar. The tabs in the Oracle VM Manager user interface are Health, Servers and VMs, Repositories, Networking, Storage, Tools and Resources, Jobs and Getting Started.
Use the Health tab to monitor the overall health and status of your virtualization environment and to view historical statistics such as memory and CPU usage.
Figure 3.2, “Health tab” shows the Health tab.

The Health tab contains the subtabs set out in Table 3.4, “Health Subtabs”.
Table 3.4 Health Subtabs
Subtab | Description |
|---|---|
Status Overview | The dashboard displays information about each server pool, Oracle VM Server summary, and the number of Oracle VM Servers that are running or stopped. A green, yellow, or red status is displayed for each server pool: Green: All Oracle VM Servers and virtual machines are in a normal state. Yellow: One or more Oracle VM Server(s) has a CPU or memory utilization above the specified limit. One or more virtual machine(s) has a CPU utilization above the specified limit. Click the hyperlink to view detailed information. See Section 3.6.1.1, “Detailed Information Dialog” for more information on this dialog panel. Red: One or more Oracle VM Server(s) has unacknowledged events indicating a down state that needs operator attention. Click the hyperlink to view detailed information. See Section 3.6.1.1, “Detailed Information Dialog” for more information on this dialog panel. The content can be reordered using the Order By drop-down list. Sort by Total Servers Down, Total VMs Down, or Alphabetically. The refresh interval can be configured using the Refresh Interval drop-down list. Select 20, 30, 45, 60 or 120 seconds. The number of columns can be selected using the Number of Columns drop-down list. Select 1 to 10 columns. The Utilization Thresholds toolbar at the top of the panel allows you to set the parameters available to trigger different health warnings. The following options are available:
|
Statistics | Oracle VM Manager periodically collects vital statistics such as memory and CPU usage. Select the Statistics subtab to view historical statistics for your Oracle VM Servers and virtual machines.
Click the Line Graph
icon
|
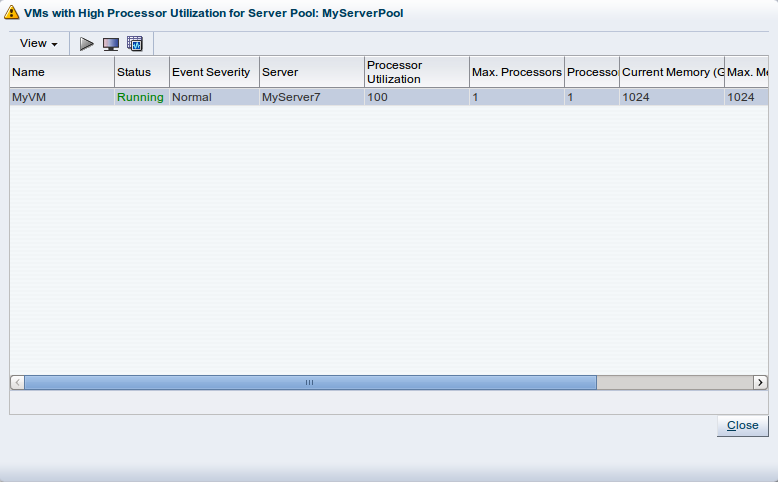
When a Yellow or Red status is shown for a server pool, the message appears as a hyperlink that opens a dialog containing more detailed information to describe the incident that needs attention. This dialog provides facilities to drill down to discover events leading up to an incident.
In the dialog a toolbar is present which includes various
icons that can be clicked in order to help you resolve an
issue. Select the item in the table that you wish to act on.
Click on the Events icon
![]() to view more information about the events within the log
related to the item that you are working with. You may need to
acknowledge particular events in order to resolve an issue.
See Section B.1.11, “Acknowledging Events/Errors” for
information on acknowledging events.
to view more information about the events within the log
related to the item that you are working with. You may need to
acknowledge particular events in order to resolve an issue.
See Section B.1.11, “Acknowledging Events/Errors” for
information on acknowledging events.
Use the Servers and VMs tab to discover Oracle VM Servers, create and manage server pools and virtual machines, assign Oracle VM Servers to server pools, and create and configure virtual machines in server pools.
Figure 3.4, “Servers and VMs tab” shows the Servers and VMs tab.
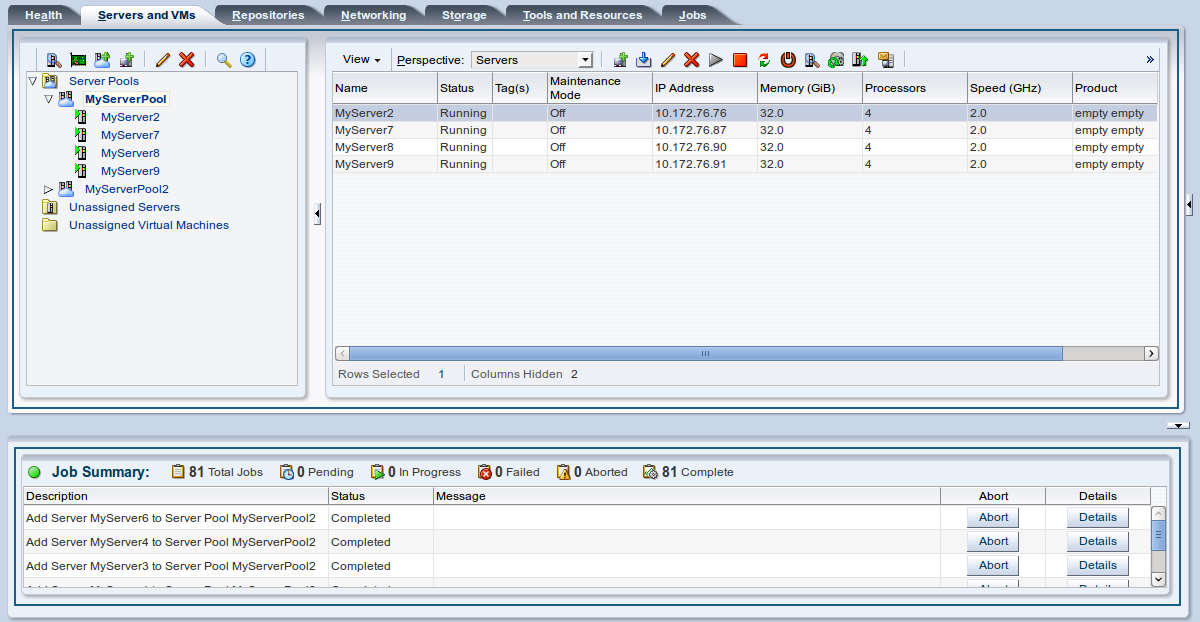
The Servers and VMs tab contains the Perspectives set out in Table 3.5, “Servers and VMs Tab Perspective”.
Table 3.5 Servers and VMs Tab Perspective
Management Pane Perspective | Description |
|---|---|
Server Pools | Displays information about the server pools. Use this tab to edit server pool policies, add or remove Oracle VM Servers from a server pool, edit information about a server pool, and delete a server pool. Select the Server Pools folder in the navigation tree and then select Server Pool in the Perspective drop-down list to display this pane. For more information about managing server pools, see Section 6.9, “Managing Server Pools”. |
| Server Processor Compatibility | Displays information about the server processor compatibility groups defined for selected Oracle VM Servers with compatible processors for virtual machine migration. You can perform actions on the server processor compatibility groups using the tab's toolbar, such as create, edit and delete. Select the Server Pools folder in the navigation tree and then select Server Processor Compatibility in the Perspective drop-down list to display this pane. See Section 6.7, “Server Processor Compatibility Groups” for information on server processor compatibility groups. |
| Servers | Lists the Oracle VM Servers in the server pool. You can perform actions on the Oracle VM Servers using the tab's toolbar, such as start, stop, and edit. You can also use the tab's toolbar to discover an Oracle VM Server and create a virtual machine on a selected Oracle VM Server. When an Oracle VM Server is discovered, it is listed in the Unassigned Servers folder. When an Oracle VM Server is added to a server pool, it is listed in the Server Pools folder. Select a server pool in the navigation tree and then select Servers in the Perspective drop-down list to display this pane. See Section 6.10, “Managing Oracle VM Servers” for information on managing Oracle VM Servers. |
Virtual Machines | Displays information about the virtual machines in the server pool, or on the Oracle VM Server. You can perform actions on the virtual machines using the tab's toolbar, such as start, stop, edit, migrate and clone. Use the Name Filter input field to specify search criteria to filter the displayed results. See Section 3.14, “Name Filters” for more information. Select a server pool or Oracle VM Server in the navigation tree and then select Virtual Machines in the Perspective drop-down list to display this pane. The Virtual Machines pane is also displayed when you select the Unassigned Virtual Machines folder in the navigation tree. See Section 7.10, “Managing Virtual Machines” for information on managing virtual machines. |
Anti-Affinity Group | Displays information about the anti-affinity groups defined to keep selected virtual machines on separate Oracle VM Servers. You can perform actions on the anti-affinity groups using the tab's toolbar, such as create, edit and delete. Select a server pool in the navigation tree and then select Anti-Affinity Group in the Perspective drop-down list to display this pane. See Section 6.6, “Anti-Affinity Groups” for information on anti-affinity groups. |
Policies | Displays information about server pool power and resource management policies; Distributed Resource Scheduler (DRS), or Distributed Power Management (DPM). You can define or edit a policy for the server pool using the tab's toolbar. Select a server pool in the navigation tree and then select Policies in the Perspective drop-down list to display this pane. See Section 6.5, “Server Pool Policies” for information on managing server pool policies. |
Ethernet Ports | Lists the Ethernet ports on the selected Oracle VM Server that can be used for network bridges. Use this tab to edit the type of addressing (none, DHCP or static IP address) used for the Ethernet port. Select an Oracle VM Server in the navigation tree and then select Ethernet Ports in the Perspective drop-down list to display this pane. For more information on network bridges, see Section 5.6, “Network Bridges”. |
Bond Ports | Lists the bonded Ethernet ports on the selected Oracle VM Server. Use this tab to create, edit and delete bonds on Ethernet ports. Note While Oracle VM Manager uses the Linux terminology, Oracle Solaris users should understand port bonding to be equivalent to data link aggregation. Select an Oracle VM Server in the navigation tree and then select Bond Ports in the Perspective drop-down list to display this pane. For more information on network bonding, see Section 5.5, “Network Bonding”. |
| Physical Disks | Lists the local storage available on the selected Oracle VM Server. Use this tab to edit, rescan, clone, refresh, delete, display servers using a physical disk, and display events for local storage. You can also use this tab to create or delete an OCFS2 file system on local storage. Use the Name Filter input field to specify search criteria to filter the displayed results. See Section 3.14, “Name Filters” for more information. Select an Oracle VM Server in the navigation tree and then select Physical Disks in the Perspective drop-down list to display this pane. For more information on local storage, see Section 4.2.1, “Local Storage”. |
| Storage Initiators | Lists the storage initiators available on the Oracle VM Server in your environment. Use this tab to view access groups for selected storage initiators. Select an Oracle VM Server in the navigation tree and then select Storage Initiators in the Perspective drop-down list to display this pane. |
| Control Domains | Displays information about the control domain, such as CPU, memory, operating system and Oracle VM Agent version. A control domain is an Oracle Solaris concept, and is also known as dom0 on an x86 host. You can also use this tab to view which version of Oracle VM Server the server is running before and after an upgrade using the server update management (YUM) repository. Select an Oracle VM Server in the navigation tree and then select Control Domains in the Perspective drop-down list to display this pane. See Section 6.10.11, “Updating and Upgrading Oracle VM Servers” for more information on Oracle VM Server update management. |
| Repository Exports | List the export file servers used by backup and restore applications to access OCFS2 file systems. Use this tab to create, edit and delete repository export file servers. Select an Oracle VM Server in the navigation tree and then select Repository Exports in the Perspective drop-down list to display this pane. See Section 4.8.5, “Enabling Storage Repository Back Ups” for more information on setting up an Oracle VM Server as an export file server to back up storage repositories. |
| Info | Displays a high-level view of the selected object. The Info pane contents change to reflect information about the object selected in the navigation tree. You can use this pane to view information about repositories in your environment. Select Info in the Perspective drop-down list to display the Info pane. |
Events | Events are displayed for each object in the navigation tree and displays events related to that object. Select Events in the Perspective drop-down list to display the Events pane. |
Use the Repositories tab to create and configure storage repositories and their content; assemblies, VM templates, ISO files, virtual disks and virtual machine configuration files.
Figure 3.5, “Repositories tab” shows the Repositories tab.
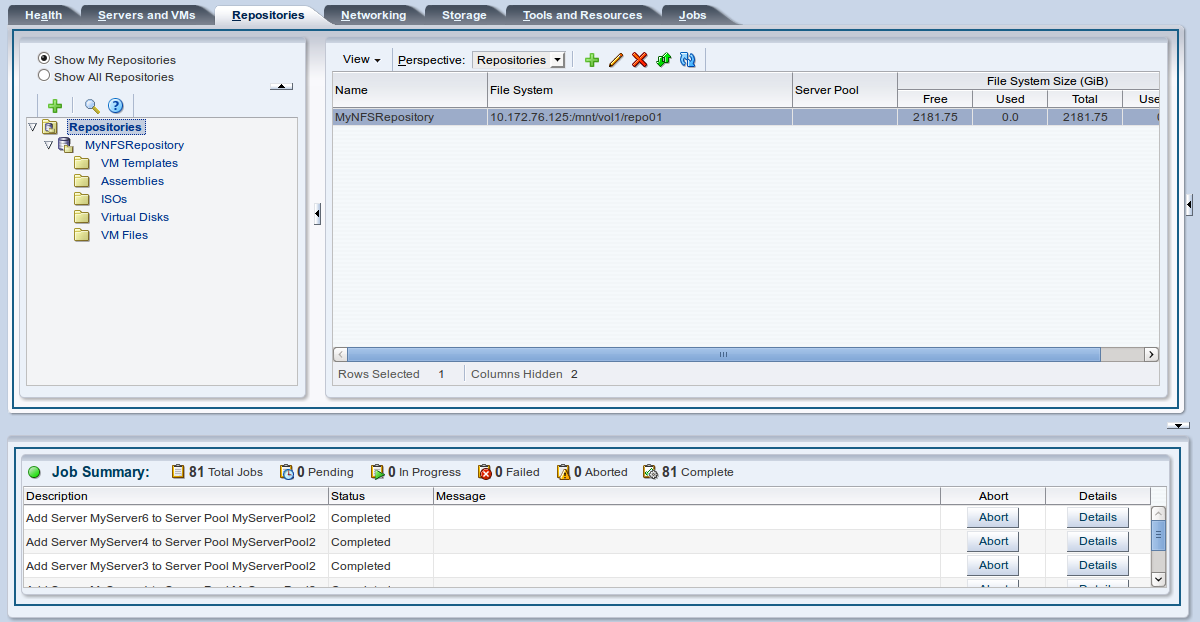
The Repositories tab contains the Perspectives set out in Table 3.6, “Repositories Tab Perspective”.
Table 3.6 Repositories Tab Perspective
Management Pane Perspective | Description |
|---|---|
Repositories | Displays information about the storage repositories, and the resources in each repository. Use this tab to view, create, edit, present/unpresent, refresh and delete storage repositories. You can also use this tab to create and manage the contents of storage repositories; assemblies, ISO files, template files, virtual disks and virtual machine configuration files. To view the contents of each storage repository, select it in the navigation tree, and then select Repositories in the Perspective drop-down list. See Chapter 4, Managing Storage for more information on managing storage. |
| Info | Displays a high-level view of the selected object. The Info pane contents change to reflect information about the object selected in the navigation tree. You can use this pane to view information about repositories in your environment. Select Info in the Perspective drop-down list to display the Info pane. |
Events | Events are displayed for each object in the navigation tree and displays events related to that object. Select Events in the Perspective drop-down list to display the Events pane. |
Use the Networking tab to manage networks and their functions in your environment, create, edit and delete networks and VLAN groups, and create virtual NICs which can be used by virtual machines.
Figure 3.6, “Networking tab” shows the Networking tab.
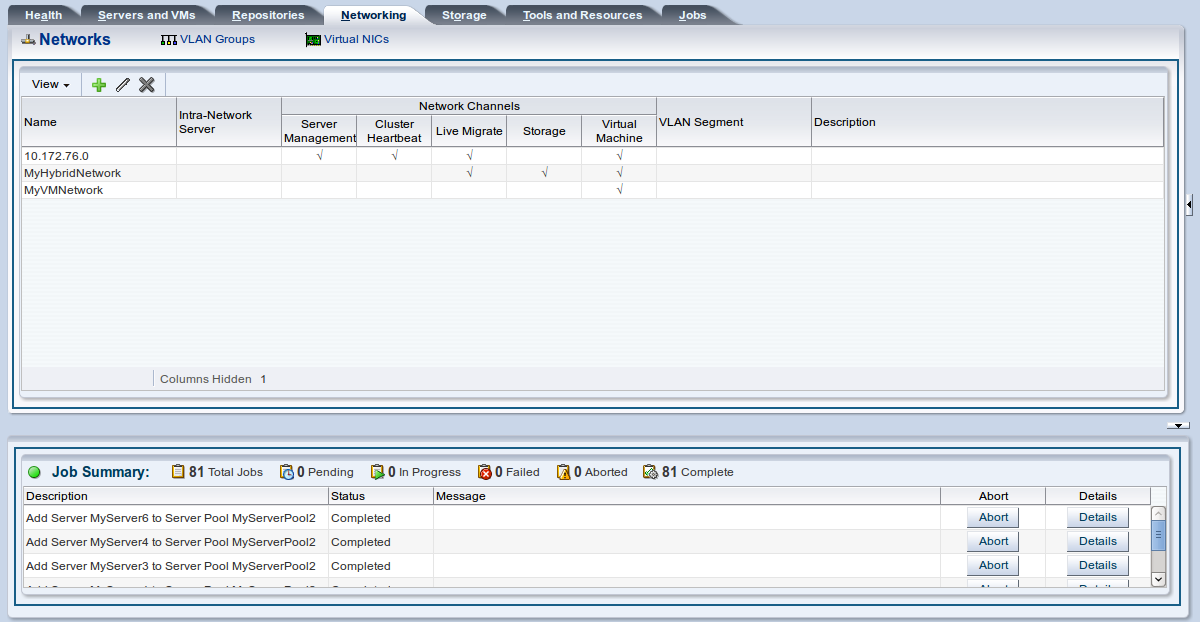
The Networking tab contains the subtabs set out in Table 3.7, “Networking Subtabs”.
Table 3.7 Networking Subtabs
Subtab | Description |
|---|---|
Networks | Displays information about networks. Use this tab to create, edit, and delete networks. Select the Networks subtab to display this pane. Select a network in the table to view and edit information about the network ports and VLAN segments used in a network. See Chapter 5, Managing Networks for more information on managing networks. |
VLAN Groups | Displays information about VLAN Groups. Use this tab to create, edit and delete VLAN Groups. Select the VLAN Groups subtab to display this pane. Select a VLAN Group in the table to view and edit information about the ports and VLAN Segments used in a VLAN Group. See Section 5.11, “Managing VLAN Groups” for more information on managing VLAN groups. |
Virtual NICs | Displays information about virtual NICs. Use this tab to create and delete virtual NICs for virtual machines. See Section 7.6, “Managing VNICs” for more information on managing virtual NICs. |
Use the Storage tab to manage, discover and edit file servers and SAN servers (storage arrays), physical disks, access groups and volume groups.
Figure 3.7, “Storage tab” shows the Storage tab.
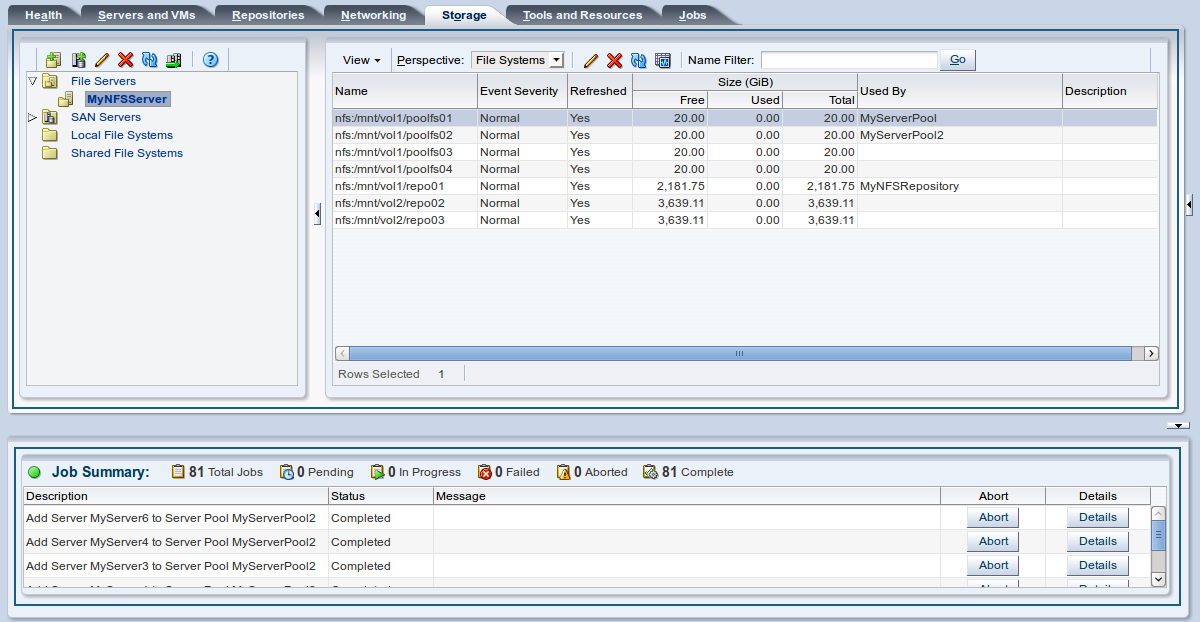
The Storage tab contains the Perspectives set out in Table 3.8, “Storage Tab Perspective”.
Table 3.8 Storage Tab Perspective
Management Pane Perspective | Description |
|---|---|
File Servers | Lists the file servers which contain file-based storage. Use this tab to register, edit, delete and discover file-based storage. Select File Servers in the navigation tree to display this tab. See Section 4.2, “Storage Types” for more information on file-based storage. |
File Systems | Lists the file systems available on the file server. Use this tab to discover edit, refresh, delete and display events for file systems. Use the Name Filter input field to specify search criteria to filter the displayed results. See Section 3.14, “Name Filters” for more information. Select a file server in the navigation tree and then select File Systems in the Perspective drop-down list to display this tab. |
Logical File Systems | Lists the logical file systems available on the file server. Use this tab to refresh and delete logical file systems. Select the Logical File Systems folder in the navigation tree to display this tab. |
SAN Servers | Lists the SAN servers (storage arrays). Use this tab to register, edit, delete, refresh and discover SAN servers. Select SAN Servers in the navigation tree to display this tab. See Section 4.2, “Storage Types” for more information on storage arrays. |
Physical Disks | Lists the physical disks on the storage array. Use this tab to create, edit, clone, delete, refresh, display servers using a physical disk, and display events for physical disks. Select a storage array in the navigation tree and then select Physical Disks in the Perspective drop-down list to display this tab. |
Access Groups | Lists the access groups for the storage array. Use this tab to create, edit, delete, present/unpresent and display events for storage array access groups. Also use this tab to grant access to physical disks in the storage array to Oracle VM Servers using the access groups. Select a storage array in the navigation tree and then select Access Groups in the Perspective drop-down list to display this tab. See Section 4.6.4.2, “SAN Server Access Groups” for more information on access groups. |
Volume Groups | Lists the volume groups for the storage array. Use this tab to create, edit and delete storage array volume groups. Also use this tab to grant access to physical disks in the storage array to Oracle VM Servers using the volume groups. Select a storage array in the navigation tree and then select Volume Groups in the Perspective drop-down list to display this tab. |
Info | Displays a high-level view of the selected object. The Info pane contents change to reflect information about the object selected in the navigation tree. You can use this pane to view information about repositories in your environment. Select Info in the Perspective drop-down list to display the Info pane. |
Events | Events are displayed for each object in the navigation tree and displays events related to that object. Select Events in the Perspective drop-down list to display the Events pane. |
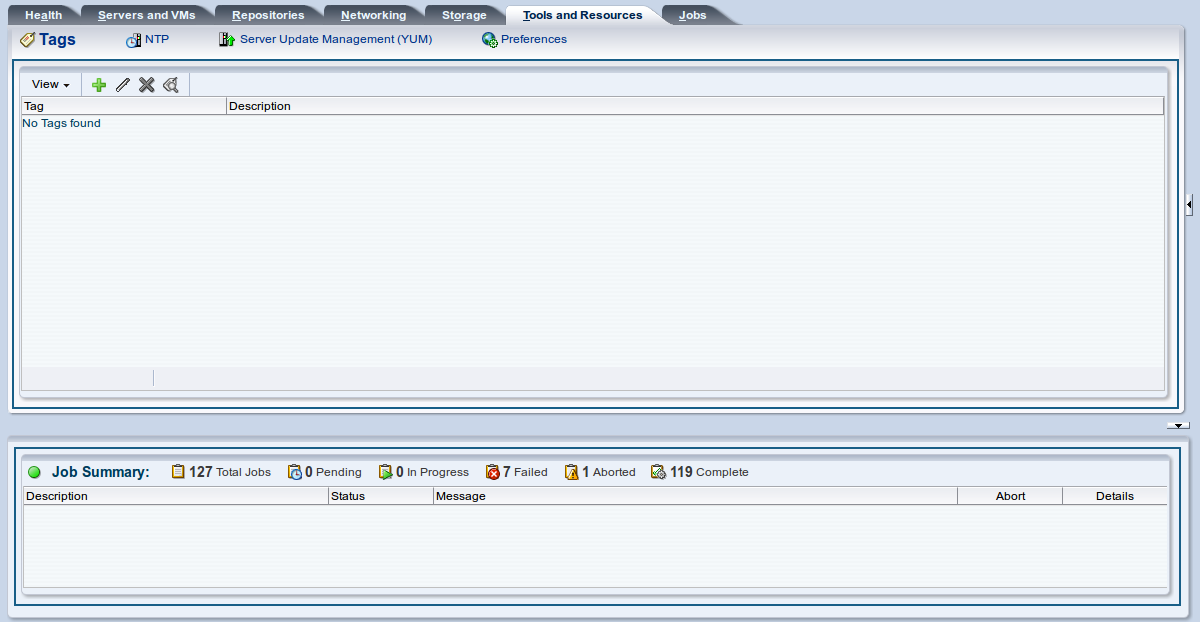
Use the Tools and Resources tab to manage tags which can be used to identify and group objects within Oracle VM Manager, and to configure server update management (YUM) repositories for automatic updates of the Oracle VM Servers being managed by Oracle VM Manager. This tab also contains preferences that control certain user interface behaviors.
Figure 3.8, “Tools and Resources tab” shows the Tools and Resources tab.
The Tool and Resources tab contains the subtabs set out in Table 3.9, “Tool and Resources Subtabs”.
Table 3.9 Tool and Resources Subtabs
Subtab | Description |
|---|---|
Tags | Use this tab to manage tags, which can be used within Oracle VM Manager to identify and group objects such as server pools, servers and virtual machines. The panel provides options to add, edit and remove tags within Oracle VM Manager. There is also an option to search for components that have been tagged with a particular tag. See Section 3.15, “Tags” for more information on using tags. |
NTP | Use this tab to manage and configure NTP on Oracle VM. NTP maintains time synchronization between Oracle VM Servers in a server pool. NTP is set up by default to use the Oracle VM Manager host computer as the NTP server. You can also use your own NTP servers. See Section 6.10.17, “Managing NTP on Oracle VM Servers” for more information on configuring NTP. |
Server Update Management (YUM) | Displays the Server Update Management (YUM) dialog box. Use this tab to configure YUM repositories for automatic updates of the Oracle VM Servers being managed by Oracle VM Manager. See Section 6.10.11, “Updating and Upgrading Oracle VM Servers” for more information on Oracle VM Server update management. |
Preferences | Displays the Preferences dialog box. Use this tab to configure user interface behavior such as whether or not to display the Oracle VM Manager server URI on the login page; and whether or not to timeout during a filesystem refresh. See Section 3.10, “Changing Default UI Behaviour” for more information on the Oracle VM Manager user interface preferences. |
Use the Jobs tab for information on current and past tasks, or jobs. A job is a set of one or more operations made in Oracle VM Manager. See Section B.1, “Working with the Jobs Framework” for more information on managing jobs.
The Jobs tab provides comprehensive information on all completed and in-progress jobs in the virtualization environment. The Jobs tab is used to get a global view on jobs, to evaluate information on jobs completed or aborted, or to cancel a job in progress.
The default view on the Jobs tab is the Summary view.
Jobs can be displayed for all users, or just for the administrator.
The Jobs calendar enables you to display the jobs for a particular date. Select a date in the Jobs calendar and the jobs for that date are displayed in the Jobs table.
Figure 3.9, “Jobs tab” shows the Jobs tab.
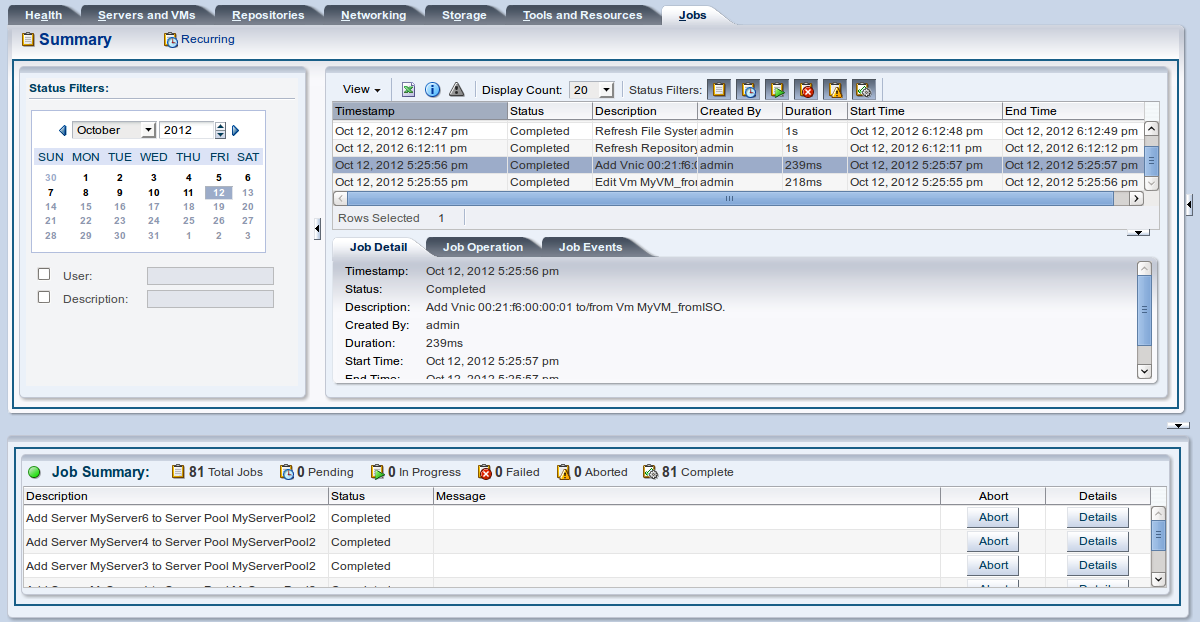
The Summary view on the Jobs tab contains the subtabs set out in Table 3.10, “Jobs Subtabs”.
Table 3.10 Jobs Subtabs
Management Pane Tab | Subtab | Description |
|---|---|---|
Jobs | Displays information on all jobs in a time-stamped list in the Jobs table. Jobs can be sorted and viewed by any column in the Jobs table. Click a column heading to resort the table content. The table contents can be reordered using View > Reorder Columns in the Jobs tab toolbar. The columns listed in the Jobs table can be selected using View > Columns in the Jobs tab toolbar. You can select which columns to view, and order the columns in the Jobs table using the View drop-down list. Click Export to Excel to save a list of the jobs to a spreadsheet file. Select a job in the table and click Details... to see the details of the job. To abort a job, select the job in the table and click Abort Job. Use the Status Filters icons to view Total Jobs, Pending, In Progress, Failed, Aborted and Complete Jobs. Click the icons to open a dialog box showing the tasks. The dialog box lets you export a list of the jobs to a spreadsheet file, view details of a job, or abort a job. See Section B.1, “Working with the Jobs Framework” for more information on jobs. | |
Job Detail | This tab is displayed on the Jobs tab. The Job detail tab displays all the available information about the job selected in the Jobs table. If a message is associated with the job detail, it is displayed in the message pane. | |
Job Operation | This tab is displayed on the Jobs tab. The Job operations tab displays the operations performed as part of the job. | |
Job Events | This tab is displayed on the Jobs tab. The Job events tab displays a list of the events performed during the job. |
The Jobs tab includes a link to manage Recurring jobs. See Section B.1.7, “Managing Recurring Jobs” for more information on recurring jobs.
When you first log in to the Oracle VM Manager user interface the Getting Started tab is displayed on the right side of the management pane. The Getting Started tab contains a tutorial that describes how to get started with Oracle VM Manager, and walks you through discovering Oracle VM Servers, registering storage, setting up networking, setting up a storage repository and importing resources into it, creating a server pool and creating virtual machines. To show or hide the tutorial, click the arrow to the right of the management pane.
Figure 3.10, “Getting Started tab” shows the Getting Started tab.
