| Skip Navigation Links | |
| Exit Print View | |

|
Sun Blade X4-2B Installation Guide for Oracle VM Server |
About Oracle VM Software Installation
Preparing for Oracle VM Server Installation
Installing Oracle VM Server (Manually)
Install Oracle VM Server (Local or Remote Media)
Installing Oracle VM Server (PXE Server)
PXE Server Installation Requirements
Install Oracle VM Server (PXE Server)
The Oracle System Assistant Install OS task provides assisted OS installation of a supported versions of Oracle VM Server.
Before You Begin
Perform the steps in Preparing for Oracle VM Server Installation.
For local installation, have the installation media available to insert into the attached physical CD/DVD-ROM drive when prompted.
For remote installation, insert the installation media into the remote console system’s CD/DVD-ROM drive. Make sure you have selected CD-ROM from the Oracle ILOM Remote Console Device menu.
If you are using an ISO image, ensure that it is accessible from the remote console system. Make sure you have selected CD-ROM Image from the Oracle ILOM Remote Console Device menu.
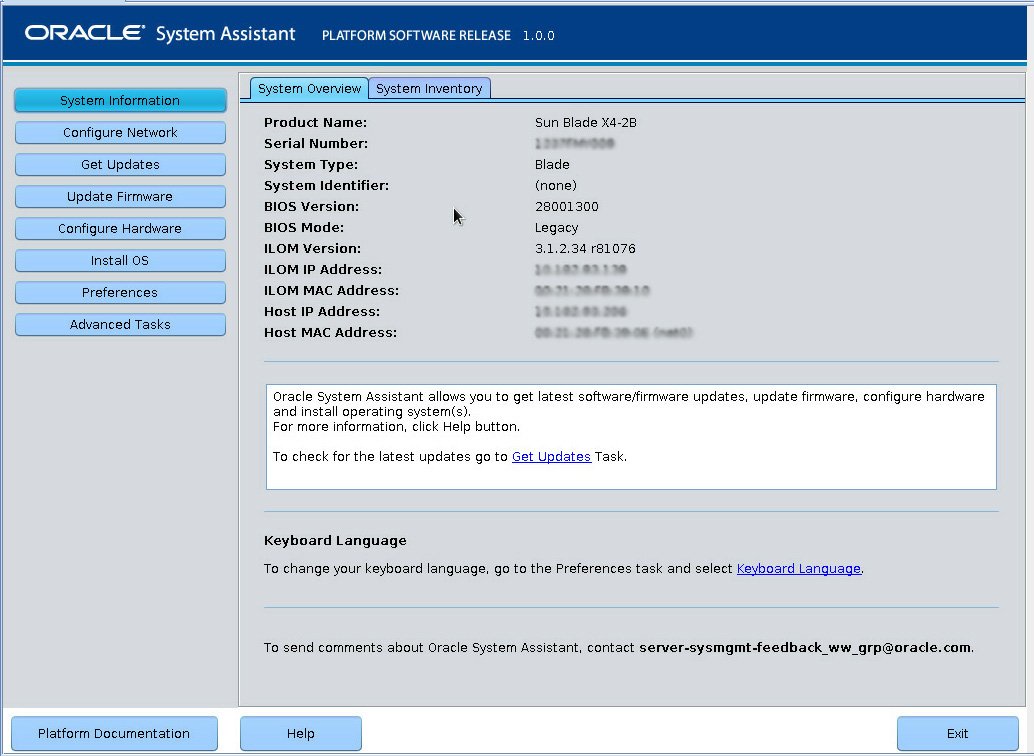
The Oracle System Assistant System Information screen appears.

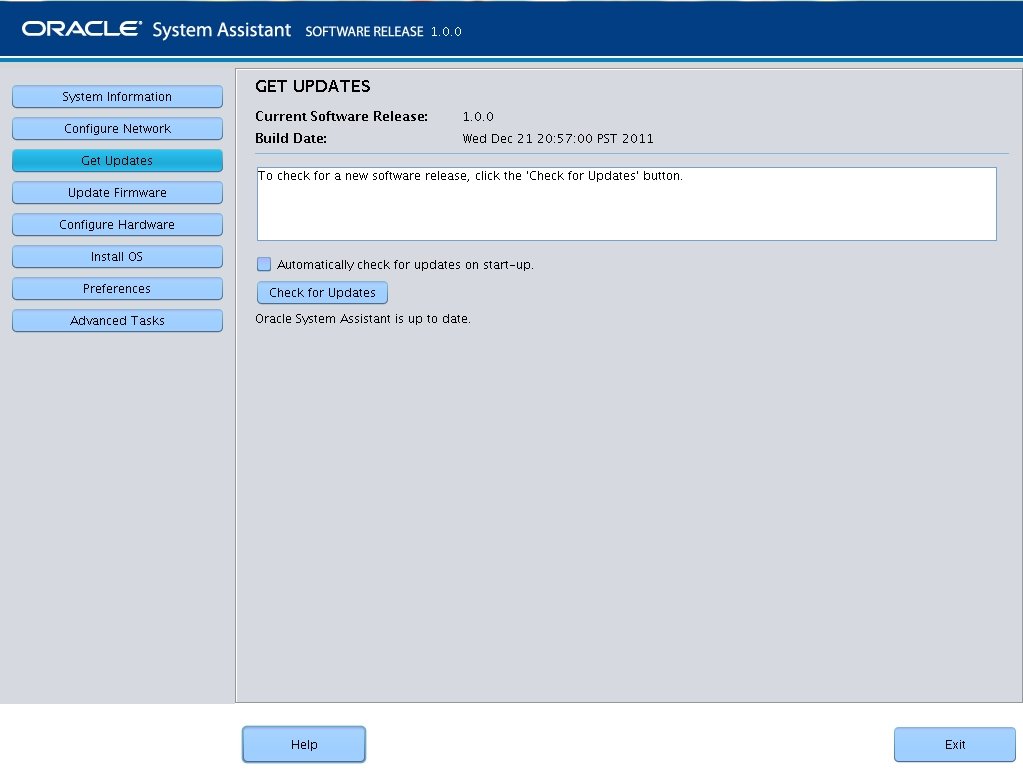
The Oracle System Assistant Get Updates screen appears.

If an update is available, the update's readme file appears.
The Get Updates Sign-In screen appears.
The server downloads the updates then displays a popup asking to reboot the server.
The server reboots and restarts Oracle System Assistant.
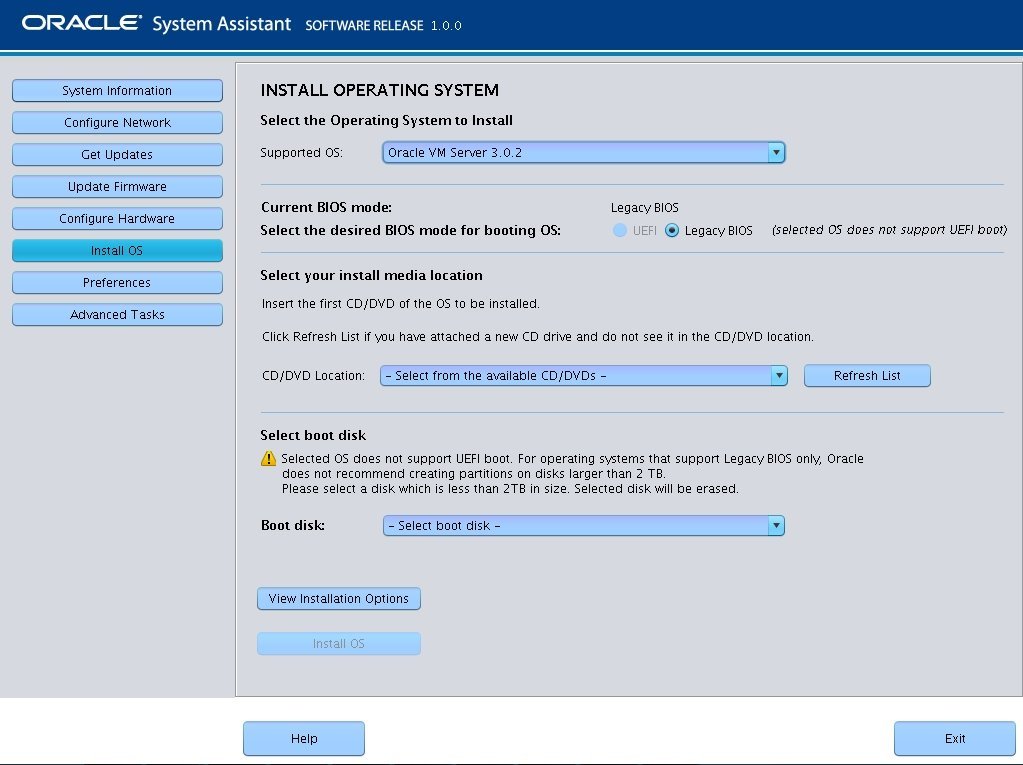
The Install OS screen appears.

This is the location of the OS distribution media.
If you are using the Remote Console for the installation, select the location of the remote media in the Devices drop-down menu.
This is the device on which you install the OS.
Caution - Loss of data. The OS installation erases the contents of the disk. All data on the selected disk is erased. |
The server boots.
Next Steps
Install Oracle VM Manager, if needed. Refer to: