Install Oracle Solaris 11.2 (With SRU5 or Later) Using PXE Network Boot
The following procedure describes how to install the Oracle Solaris11.2 (with SRU5, or later, required) operating system from a PXE network environment.
Before You Begin
The following requirements must be met prior to starting the Oracle Solaris 11.2 (with SRU5, or later, required) PXE boot installation.
To use PXE to boot the installation media over the network, ensure that the Automated Installation (AI) image install server is setup and accessible to your server over the network.
-
If your AI server requires the MAC address of an install client, you can obtain your system's MAC address by logging in to the Oracle ILOM SP as root, and typing:
-> show /SYS/MB/NET0 fru_macaddress
  /SYS/MB/NET0
    Properties:
       fru_macaddress = 00:21:28:e7:77:24
- Reset
or power on the server.
For example, do one of the following:
From the local server, press the Power button (approximately 1 second) on the front panel of the server to turn the server off, then press the Power button again to power on the server.
From the Oracle ILOM web interface, click Host Management → Power Control, select Reset from the Select Action list box, then click Save.
From the Oracle ILOM CLI, type: reset /System
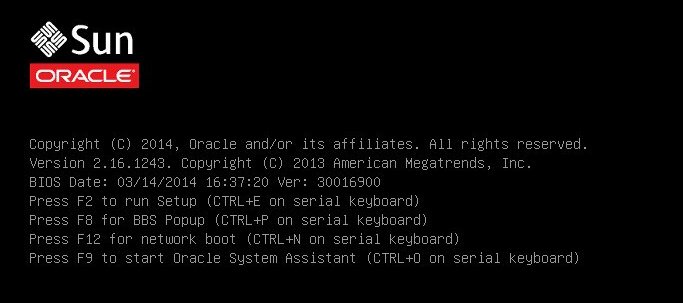
The system begins the boot process and the BIOS screen appears.

Note - The next event occurs very quickly; therefore, focused attention is needed for the following steps. Please watch carefully for these messages as they appear on the screen for a brief time. You might want to enlarge the size of your screen to eliminate scroll bars - To verify that PXE boot is enabled,
perform the following steps:
Note - PXE boot is enabled by default; however, this step directs you to verify that PXE boot is enabled in the event that it was disabled. Once you have verified that PXE boot is enabled, you can omit this step on subsequent PXE boots.- Press the F2 key to access the BIOS Setup Utility.
The BIOS Setup Utility appears.
- Select Advanced in the top menu
bar.
The BIOS Setup Utility Advanced screen appears.
-
Select Network Stack from the list of available options.
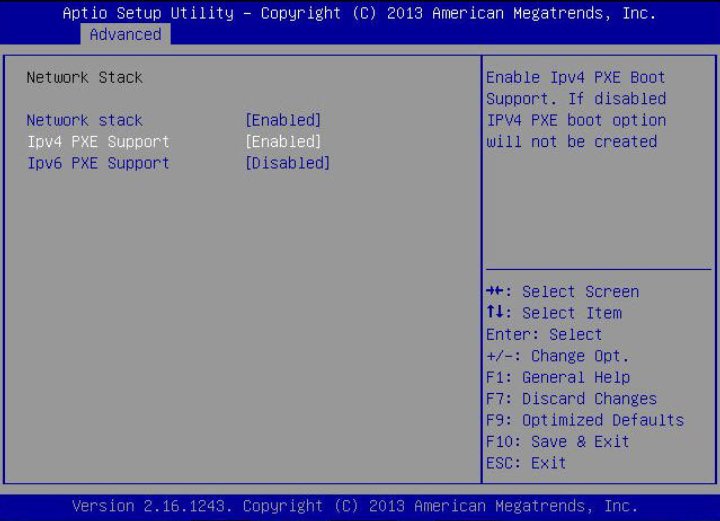
The BIOS Setup Utility Network Stack screen appears.

- If necessary, set the appropriate PXE Support setting (either IPv4 or IPv6) to Enabled.
- To save the changes and exit the BIOS Setup Utility, press the F10 key.
This causes the server to reset. After resetting, the BIOS screen appears again.
- Press the F2 key to access the BIOS Setup Utility.
- In the BIOS screen, press the F8 key to specify a temporary boot device or press the F12 key
to network boot (PXE).
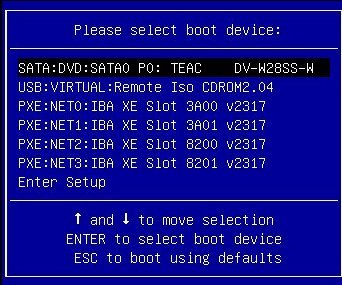
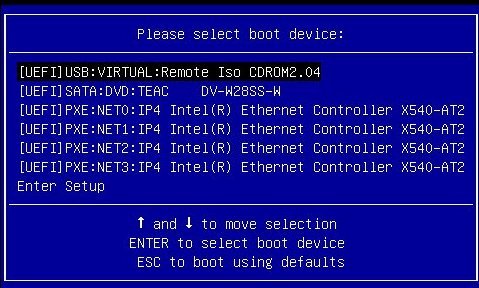
The Please Select Boot Device menu appears, listing the available boot devices. The screen that appears will differ depending on whether you have BIOS configured for Legacy BIOS Boot Mode or UEFI Boot Mode.
For Legacy BIOS Boot Mode, a screen similar to the following appears:

For UEFI Boot Mode, a screen similar to the following appears:

Note - The Please Select Boot Device menu options might differ depending on the type of disk controller installed in your server. - In the Please Select Boot Device menu, select the appropriate PXE boot port, then press
Enter.
The PXE boot port is the physical network port configured to communicate with your network install server.
The GRUB menu appears.
- Follow the on-screen prompts
to complete the PXE installation.
For instructions for completing the PXE installation, refer to Creating a Custom Oracle Solaris 11.2 Installation Image at http://docs.oracle.com/cd/E26502_01/index.html.
- Proceed to the section Post Installation Tasks for Oracle Solaris to perform post installation tasks.