This example uses an iSCSI SAN server. Replace the information here for that of your own SAN server.
To discover a SAN server:
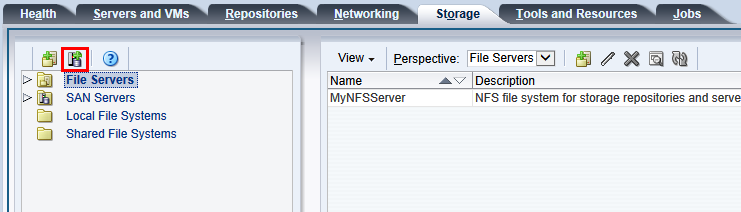
Click the Storage tab.
Click Discover SAN Server
 in the toolbar.
The Discover SAN Server wizard is displayed. Enter a name for the SAN server and optional description. Select iSCSI Storage Server from the Storage Type drop-down list, and the plug-in type for your SAN server, which in this example is Oracle Generic SCSI Plugin. Click Next.
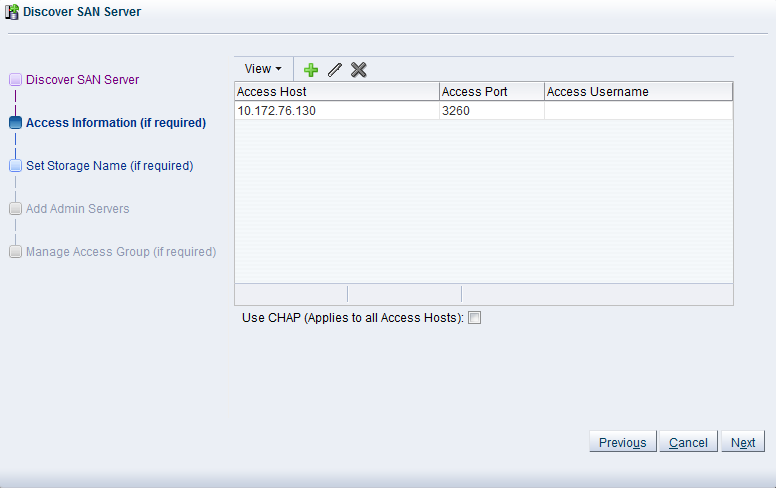
The Access Information step is displayed.
Enter one or more access hosts to create network paths to the storage. To add multiple paths (for multipathing), add multiple access hosts. Click Create New Access Host
 to add access hosts for the SAN server.
The Create Access Host dialog box is displayed.
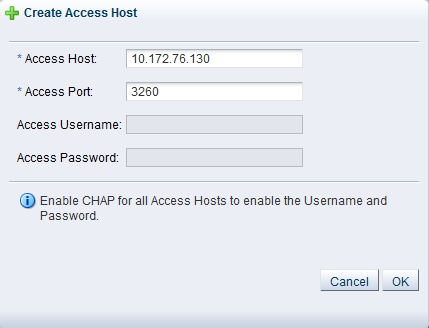
Enter the IP address and access port of the host that has access to the SAN server. Typically, this is the IP address of the SAN server and the default access port of
3260. Click OK.Repeat this step for each access host, for example, you may have access hosts such as 10.172.76.130, 10.172.76.131, 10.172.77.130, and 10.172.77.131 to enable multipathing. When you have entered all access hosts, click Next.
For most SAN servers the wizard moves straight to the Add Admin Servers step. However, if you have vendor-specific storage hardware with an admin host handling more than one storage array, such as certain HP EVAs and EMC arrays, enter the name of the array to be used for the new SAN server. The wizard recognizes this type of storage and displays the Set Storage Name step when applicable. Enter the storage name and click Next.
The Add Admin Servers step is displayed.
Use the arrow buttons to move the required Oracle VM Servers to the Selected Servers box. This selects which Oracle VM Servers are to be made available to perform Oracle VM related admin operations on the SAN server. Click Next.
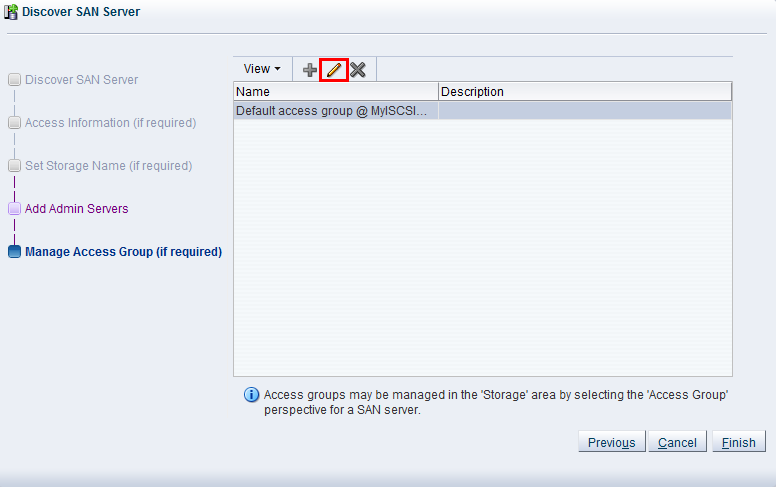
The Manage Access Group step is displayed.
This example uses a generic ISCSI SAN server, so a default access group is created. Select the default access group in the table and click Edit Access Group
 , then select the Storage
Initiators tab in the Edit
Access Group dialog box.
, then select the Storage
Initiators tab in the Edit
Access Group dialog box.
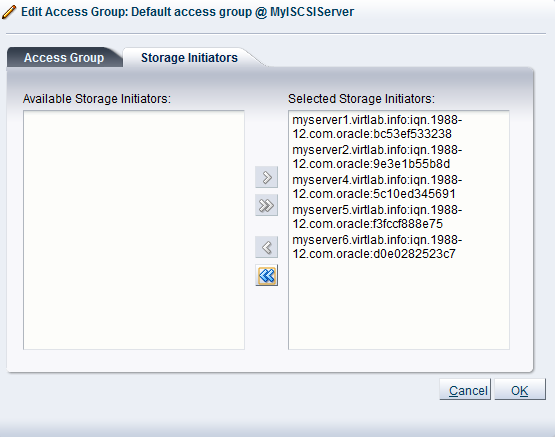
Select and move the Oracle VM Servers into the Selected Storage Initiators box to add storage initiators to each Oracle VM Server. Click OK.
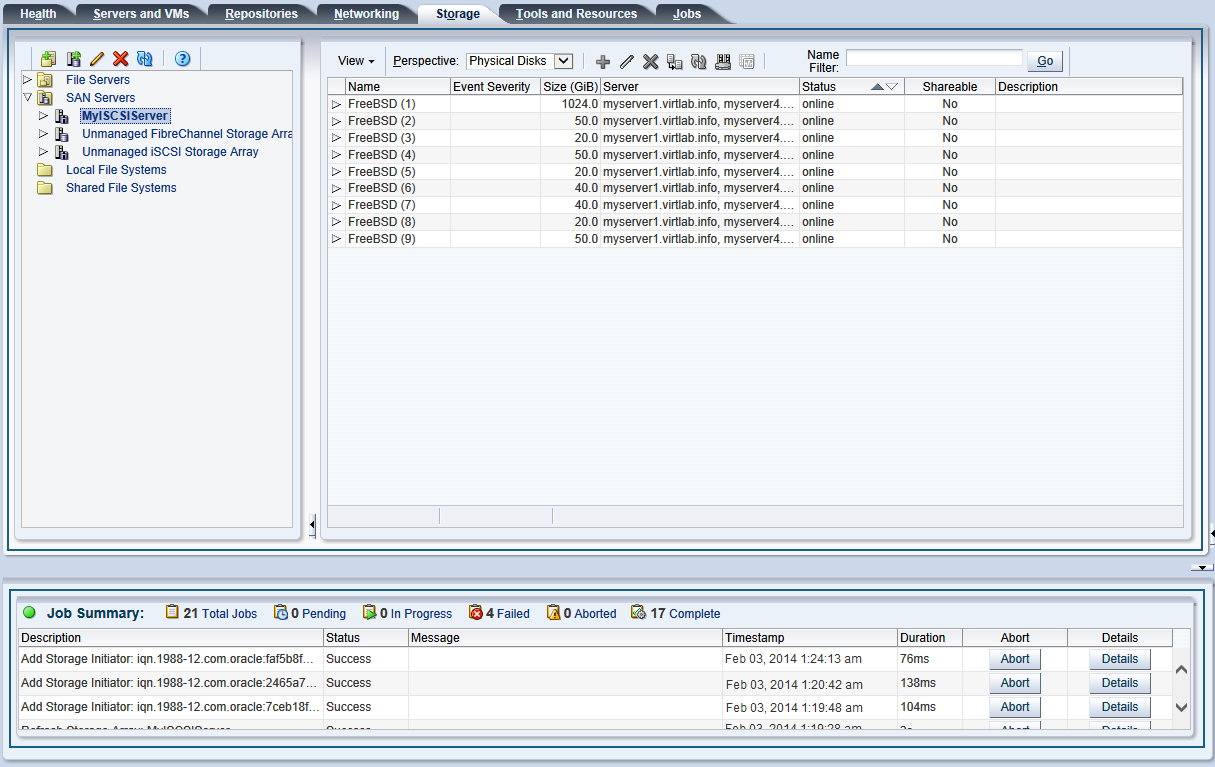
Click Finish to complete the SAN server discovery operation.
Select the SAN server in the navigation pane, and select Physical Disks from the Perspective drop-down list in the management pane. The list of physical disks on the server is listed in the table. These disks are automatically presented to the selected Oracle VM Servers.