Images and Image Maintenance
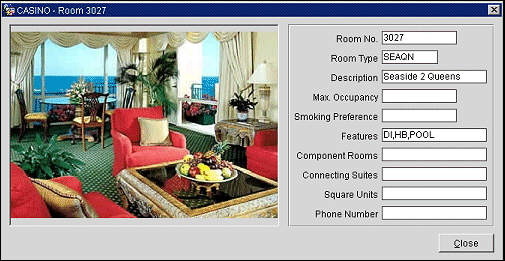
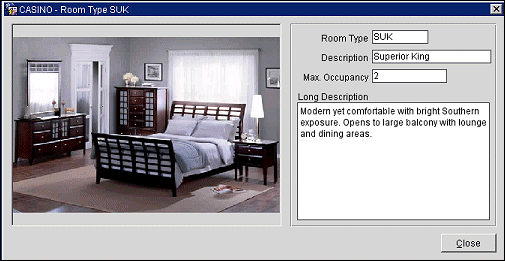
Once they have been configured, room type and room images are accessible from various places in OPERA. Pictures of rooms and room types may be displayed from the Available Room Search screen, Room Assignment screen, the Housekeeping Room Discrepancy screen, the Room Plan screen, the Floor Plan screen, the Rate Query screen and the Function Diary (when the OPS<version_number> Sales & Catering license is active). Along with the pictures are details about the room or room type.
An image of the property is also available on the Property Edit screen.


These images can be added while you are working with the Rooms Edit screen (Configuration > Reservations > Room Classifications > Rooms) and the Room Type screen at the property level (Configuration > Reservations > Room Classifications > Room Types). You may also choose a property image for the Property Edit screen (Configuration > Property > Property Details).
Images can be uploaded from either a local directory on a client PC or from a Network storage location. The ideal image size is 360w x 270h in pixels, but OPERA will auto-size any image to fit the display. We recommend using the gif or jpeg format. The ideal size is 360w x 270h in pixels, but OPERA will auto-size any image to fit the display.
Note: If the image has been reduced to fit, from the Rooms Edit screen or Room Plan you may click on the image to display it actual size in a browser window.
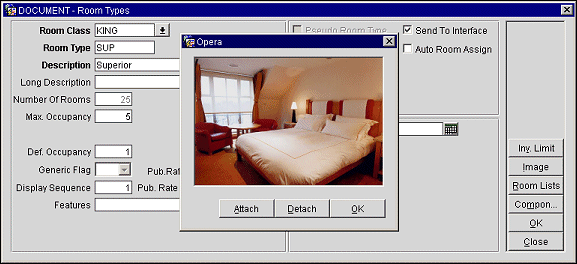
To configure room type and room images select the Image button from the Rooms Edit screen or the Room Type screen. The Image screen pops up.

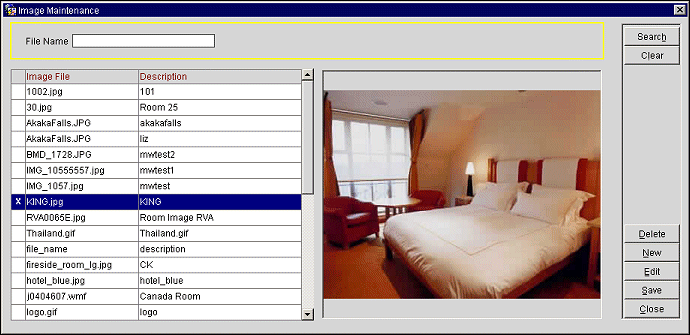
If an image has already been attached to the room type or room, it is displayed in this screen. The Detach button is available only if an image is already attached. Select Detach to un-associate the image from the room or room type. Select the Attach button on the Image screen to select the image you want to associate with the room type or room. The Image Maintenance screen appears.

From this screen you can search for an image by file name. Enter the file name in the File Name field and select the Search button. Use the Clear button to clear the File Name field.
View. Use the View button to open the highlighted image file.
New. Use the New button to add new image files to the list. Any images that are added will be saved to the location that is specified in the GENERAL > ATTACHMENT STORAGE and GENERAL > ATTACHMENT DIRECTORY NAME application settings.
Edit. Use the Edit button to modify the name and description of the highlighted image file.
Fields include:
X. An X in this column indicates that the image has been selected to be deleted when you select the Delete button, or to be saved when you select the Save button.
Image File. The query results or any pre-existing entries. This is set up initially through the New function and represents the name of the image.
Description. The description of the image as set in the New function along with the UDF Type.
Note: Depending on whether or not you have selected an image to represent your property, the New Image or Edit Image function button appears on the Property Edit screen. Select the button to display a list of image files in the Image Maintenance list. Select an image file for the property. The default OPERA image will appear if no property image has been selected.
See Also