A web service is described using Web Service Description Language (WSDL). A WSDL file contains information that defines exposed web service methods. You can use a JDeveloper wizard to interrogate a WSDL file and create all of the classes required to implement that definition. Because the WSDL is merely a skeleton definition of a web service, you won't get any implementation of the methods, only the method definitions. You will have to add the implementation code to the methods.
-
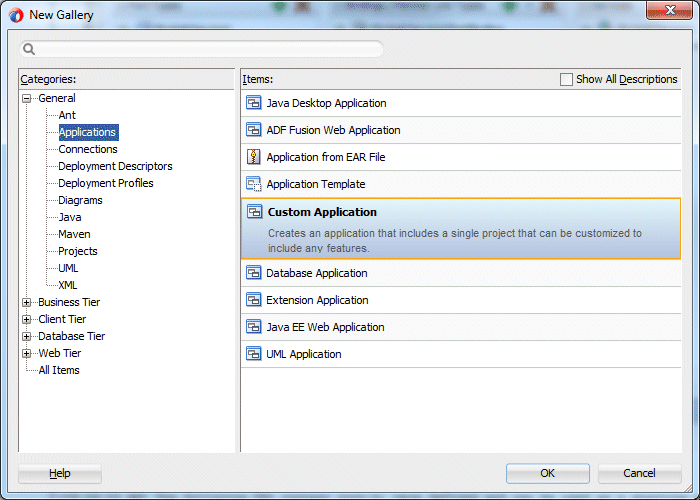
Create a new empty project. Right-click the Annotation project node and select New > From Gallery . In the New Gallery select General > Projects in the Categories list and Custom Project in the Items list. Click OK.
-
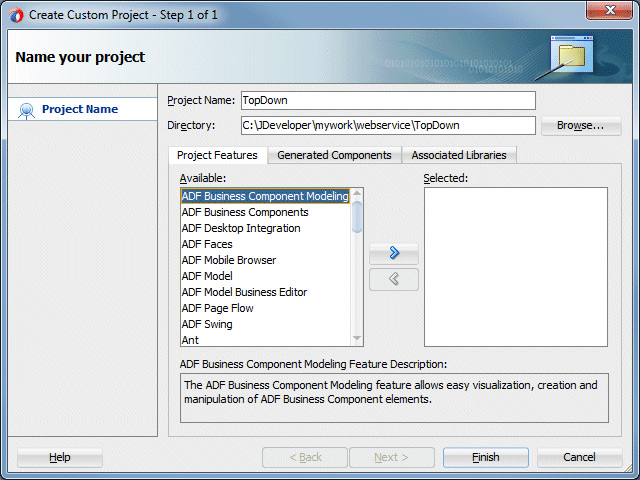
Name the project TopDown, leaving other values at their defaults. Click Finish.
-
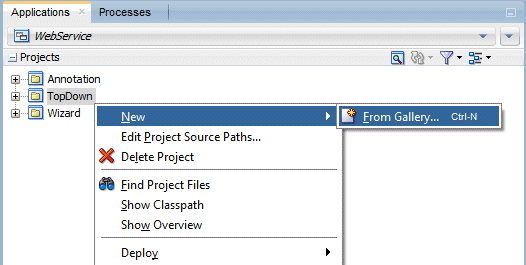
Right-click the new TopDown project and select New > From Gallery.
-
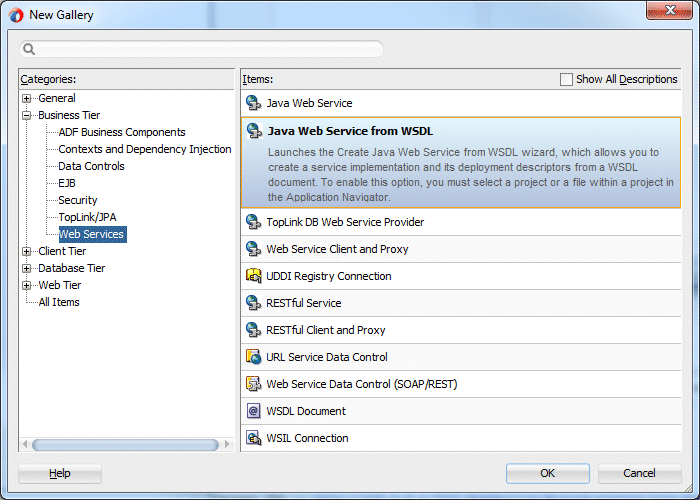
In the New Gallery, select the Business Tier > Web Services node in the Categories list. Select the Java Web Service from WSDL item and click OK.
-
In the Create Java Web Service from WSDL wizard, click Next to dismiss the Welcome page.
-
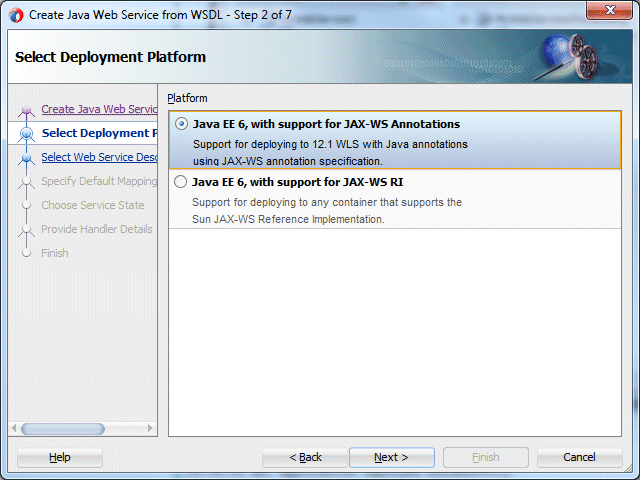
In the Select Deployment Platform step of the wizard, ensure that the Java EE 6, with support for JAX-WS Annotation is selected as the deployment platform, and then click Next.
-
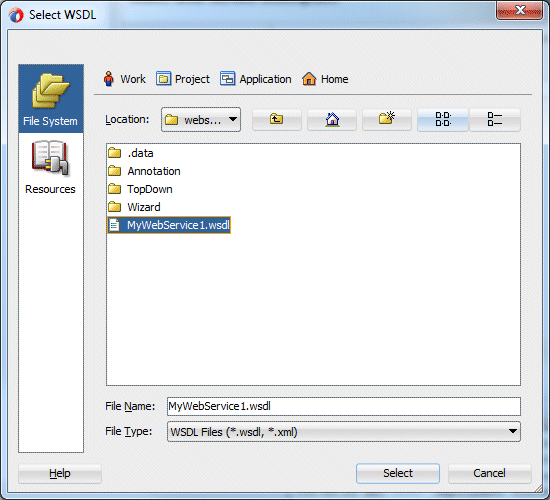
In the Select Web Service Description step, you specify the source WSDL to be used in creating the web service. Click Browse and navigate to the WSDL you earlier saved (should be something like MyWebService1.wsdl). Select it and click Select.
-
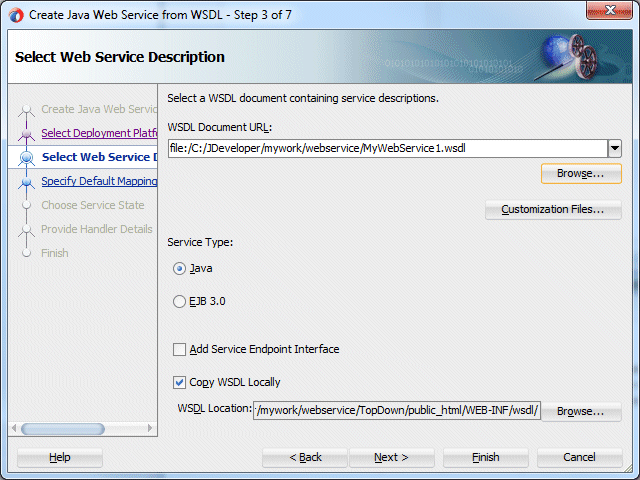
Notice the file path displays in the WSDL Document URL field. Click Next.
-
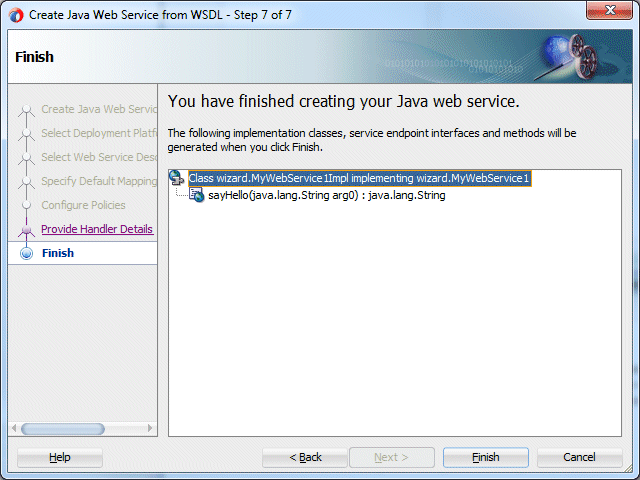
Either click Finish to complete the process, or click Next to view all the defaulted options then click Finish. The image below shows the last page of the wizard.
-
Click Save All
 to save your work.
 -
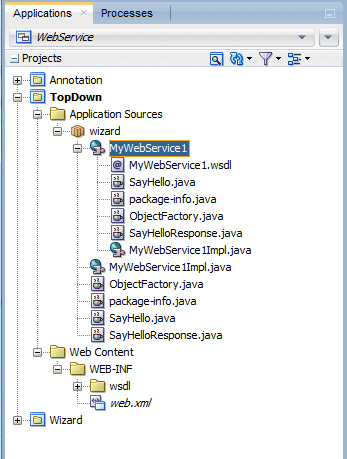
The Applications window now displays the Java web service and all the Java files.
-
Double-click MyWebService1.wsdl in the Applications window. Notice the design of the WSDL in the editor.
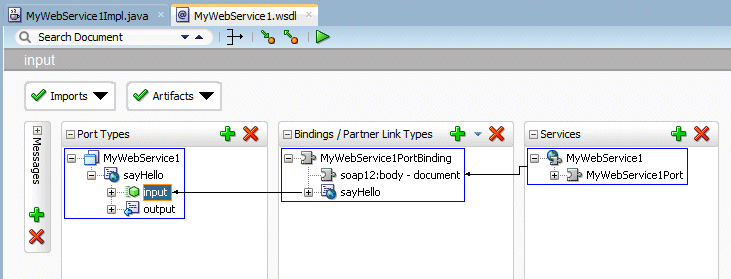
Remember that since the web service was created from the top down, the wizard created all the method headers, but you need to provide the method bodies. -
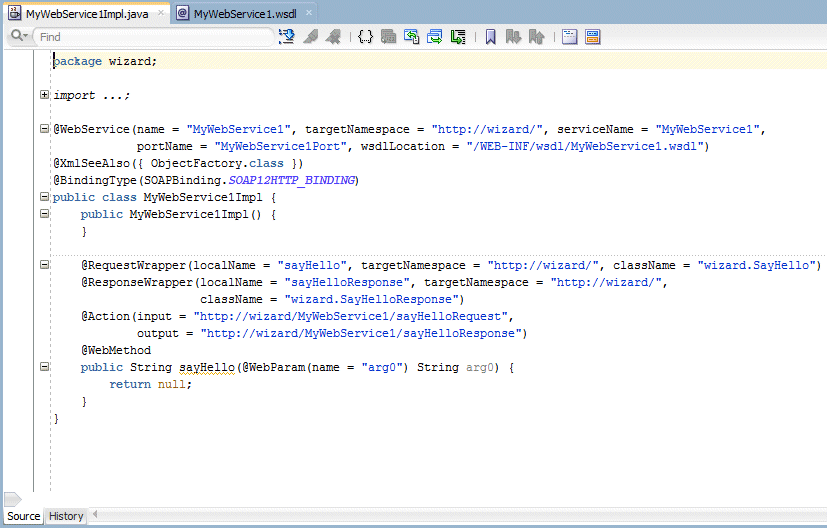
In the next step, set the sayHello() method to return something more reasonable. Double-click the MyWebService1Impl.java file to open it in the editor.
-
Set the return to "Hello " + arg0. This returns the word Hello followed by the value that is entered in the argument.

-
Click Save All
 to save your work.
-
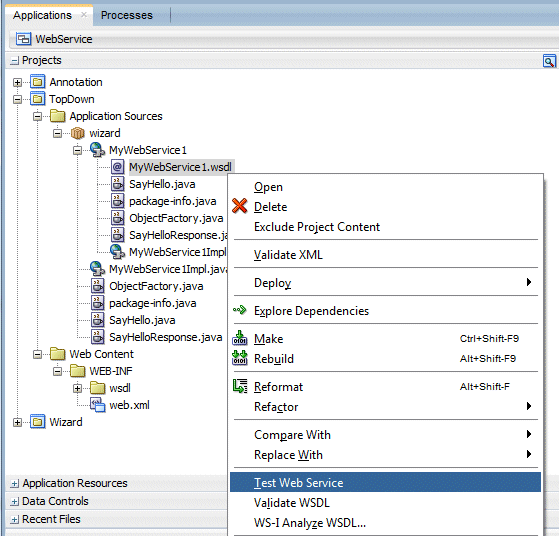
In the Applications window, right-click the MyWebService1 node and from the context menu, select Test Web Service.
This option invokes the integrated server, deploys the service, and then starts the HTTP Analyzer.
The top portion of the HTTP Analyzer editor displays the URL for the web service, WSDL URL, and exposed Operations.

-
In the Request area, enter <your name> in the arg0 field and click Send Request.
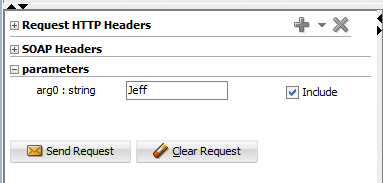
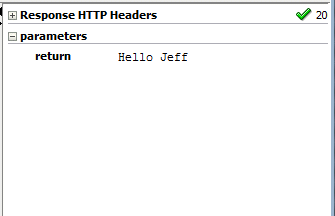
The analyzer then sends the request to the service and after a bit, the return parameter is displayed.
-
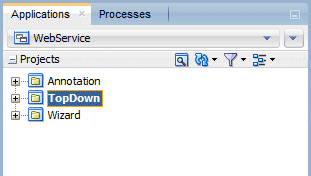
Close all the tabs in the editor and collapse the TopDown node in the Applications window.

 Part 1: Building a POJO Annotation-Driven Service
