| Oracle® Retail Xstore Point of Service Shipping, Receiving, and Inventory Guide Release 18.0 F11872-01 |
|

 Previous |
 Next |
| Oracle® Retail Xstore Point of Service Shipping, Receiving, and Inventory Guide Release 18.0 F11872-01 |
|
Previous |
Next |
The Inventory Replenishment function in Xstore allows stores to review suggested inventory orders that the Home Office has created for them. The store can then approve and/or edit the suggested orders and submit them to the Vendor.This feature also gives stores the ability to create their own Inventory Replenishment orders.
This chapter covers the following topics:
At the Register Login screen, select the Back Office option.
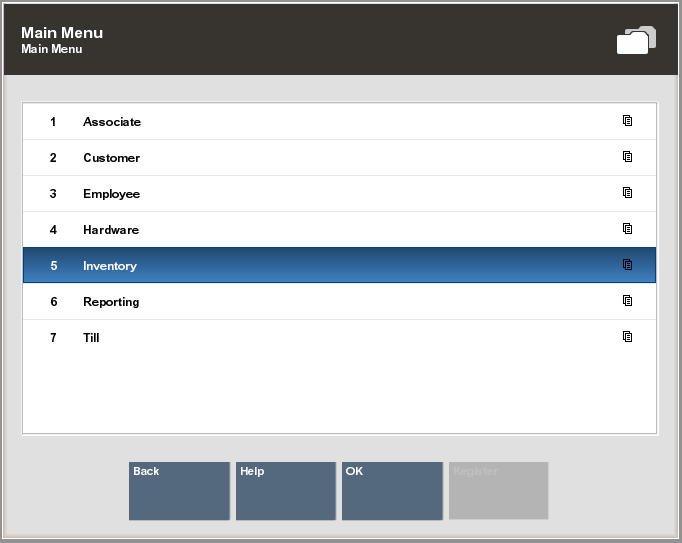
Log in to the Back Office and select the Inventory option from the Main Menu. Press Enter.
|
Tip: The bread crumbs at the top of the screen allow you to navigate to previous menus. |
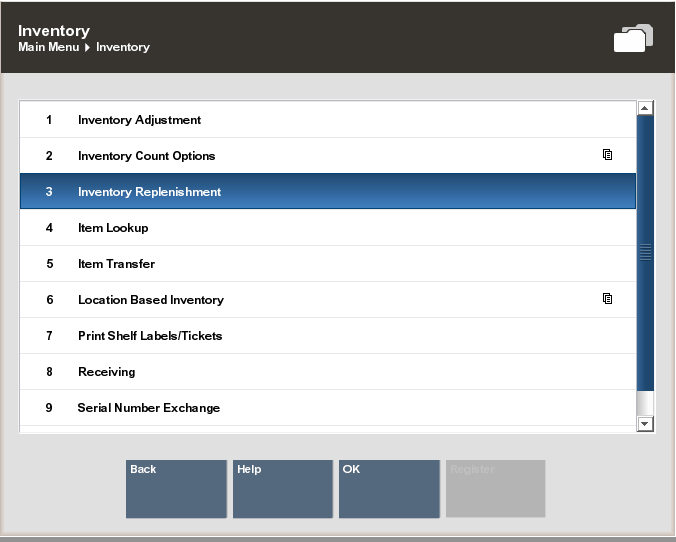
At the Inventory menu, select Inventory Replenishment and press Enter.
This section describes the Inventory Replenishment options:
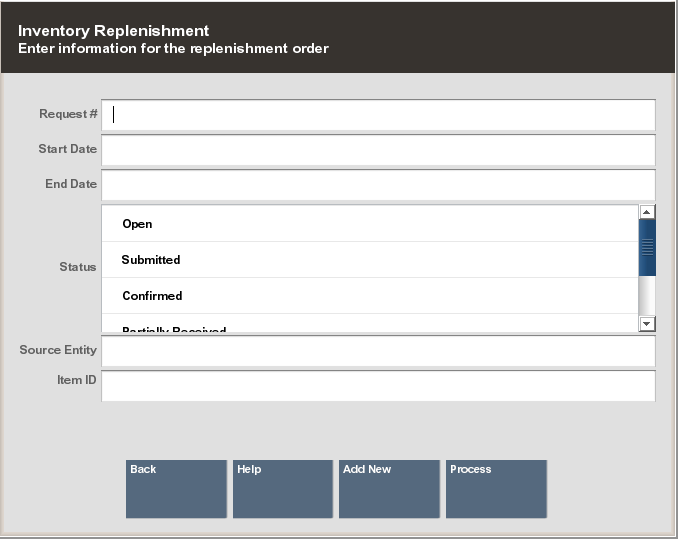
At the Inventory Replenishment search form, enter your search criteria:
Scan or enter a specific Inventory Replenishment Request #
Enter Start and/or End Dates
Select one or more Status options:
Open
Submitted
Confirmed
Enter a Source Entity
Scan or enter an Item Id
Select Process to display Inventory Replenishment Documents that match your search criteria.
More information about document searches:
|
Tip:
|
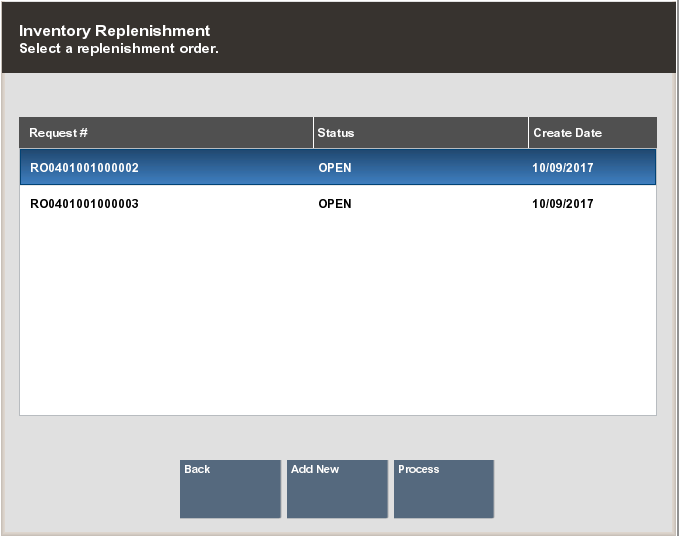
Select the Replenishment Document you want to view from the list and press Enter.
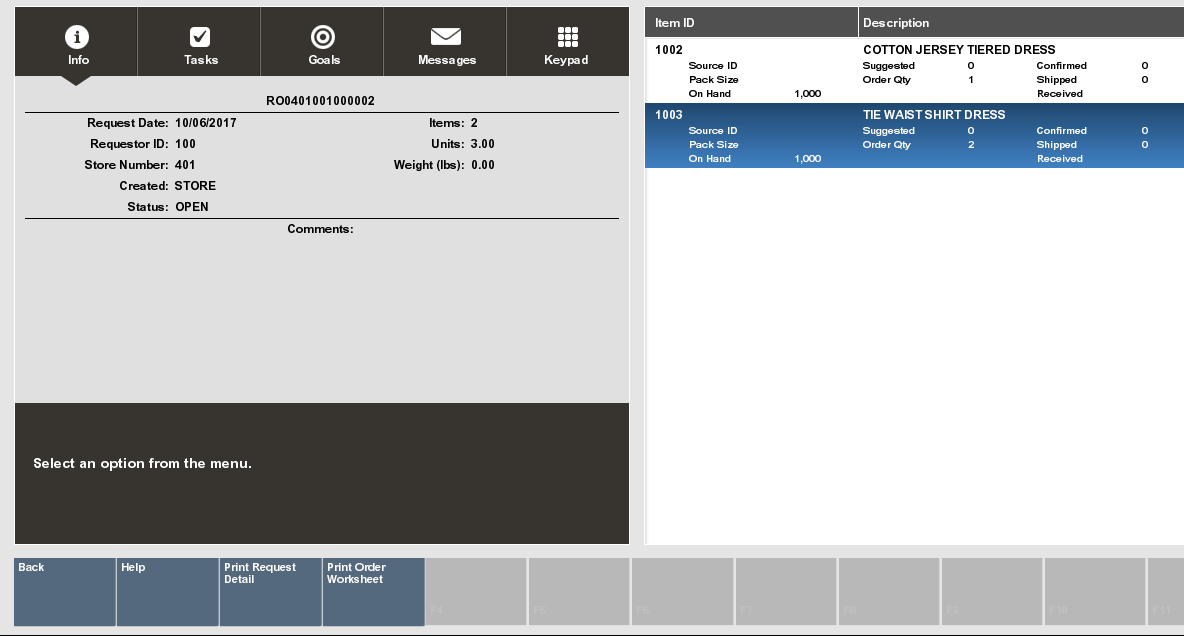
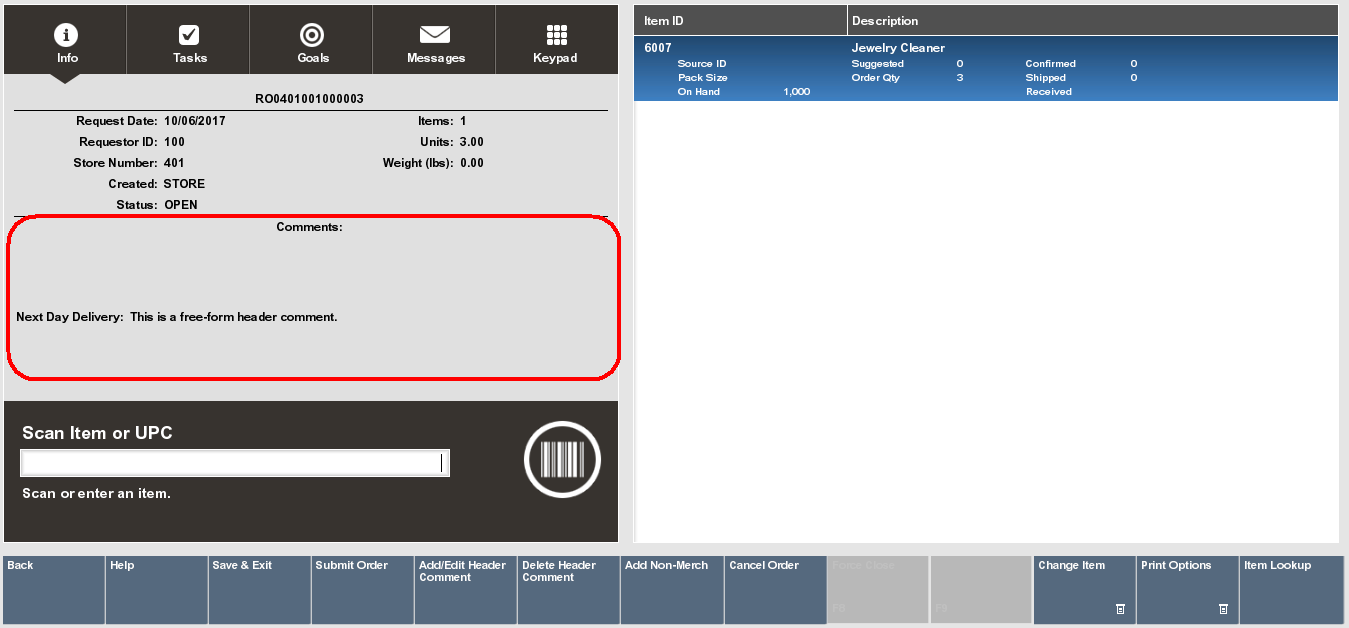
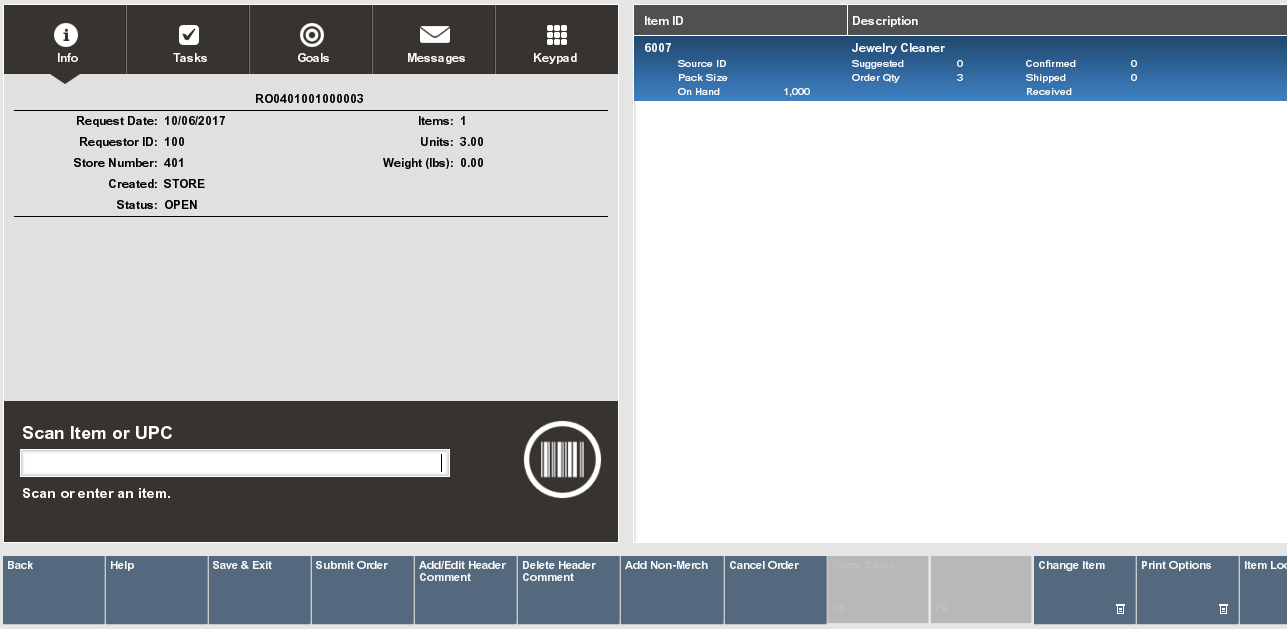
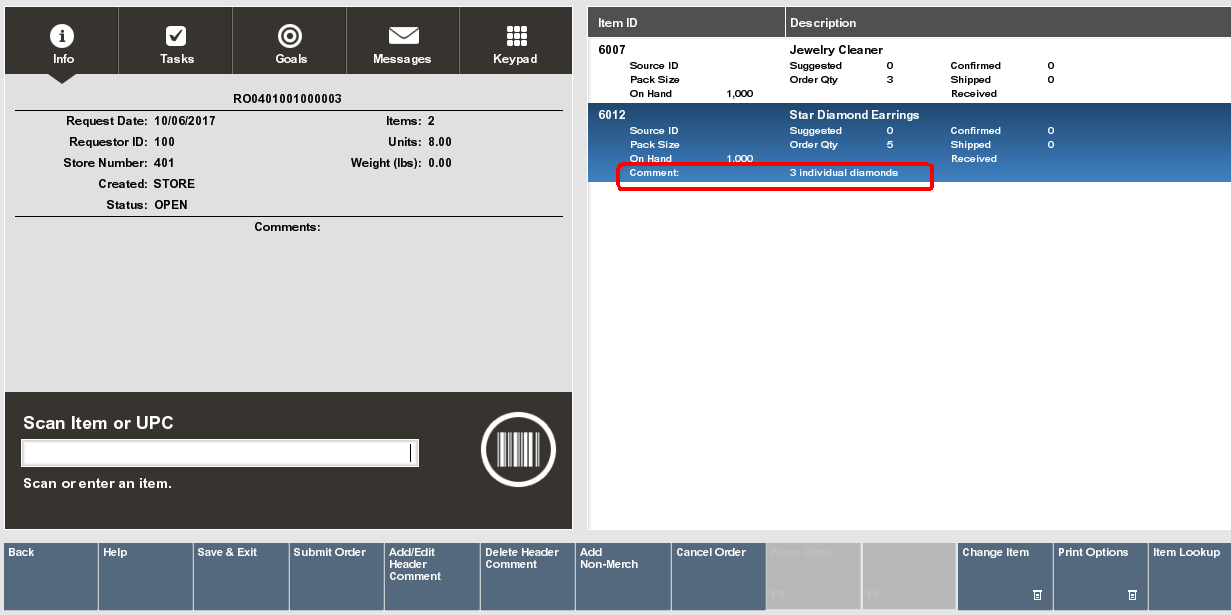
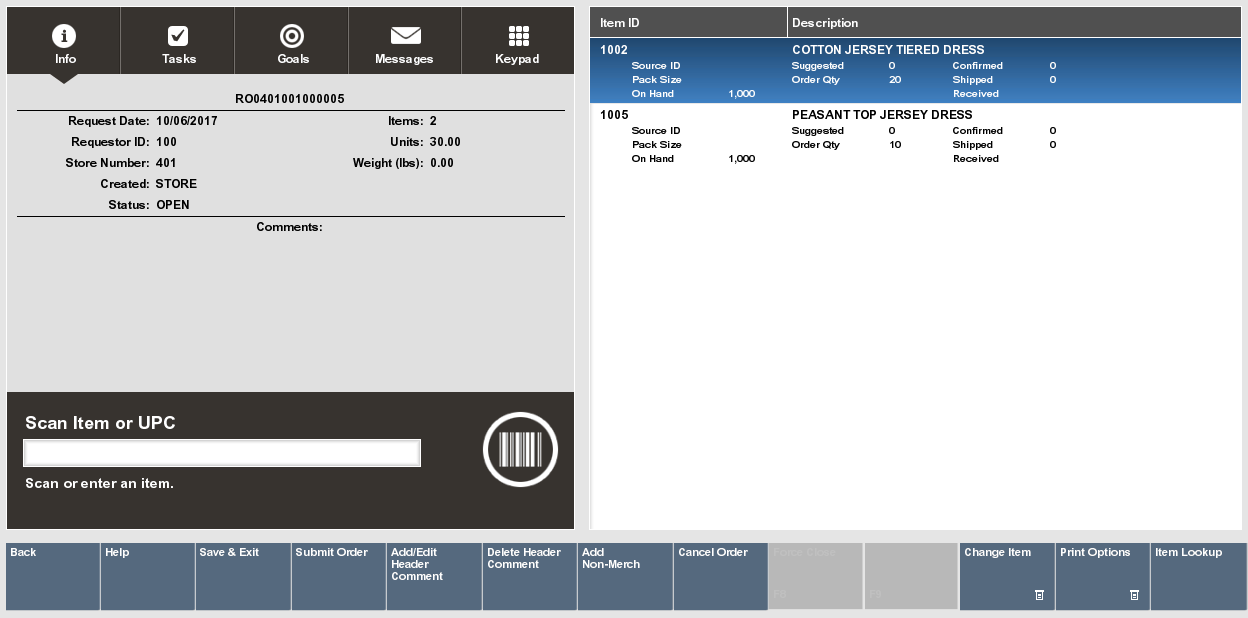
Xstore displays the Replenishment screen for the selected document.
This screen shows the following information for the Inventory Replenishment Document:
Replenishment Document identifier
Request Date
Requestor ID
Store Number
Created: (Store or Home Office)
Status of the shipment: (OPEN, SUBMITTED, CONFIRMED, PARTIALLY RECEIVED, CLOSED)
Items: how many unique items are in the order
Units: total number of items in the order
Weight (lbs): total weight of the order. This is only available if each of the items has a weight identified.
Comments
For each item:
Item ID
Description
Source Id
Pack Size
On Hand Qty
Suggested Order
Order Qty
Confirmed
Shipped
Received
An Inventory Replenishment order can be in one of the following statuses:
OPEN: This is the initial status that an order is in after being created in Xstore or when sent as a suggestion from the Home Office. This is the only status an order can be in to update or edit.
SUBMITTED: The order can go into a SUBMITTED status when all items in the order are approved.
CONFIRMED: Home Office can send orders down in a CONFIRMED status which means they are not suggestions and are not changeable.
PARTIALLY RECEIVED: When any item in the order is received, but not all items, the order is PARTIALLY RECEIVED. See Inventory Replenishment for more information on Receiving Inventory Replenishment orders.
CLOSED: The order is considered CLOSED when all items are received or the order is Force Closed.
CANCELLED: Home Office or the Store can cancel an order. Once cancelled it cannot be edited or re-opened.
|
Note: Items can only be added to Inventory Replenishment Orders that are in an OPEN status. Follow step 2 to add items to an order. |
The following option is available at the Inventory Replenishment screen for all orders/ statuses:
Print Options: Select this option to view the printable reports available for this order. Refer to Print Options for procedural information.
The following option is available at the Inventory Replenishment screen for all CONFIRMED, SUBMITTED, and PARTIALLY RECEIVED orders:
Force Close: Select this option to force close the order without manually receiving the items. Refer to Force Close for procedural information.
The following options are only available at the Inventory Replenishment screen for orders that are in an OPEN status:
Save & Exit: Select this option to save your changes and return to the list of documents.
Submit: Select this option to approve the order. This will change the status of the order to Submitted. Refer to Submit an Order for procedural information.
Add/Edit Header Comment: Select this option to add comments to the document. Refer to Add or Edit Header Comments for procedural information.
Delete Header Comment: Select this option to remove comments from the document. Refer to Delete Header Comments for procedural information.
Add Non-Merch: Select this option to add Non-Merchandise items to the document. Refer to Add Non-Merchandise for procedural information.
Cancel: Select this option to cancel the order. This will change the status of the order to Cancelled. Cancelled orders cannot be edited or submitted.
Change Item: Select this option to change the quantity of, add/edit/remove comments for, or edit the source of a specific item within the order. Refer to Change an Item for procedural information.
Item Lookup: Select this option to look up an item ID in the file. You also have the options to add the item to the Replenishment Document. Refer to Item Lookup.
Select Print Options from within a Replenishment Order for the following printing options.
Print Request Detail: Prints the Replenishment Product Request Report for the selected order. See Replenishment Product Request Detail Report for an example.
Print Order Worksheet: Prints a Replenishment Worksheet that details the following information for each item in the order:
Source Id
Item Id
Item Description
Order
Pack Size
On Hand
Confirmed (quantity)
Shipped (quantity)
Received (quantity)
Replenishment Orders with a CONFIRMED, SUBMITTED, or PARTIALLY RECEIVED status can be forced to close without receiving the items. Once force closed, the order cannot be edited or reopened.
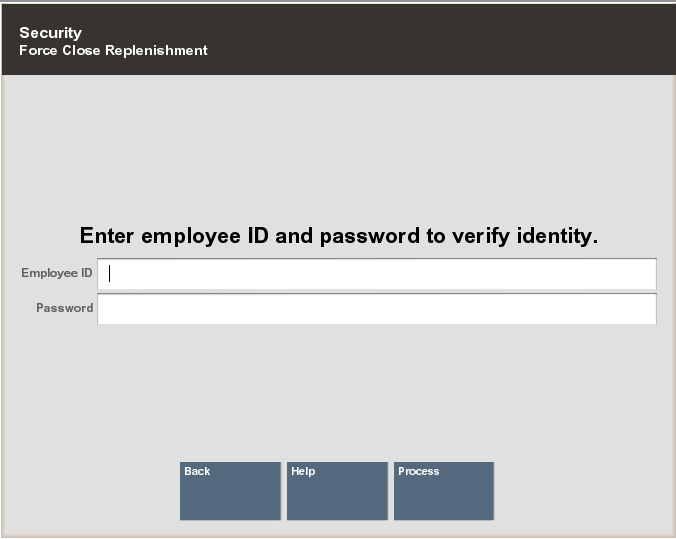
Select Force Close on the Replenishment screen.
Enter your Employee ID and Password if your system requires a security login to perform a force close. Select Process to continue.
An Inventory Replenishment prompt displays to confirm that you want to force close the request:
Select Yes to close the Replenishment Order.
Select No to return to the Replenishment screen.
Once a Replenishment Order is reviewed and approved you can Submit the order to the vendor(s).
Select Submit Order from the Replenishment screen.
When prompted, select Yes to Submit the order.
|
Note: If you do not want to submit the order, select No to cancel the request and return to the Replenishment screen. |
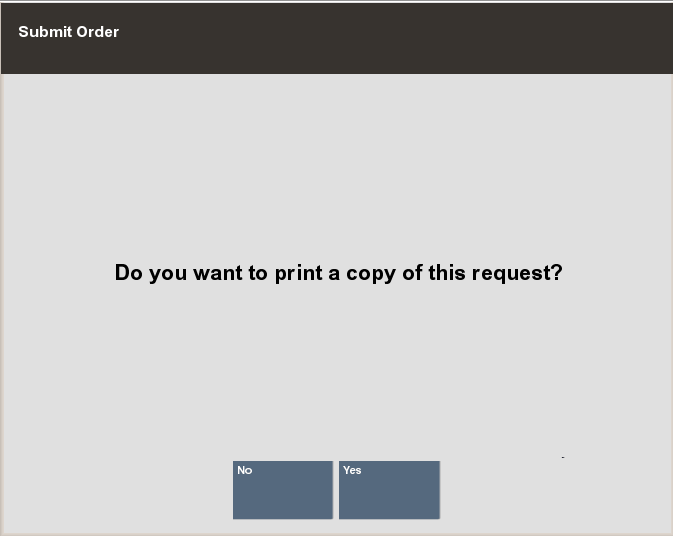
The Submit Order prompt will ask if you want to print a copy of the request.
Select Yes to print a Product Request Detail Status report.
Select No if you do not wish to print. You will return to the Inventory Replenishment search screen.
Xstore allows you to add delivery or free-form comments to a Replenishment Order that is in an OPEN status. These comments display on the Replenishment screen as well as the Product Detail Status Report.
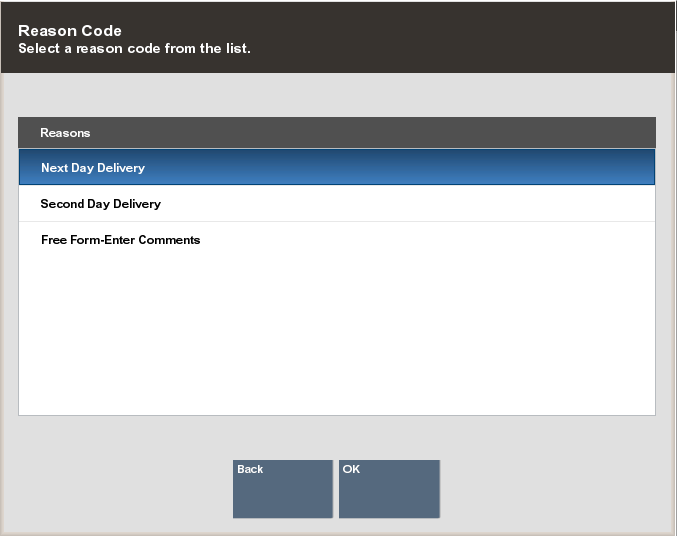
Select Add/Edit Header Comment from the Replenishment screen.
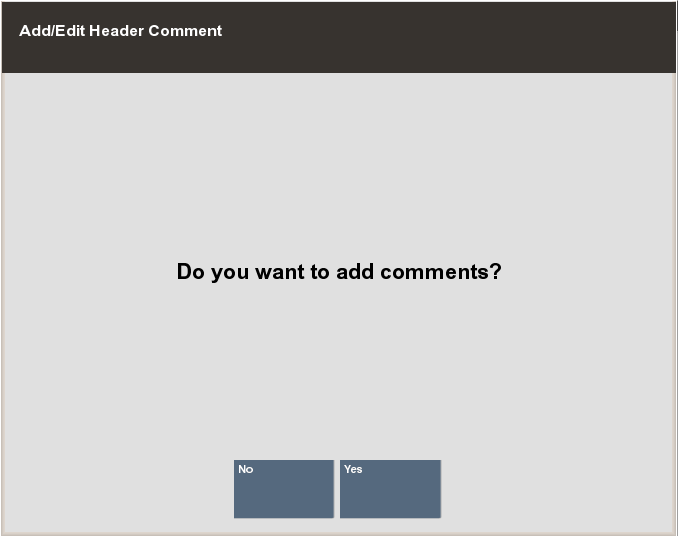
Select the type of comment you want to add or edit: Next Day Delivery, Second Day Delivery, or Free Form.
For Next Day Delivery and Second Day Delivery, confirm that you want to add a comment.
Select Yes to create a comment.
Select No to cancel and return to the Replenishment screen.
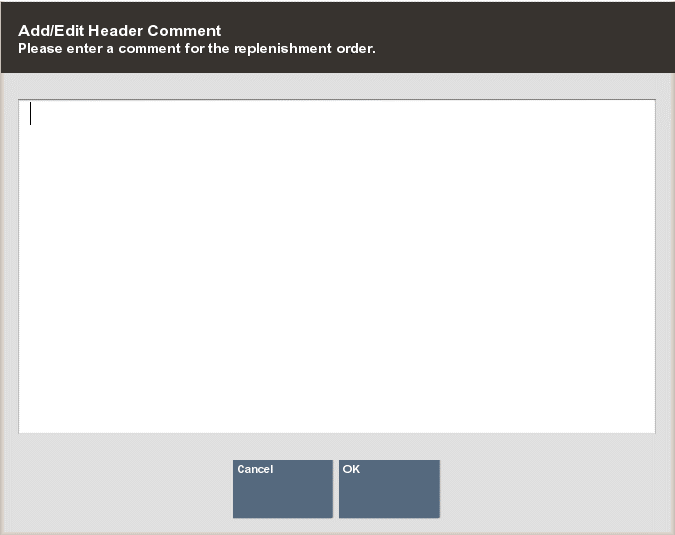
Enter the comment that you want to display. If there is already a comment of the selected type, then you will be able to edit it here.
Select OK to save your comment and return to the Replenishment screen.
Select Cancel to cancel your request.
The comment(s) display on the Replenishment screen.
|
Note: If you do not select Save & Exit after entering Header Comments, they will not save with the order. |
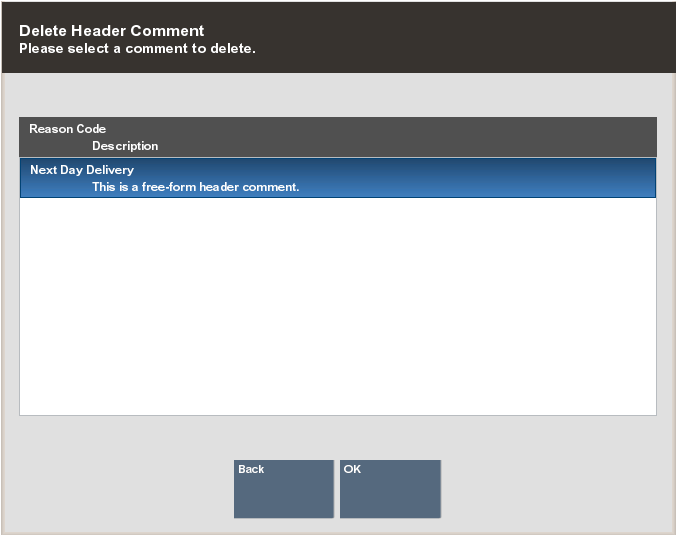
Remove Header comments quickly by using the Delete Header Comment function.
Select Delete Header Comment from the Replenishment screen.
Select the comment that you would like to delete and select OK.
The selected comment is removed from the Replenishment order.
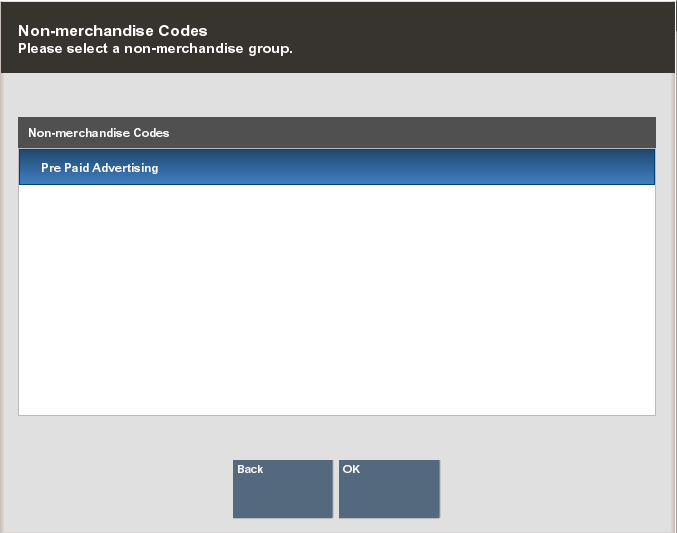
Xstore allows you to add Non-Merchandise items to a Replenishment Order.
Select Add Non-Merch from the Replenishment screen.
Select the Non-Merchandise code from the list and then select OK.
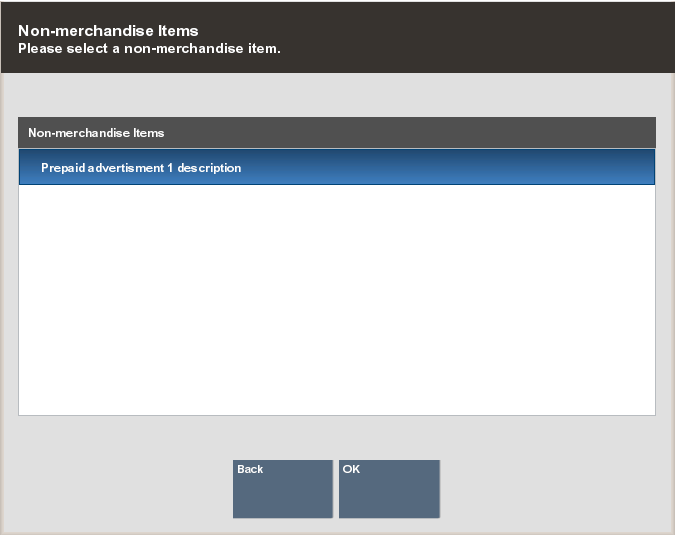
Select a Non-Merchandise item and press Enter.
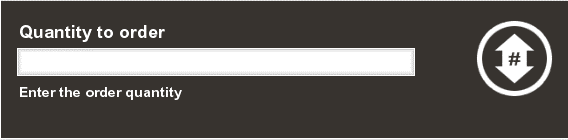
In the Quantity to Order field, type the quantity and press Enter.
The Non-Merchandise item is added to the item list.
The Change Item button menu option allows you to:
Change the quantity
Add or edit an item comment
Delete an item comment
Edit the source of an item
Void an item
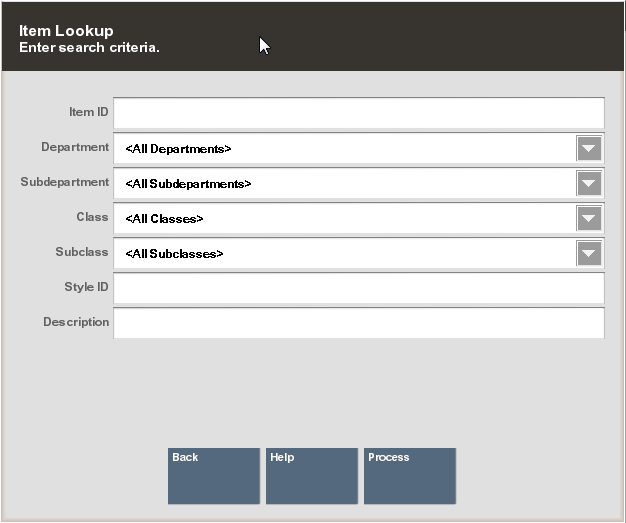
Use the Item Lookup option to search for an item in the database. The item can then be added to the Replenishment Document if it is a store-created document.
Select the Item Lookup option.
Xstore displays the Item Lookup form. Enter the search criteria and select Process.
|
Note: OPTIONAL Your store may be configured with advanced lookup options which provide the ability to specify Custom Groups and Details to further define your search criteria.Select the exclude box to not include an item in your search. 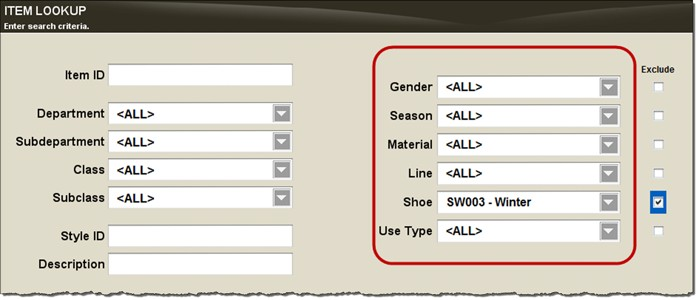 |
If more than one item matches the search criteria you entered, select the item from the list of items and select OK. Xstore displays the item information.
Select the Add Item option to add the item to the Replenishment Document.
Enter the Quantity and press Enter.
Highlight or select the item that you want to add a comment to.
Select Change Item from the Replenishment screen.
Select Add/Edit Item Comment.
Select the type of comment you want to enter for the item.
Enter or update the comment and select OK to save.
The comment displays in the item list.
Inventory Replenishment Documents are downloaded from the home office; however, you can also create a Replenishment Document in your store. Use the following process to create a new Inventory Replenishment Document.
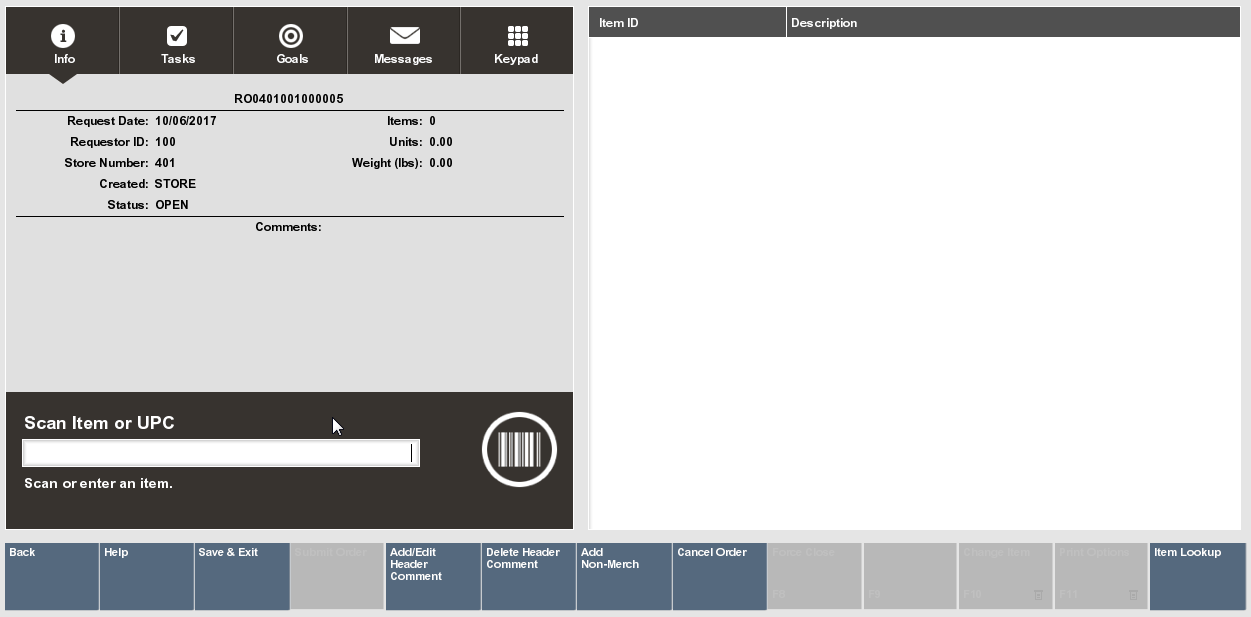
At the Document Search form, select the Add New option, or select the Add New option at the Inventory Replenishment Search Results form to create a new Replenishment Document.
Xstore displays a blank Replenishment form. Enter the item ID of the item you want added to the document.
Enter the Quantity and press Enter.
|
Note: If the item has a Pack Size defined then you must enter a quantity that is a multiple of the pack size. Otherwise Xstore will prompt if you want to round your quantity to the nearest multiple. |
Select Yes to add the item with the Quantity rounded to the nearest multiple of the Pack Size. For example, you entered a quantity of 1 but the pack size is 5, quantity will be rounded up to 5.
Select No to return to the Item Entry screen without adding the item. Xstore displays the following information for the item entered:
Item ID
Description
Quantity
Pack Size (if applicable)
Source Id (if applicable)
Source Name (if applicable)
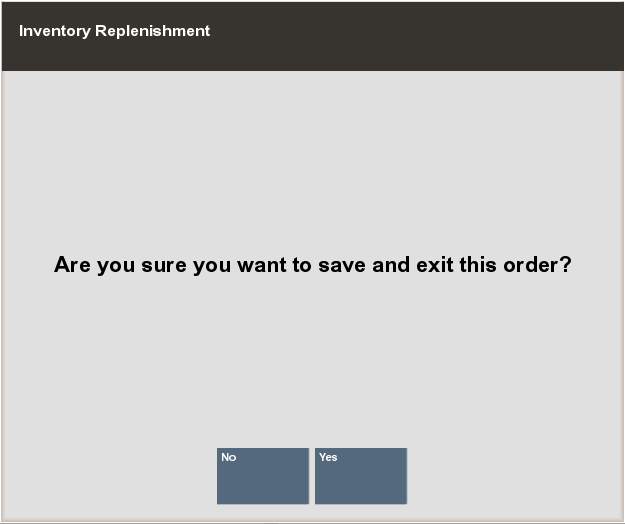
When you have entered all the information for this new Replenishment Document, select Save & Exit.
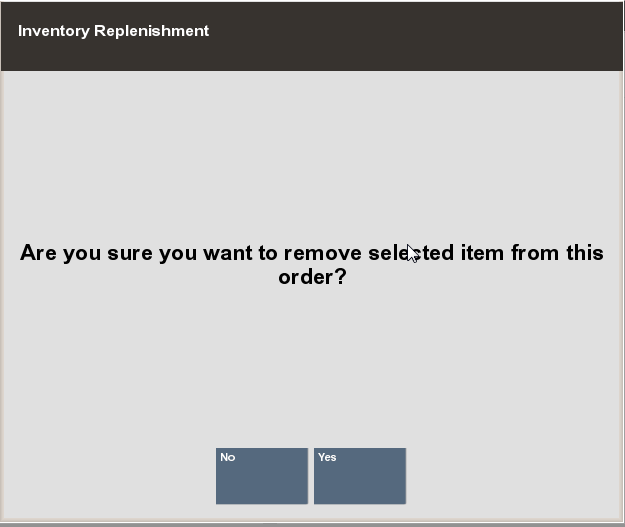
Answer the confirmation prompt:
Select Yes to save the Replenishment Order and return to the document search screen.
Select No to return to the Item Entry screen without saving the document. Your changes are not lost.
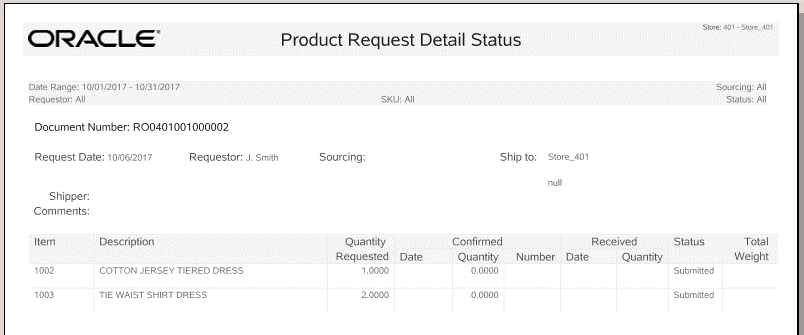
There are two reports to help manage your Inventory Replenishment orders. The Replenishment Product Request Report displays details about each item in a particular request document. The Replenishment Open Product Requests Report allows you to see a list of all open requests in the system.
The Replenishment Product Request Report allows you to query by Order Status, Date Range or Specific Date, Requestor ID, Item ID, and Sourcing Entity. The report can be viewed on the screen and printed.
This report includes the following information for each item:
Item ID
Quantity Requested
Date the quantity for the item was confirmed
Confirmed Quantity
Confirmed Number - This is a confirmation # from a 3rd party.
Date item was received
Quantity Received
Status
The Replenishment Open Product Requests Report displays replenishment orders that are Open, Submitted, or Confirmed. The report can be viewed on the screen and printed. This report includes the following information for the orders:
Document #
Date Submitted (if applicable)
Source Entity Name (if applicable)
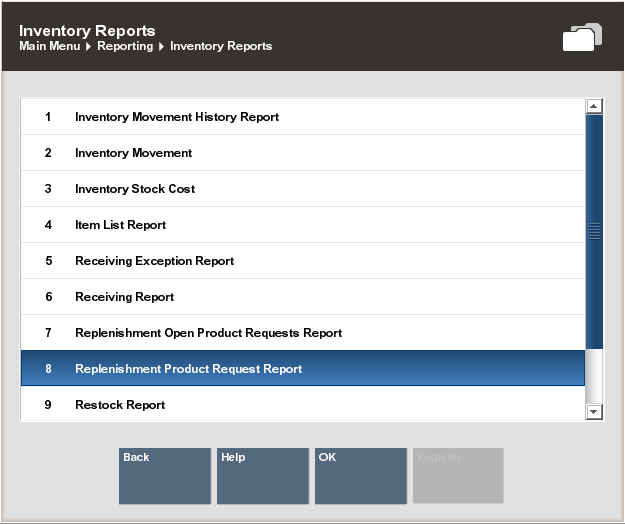
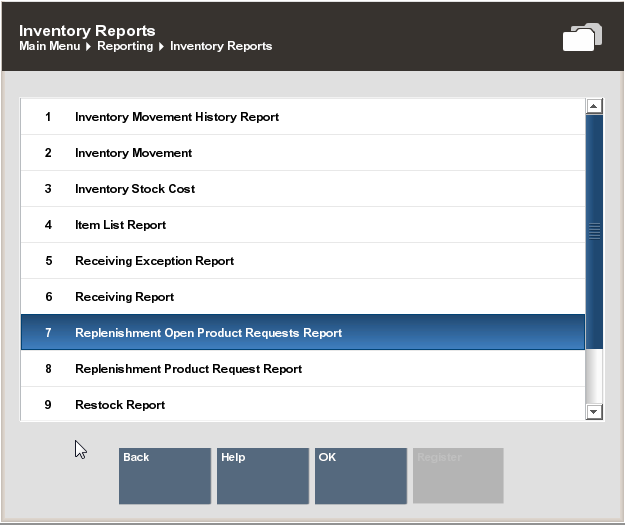
After logging in to the Back Office, select and enter Reporting, Inventory Reports, and then Replenishment Product Request Report.
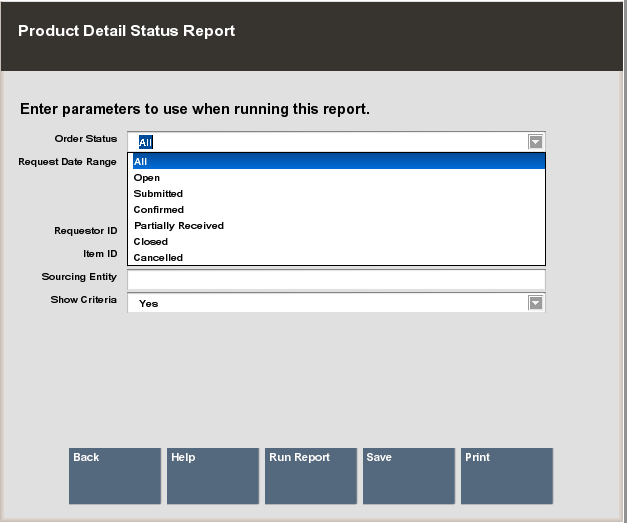
The Product Detail Status Report parameters form displays. Enter your criteria to generate the report:
Order Status
A Date Range (as shown in Figure 3-39)
<OR>
A date option from the list in the Specific Date field. For example, yesterday or today.
Requestor ID
Item ID
Sourcing Entity
Select one of these options to finish your report:
Run Report: Execute the report and display the results on the screen.
Print: Execute the report and send the results to a printer.
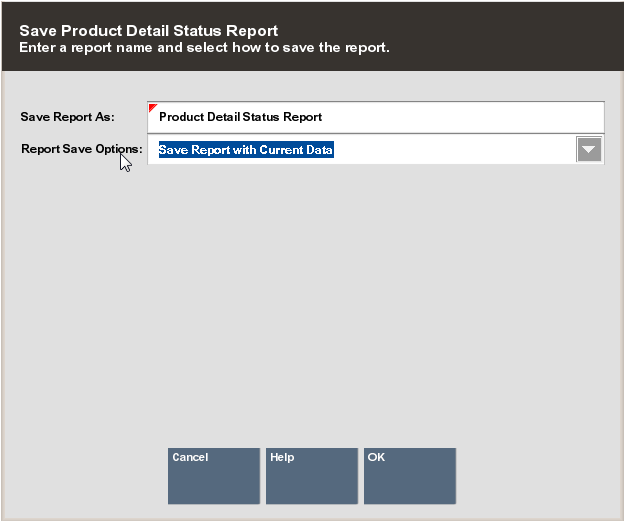
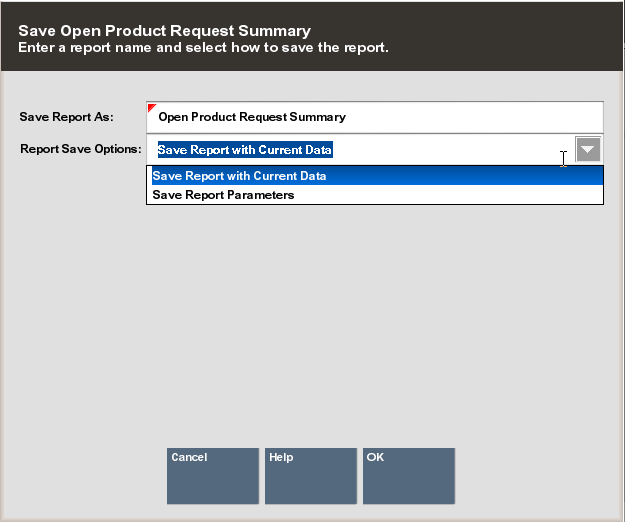
Save: You can save this report with the current data, or save only the report parameters to run this specific report with these parameters again.
If you save the report, assign a name to it for future retrieval. Xstore suggests a name, but you may type in the Save Report As field and override it.
Choose one of the options in the Report Save Options list:
Save Report with Current Data - To save the report with the current values.
Save Report Parameters - To save only the parameters to use these parameters as a template to generate a new report later.
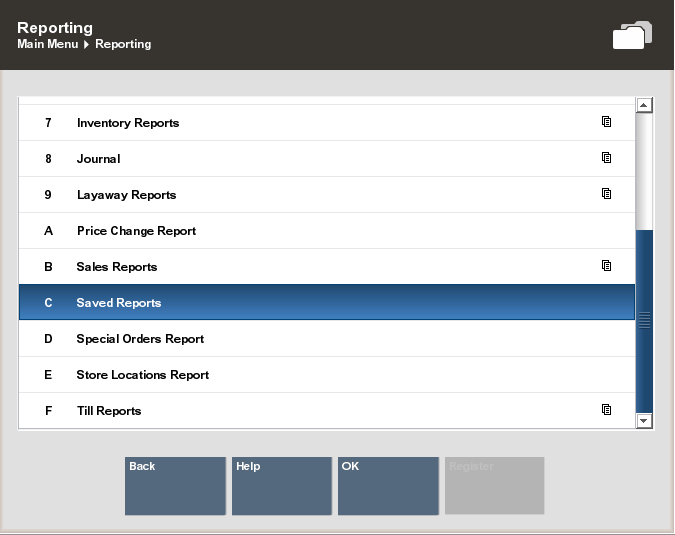
Select OK to save the report. Reports are saved to your personal report area and can be retrieved from the, Saved Reports menu option and press Enter.
|
Note: Refer to the Xstore Reports Guide for more information about setting up and running reports. |
After logging in to the Back Office, select and enter Reporting, Inventory Reports and then Replenishment Open Product Requests Report.
The report displays and gives you several options for viewing:
Print: Send the results to a printer.
Save: You can save this report with the current data, or save only the report parameters to run this specific report with these parameters again.
If you chose to save the report, assign a name to your report for future retrieval.
Choose one of the options in the Report Save Options list:
Save Report with Current Data - To save the report with the current values.
<OR>
Save Report Parameters - To save only the parameters to use these parameters as a template to generate a new report at another time.
Select OK to save the report. Reports are saved to your personal report area and can be retrieved from the, Saved Reports menu option and press Enter.
|
Note: Refer to the Oracle Retail Xstore Reports Guide for more information about setting up and running reports. |