| Oracle® Retail Xstore Point of Service Shipping, Receiving, and Inventory Guide Release 18.0 F11872-01 |
|

 Previous |
 Next |
| Oracle® Retail Xstore Point of Service Shipping, Receiving, and Inventory Guide Release 18.0 F11872-01 |
|
Previous |
Next |
The shipping function provides the ability to record the transfer of physical inventory to another store, vendor, warehouse, or customer. It also includes the creation of documents such as packing slips and shipping labels that are related to the transfer, and provides the ability to search for a shipping document in order to edit or view it.Some transaction types, such as work order repairs, may automatically generate shipping documents at the point of sale. They can be processed using the shipping function in the Back Office. You can also view and print a Shipping Exception Report. Refer to the Oracle Retail Xstore Reports Guide for more information about this report.All shipping functions can be accessed from the Back Office Menu.
This chapter covers the following topics:
Select the Back Office option.
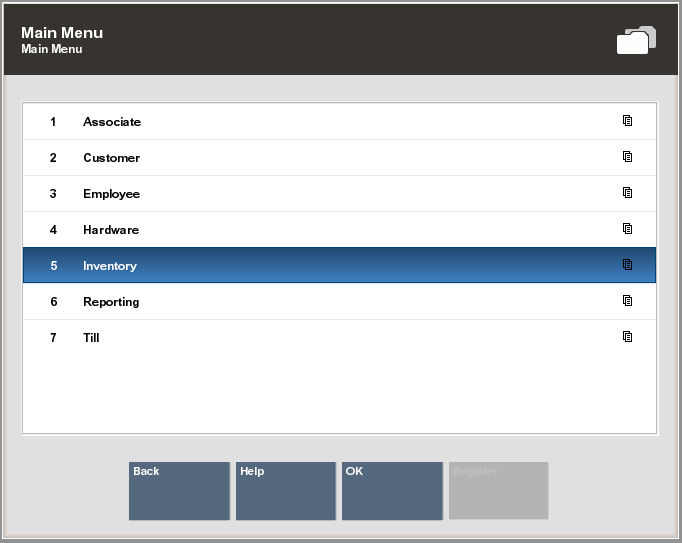
After logging in to the Back Office, select the Inventory option from the Main Menu and press Enter.
|
Note: Touch-screen users tap the item to select. See the Xstore Manager's Guide for Back Office touch-screen options. |
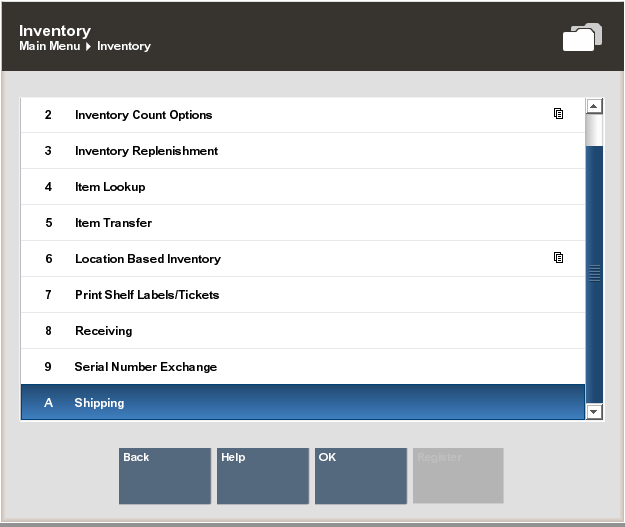
At the Inventory menu, select the Shipping option and press Enter.
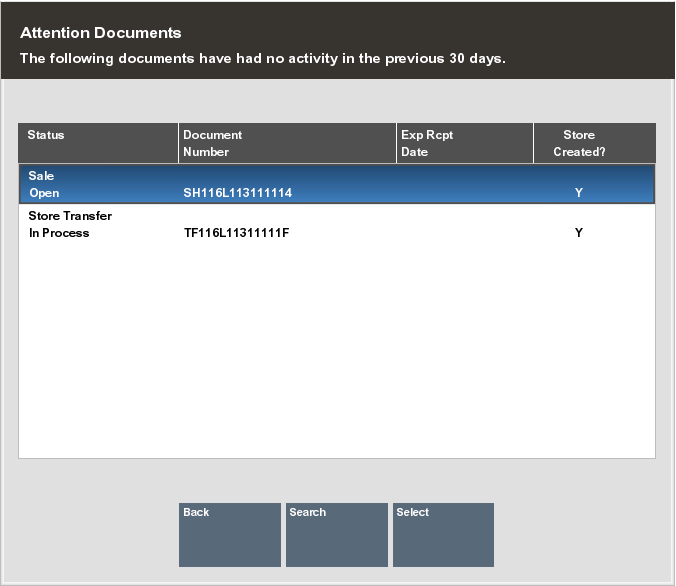
If any Shipping Documents require your attention as determined by your store's policies, Xstore lists the documents that require follow-up. The following options are available:
Select a document from the list. Xstore displays the Shipping Maintenance screen for the selected Shipping Document.
<OR>
Search for a different Shipping Document. Xstore prompts for the search criteria. Enter the search criteria and Xstore displays the Shipping Maintenance screen for the Shipping Document.
|
Note: If there are no documents that require your attention, Xstore immediately prompts for Shipping Document search criteria. |
Refer to the following sections for information about processing Shipping Documents.
This section discusses shipping documents.
...continued from step 4.
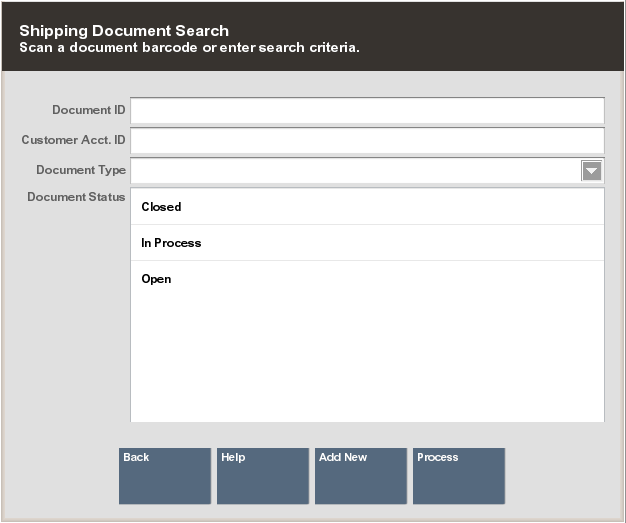
Xstore prompts you to enter the Shipping Document search criteria at the Shipping Document Search form:
|
Note: If you know a Shipping Document does not exist, you can select the Add New option at the Shipping Document Search form to create a new Shipping Document. Refer to Creating a New Shipping Document for more information. |
Enter your search criteria:
Scan or enter a specific Shipping Document ID, (or leave all fields blank and select Process to return a list of shipping documents).
Enter a Customer Account ID.
Select a document type from the list in the Document Type field:
|
Note: Your list of document types may differ from the example shown here and is based on the shipping process used at your store. |
Select one or more Document Status options:
Open
In Process
Closed
Select Process to display Shipping Documents that match your search criteria.
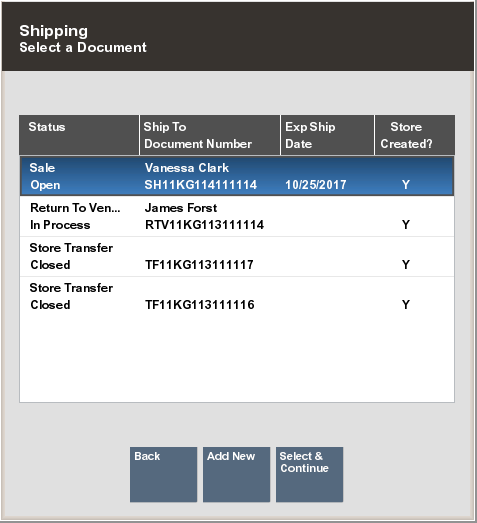
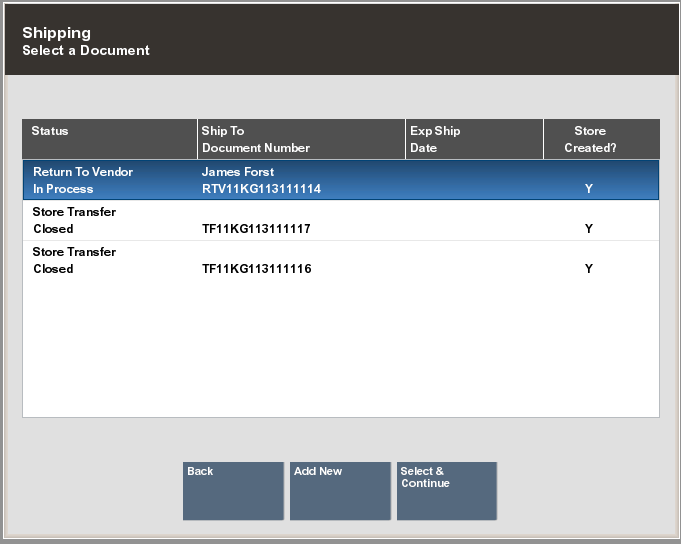
If your search criteria result in more than one record being found, you must select the record you want from the list.
|
Tip: If the document you are looking for is not found in the list of Shipping Documents select the Add New option at the Shipping Document search results form to create a new Shipping Document. Refer to Creating a New Shipping Document for more information about creating a new Shipping Document at the store. |
Select a Shipping Document from the list and press Enter to continue.
|
Note: Shipping Documents that have a CLOSED status are view-only and can only be edited with a manager's override, if allowed by your store's policy. |
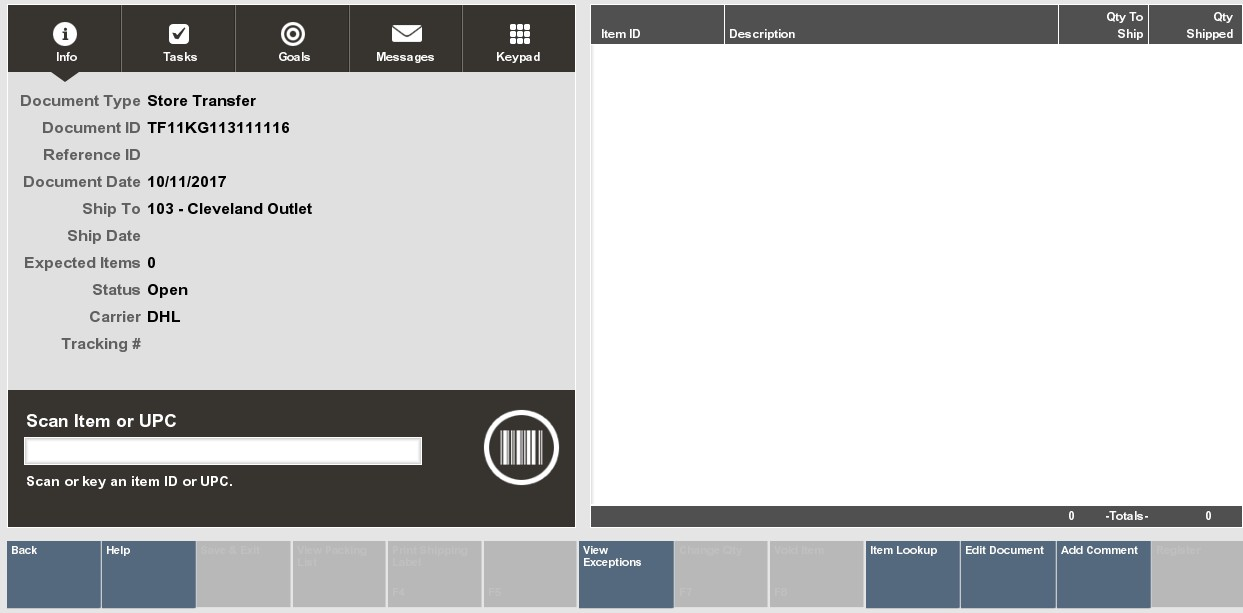
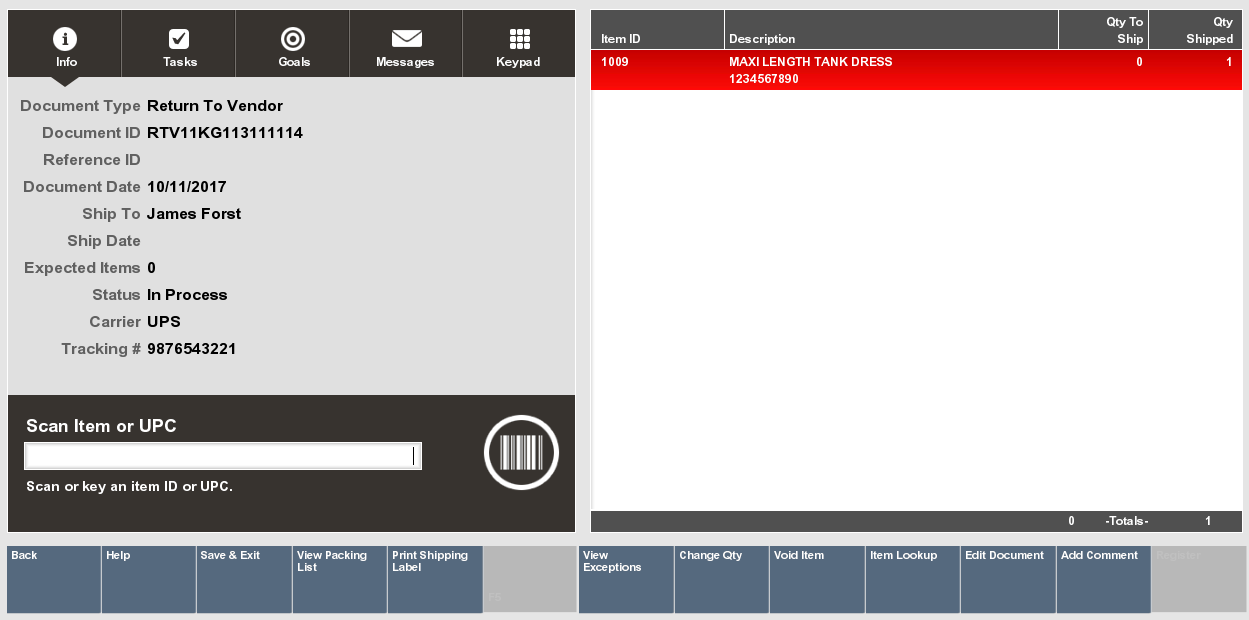
Xstore displays the Shipping Maintenance screen for the selected Shipping Document:
The Shipping Maintenance Screen shows the following information for the Shipping Document:
Document Type: The shipping document type. For example, Return To Vendor, Sale, Store Transfer, and so on.
Document ID: The shipping document identifier number.
Ref ID: The shipping document reference number (if applicable).
Document Date: The date the shipping document was created.
Ship To: The ship-to destination information.
Ship Date: The date the items were shipped.
Expected Items: The number of expected items in the Shipping Document (for user-created documents, this value is zero. Only documents created by the home office and downloaded to the store, and documents created by an external process such as Order, show an expected quantity.
Status: The Status of the shipment (OPEN, IN PROCESS, CLOSED).
Carrier: The Carrier selected to process the shipment.
Tracking #: The tracking number from the Carrier (if applicable).
This screen also shows the following information for each item within the Shipping Document:
Item ID
Item Description
Quantity To Ship
Quantity Shipped
|
Tip: The Shipping Document status determines the menu options that are available at the Shipping Maintenance screen. For example, the View Packing List option is only available when the Shipping Document is saved and the packing list has been created. |
Continue with Shipping the Items.
The only difference between shipping items using a user-created Shipping Document and a Shipping Document created by the home office or a process such as Order functionality, is the value in the Expected Quantity to Ship field. For user- created documents, this value is always zero.
Shipping Documents are often downloaded from the home office, but you can also create a Shipping Document in your store. For example, if there is no shipping document, you can create one to return items to a vendor or to transfer items to another store. Use the following process to create a new Shipping Document so that you can ship the items and update inventory.
A new Shipping Document can be initiated from two different forms. To create a new shipping document:
Select the Add New option at the Shipping Document Search form.
<OR>
Select the Add New option at the Shipping search results list.
Xstore displays the Shipping Maintenance form.
Enter the information as required:
Document ID: Depending upon your system's configuration, the system may generate this number automatically.
Document Type: Select the Shipping Document type from the list. This is a required field.
Document Date: The date the Shipping Document was created or edited. This field defaults to today's date.
Ship Via: Select the method by which the shipment will be sent.
Track #: Enter the Tracking Number for the shipment, if known.
Ship To: Select a destination for the shipment from the list.
|
Tip: The list shown in the Ship To field varies depending upon the type of document that you select. For example, a list for an RTV document type shows a list of vendors; a list for a Store Transfer document type shows a list of stores. |
Ship Date: Enter the date the shipment will be transferred from your store.
Name & Address fields: Enter the Ship To name and address information. These fields may be populated automatically based on the Ship To information.
When you have entered all the information for this new Shipping Document, select the Process option.
Xstore prompts for the items to be included in this Shipping Document.
|
Note: There is only one difference between shipping items using a user-created Shipping Document and using a Shipping Document created by the home office: the value in the Expected Quantity to Ship field is always zero on your user-created document. |
Continue with Shipping the Items.
At the Shipping Maintenance screen, scan or enter an item ID at the Item ID or UPC prompt and press Enter.
|
Tip: You cannot add new items to a Shipping Document that was created by the home office and downloaded to your store. Only the items expected in adownloaded document can be shipped. You must create a new Shipping Document to ship items from your store that was not specified by the home office. See Creating a New Shipping Document for more information. |
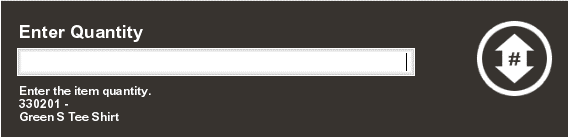
You can scan each item individually at this prompt and Xstore increments the total by one each time you scan an item. If you enter an item ID manually, Xstore prompts for the total number to be shipped for this item ID.
|
Tip: You can also scan an item ID and then select the Edit Item, Change Quantity options to enter the total number of items counted for this shipment. |
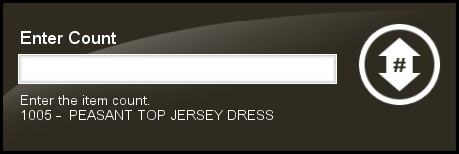
If prompted, enter the total number of items to be shipped for this item ID and press Enter to continue.
Continue counting all items to be shipped in this Shipping Document and select the Save & Exit option to continue with the shipping process.
At the Save Changes prompt, select Yes to save this Shipping Document.
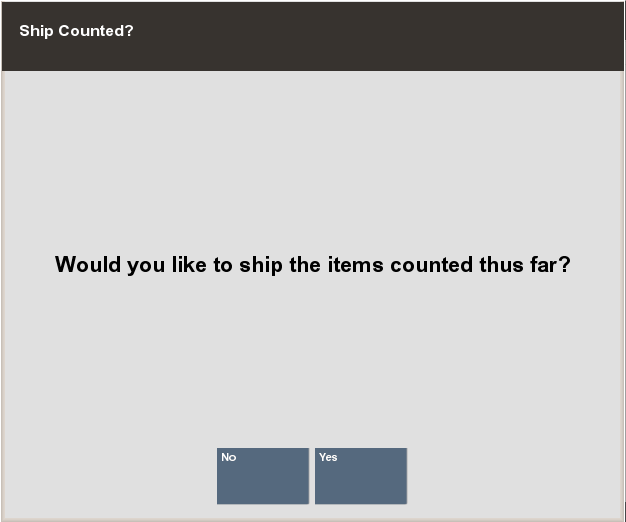
Xstore prompts if you want to ship the items you have counted:
Select Yes to ship the items or No to leave this Shipping Document in an in-process state so that you can continue to access this document and make changes before shipping the items from the store.
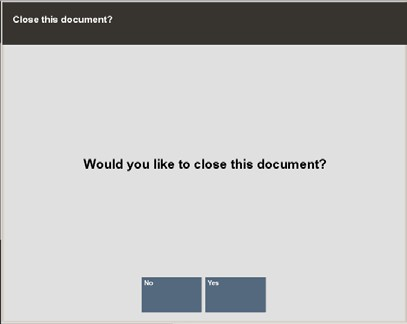
If you select Yes to ship the items, You may be asked if you want to close this document:
Select Yes to set the Shipping Document status to CLOSED.
Select No to leave this Shipping Document in an In-Process state so that you can continue to access this document and make changes before closing the document. The system returns to the Document Search form.
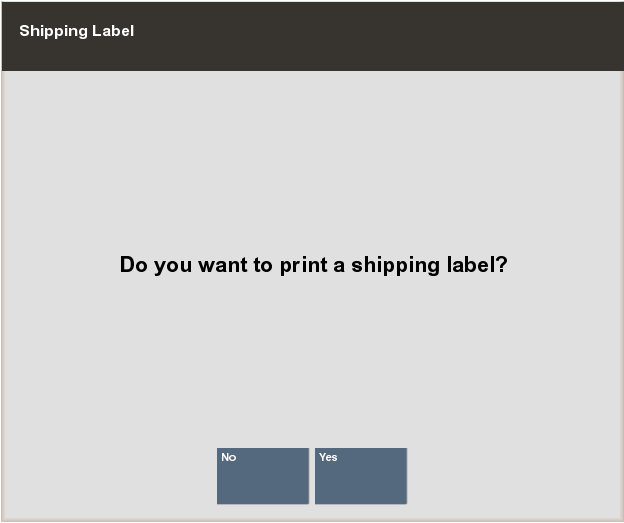
Print Shipping Label:
If you selected Yes to ship the items, Xstore displays a prompt asking if you want to print a shipping label. Select Yes to print a shipping label for the shipment.
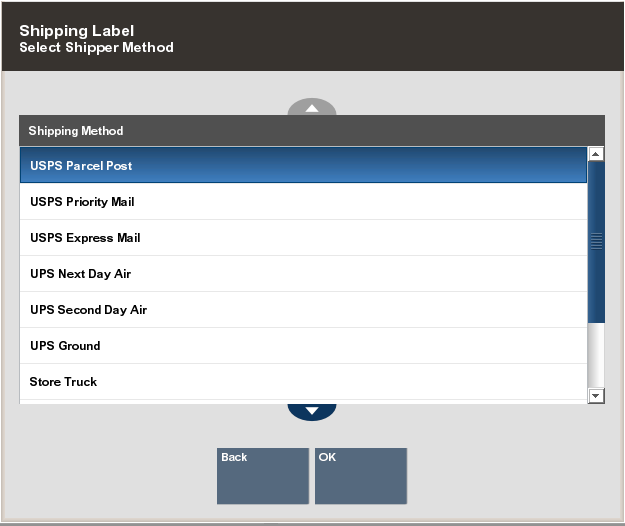
Xstore may prompt if you want to change the Carrier you selected for the shipment:
If prompted, select OK to continue with the selected Carrier, or
Select Override Shipping Method to select a different Carrier for the shipment.
Xstore shows the number of label sheets you need and prompts you to select the position on the label sheet for the printed label. Select the location for the label and press Enter. The column/row you selected is shown in the Selection area on the form. In this example, Column: 1 Row: 1:
|
Tip: Label location selection allows you to use partial sheets of labels to ensure that expensive labels are not wasted. |
Xstore briefly displays a Calculating Label Layout message that requires no response.
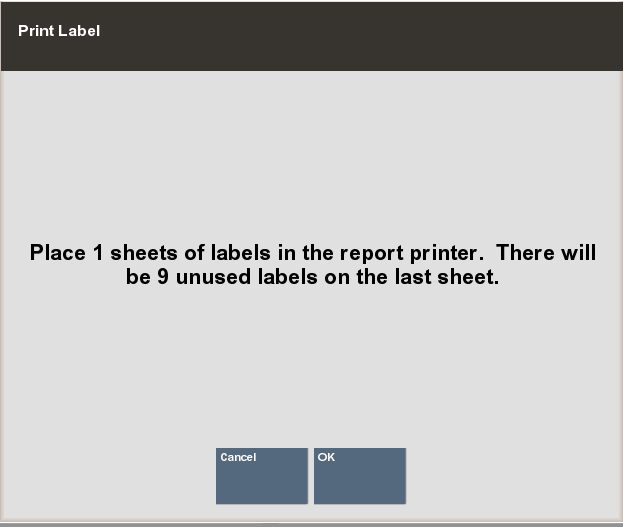
Xstore displays a message indicating the number of label sheets you need and the number of unused labels that will remain on the last sheet. Press Enter to acknowledge the message and print labels.
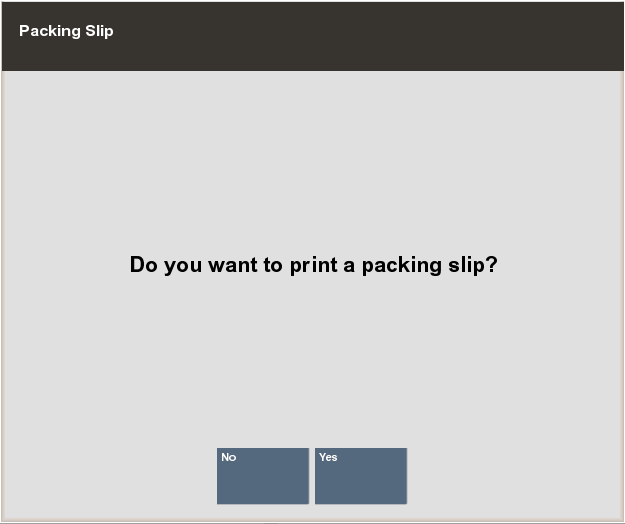
Xstore prompts if you want to print a packing slip:
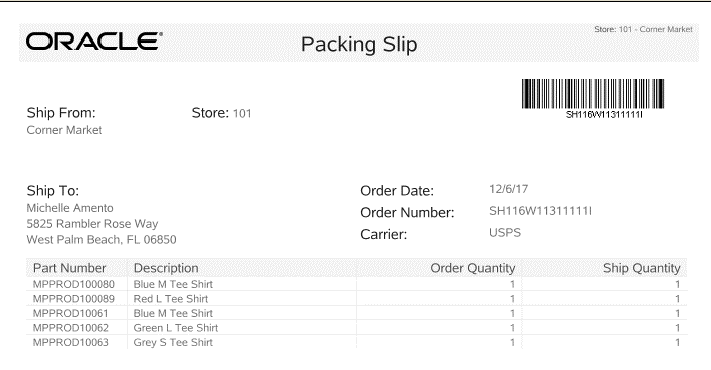
Select Yes to print a packing slip that lists the items and their quantities.
The following options are available at the Shipping Maintenance screen before you ship the items and close the Shipping Document:
View Exceptions: Select this option to view a list of exceptions found in this Shipping Document. This list includes only those items where there is a difference between the number of expected items to be shipped and the actual counted items on the shipment. Items that are in balance are not included. Refer to To View Exceptions for procedural information.
Change Quantity: Select this option to change the quantity of an item found in this Shipping Document. Refer to To Change Item Quantity for procedural information.
Void Item: Select this option to remove an item found in this Shipping Document. Refer to To Change Item Quantity for procedural information.
Item Lookup: Select this option to look up an item ID in the file. You also have the option to add the item to the Shipping Document if the Shipping Document was created at your store. However, you cannot add items to a Shipping Document created by the home office and downloaded to your store. Refer to To Look Up an Item from Shipping Maintenance for procedural information.
Edit Document: Select this option to change the Shipping Document address information. Refer to To Edit Shipping Document Information for procedural information)
Add Comment: Select this option to add comments for this Shipping Document. Refer to To Add Comments to the Shipping Document for procedural information.
View Packing List: Select this option to view the packing list created for this Shipping Document. See Figure 4-20 for an example of a packing list.
Refer to the sections below for more information about using the shipping maintenance options shown in Figure 4-21 above.
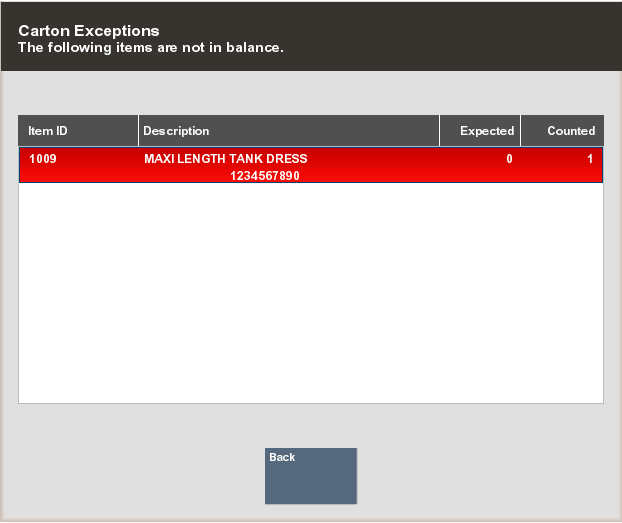
Use the View Exceptions option to list any items that have a difference between the number of expected items to ship in the Shipping Document and the actual counted items in the shipment. Items that are in balance are not included.
|
Note: For user-created documents, the expected item count is always zero. Only documents created by the home office and downloaded to the store, and documents created automatically by the Order process, show an expected quantity greater than zero. |
At the Shipping Maintenance screen, (Figure 4-21), select the View Exceptions options.
Xstore displays the items in the Shipping Document that have a discrepancy between the number of items expected to be shipped and the number of items you counted. You may use the up and down arrow keys to scroll through the list if there are multiple items that have discrepancies.
Press Esc to return to the Shipping Maintenance screen where you can make adjustments as needed by using the Edit Item options after recounting the items to be shipped.
|
Note: Your system may be set up to show Change Qty, Void Item, and Item Lookup under the main menu option of Edit Item. |
The Change Qty option allows you to change a count number that has already been recorded for an item on the Shipping Document.
At the Shipping Maintenance screen, (Figure 4-21), select the Change Qty option.
Use the up and down arrow keys to select the item that you want to edit and press Enter.
When prompted, enter the count (quantity) of items and then press Enter.
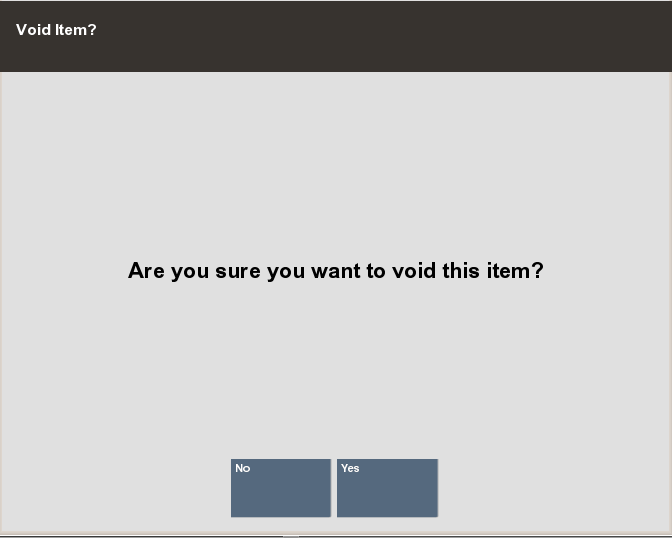
Use this option to remove an item from the Shipping Document. Only items that were added to the Shipping Document at the store can be voided.
At the Shipping Maintenance screen, (Figure 4-21), select the Void Item option.
Use the up and down arrow keys to select the item that you want to void and press Enter.
|
Note: If you try to void a line item on a Shipping Document downloaded from the home office, Xstore displays a message indicating that the item cannot be voided.Press Enter to acknowledge the message and return to the Shipping Maintenance screen. |
If the item can be voided, Xstore prompts you to confirm that the selected item should be voided. Select Yes to remove the item from the Shipping Document item list.
Xstore removes the item from the list and recalculates the total number of items in the shipment shown on the bottom of the View Port.
Press Esc when you are finished editing the shipping item list to exit from edit mode.
Xstore has now removed the voided item from the list of items to be shipped at the Shipping Maintenance screen.
|
Note: If configured, the voided item is displayed only when you are in the edit mode. |
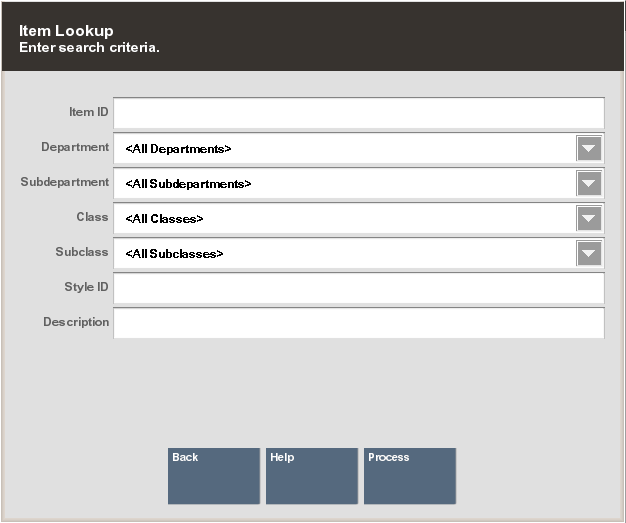
Use the Item Lookup option to search for an item in the database. The item can then be added to the Shipping Document if it is a store-created document.
Select the Item Lookup option at the Shipping Maintenance screen, (Figure 4-21).
Xstore displays the Item Lookup form. Enter the search criteria and select Process.
|
Note: Your store may be configured with advanced lookup options that provide the ability to specify Custom Groups and Details to further define your search criteria.Select the exclude box to not include an item in your search. 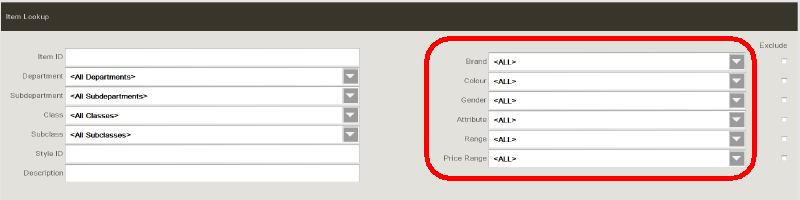 |
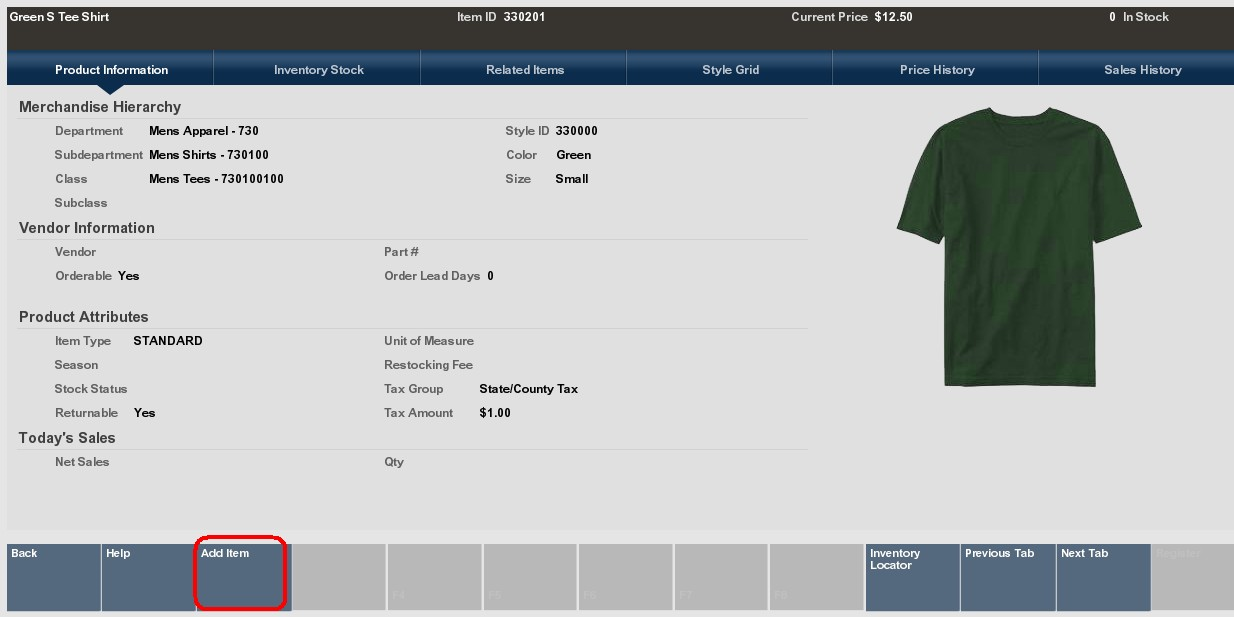
If more than one item matches the search criteria you entered, select the item from the list of items and select OK. Xstore displays the item information.
Select the Add Item option to add the item to the Shipping Document.
Xstore prompts for the number of items with this Item ID to be added to the Shipping Document. Enter the number of items to be shipped and press Enter to add this item and the item count to the Shipping Document.
At the Shipping Maintenance screen, (Figure 4-21), select the Edit Document option.
|
Note: This function may be controlled by security and you may be prompted to verify your identity before continuing. Enter your Employee ID and password at the Verify Identity prompt and select Process to continue. |
Xstore displays the Shipping Document Maintenance form showing the current information for the document.
Edit the Shipping Document information as required and select Process to continue. Xstore updates the Shipping Document information.
|
Note: About Shipping Documents
|
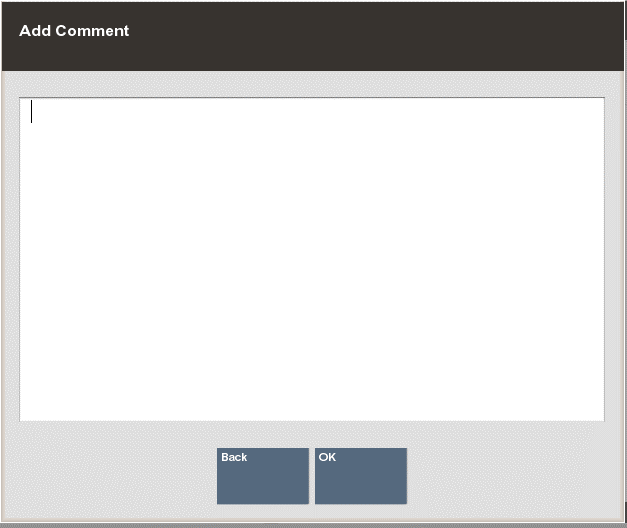
At the Shipping Maintenance screen, (Figure 4-21), select the Add Comment option. Xstore displays the Add Comment form.
Type a comment and select OK to return to the Shipping Maintenance screen. The comment is associated with the Shipping Document.
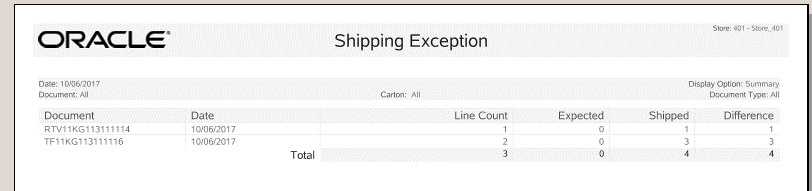
This report shows a document-by-document list of shipped items on which there was a difference between the expected shipping quantity and the actual shipped quantity. The report includes a total number of items expected to ship and the number of items actually shipped, per shipping document number.
This report allows you to specify the Date, Document ID Number, and Document Type, and it can be viewed on the screen as well as printed.
The following information is included on the Shipping Exception Report:
Date
Item ID
Serial Number
Description
Expected Amount
Shipped Amount
Difference Between Expected and Shipped
Document ID
Document Total
Refer to the Oracle Retail Xstore Reports Guide for more information about this report.
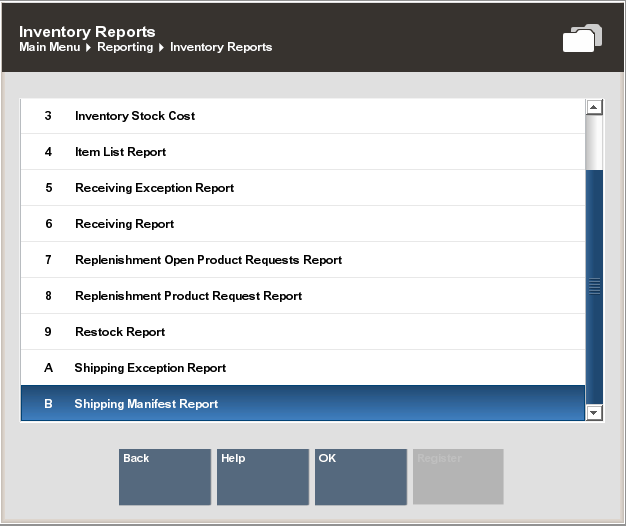
After logging in to the Back Office, select and enter Reporting, Inventory Reports and then Shipping Exception Report.
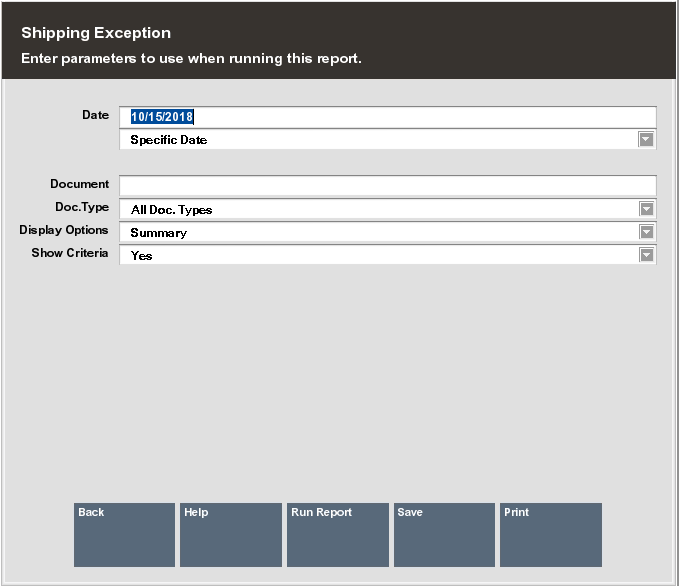
The Shipping Exception Report parameters form displays.
|
Note: Carton # is not supported in the Shipping Exception Report. |
Enter your criteria to generate the report:
Start Date
<OR>
A date option from the list in the relative date field
Shipping Document Number
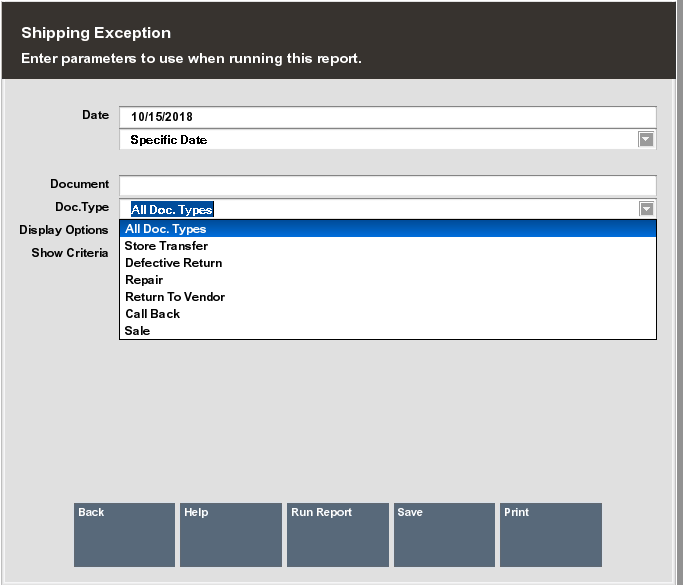
Document Type, as seen in the list below:
Select one of these options to finish your report:
Run Report: Execute the report and display the results on the screen.
Print: Execute the report and send the results to a printer.
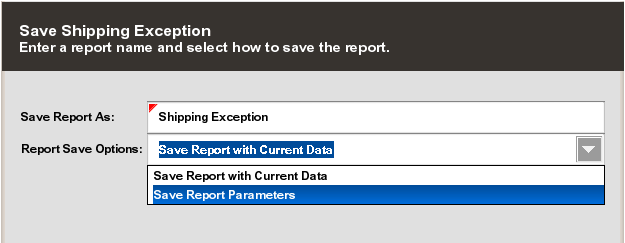
Save: You can save this report with the current data, or save only the report parameters to run this specific report with these parameters again.
If you chose to save the report, assign a name to your report so it can be viewed whenever needed.
Choose one of the options in the Report Save Options list:
Save Report with Current Data - To save the report with the current values.
<OR>
Save Report Parameters - To save only the parameters to use these parameters as a template to generate a new report at another time.
|
Note: Use a relative date rather than a specific date for this option. |
Select OK to save the report. Reports are saved to your personal report area and can be retrieved from the, Saved Reports menu option and press Enter.
|
Note: Refer to the Oracle Retail Xstore Reports Guide for more information about setting up and running reports. |
|
Note: The expected count will be zero for all items on a user-created document.Only documents downloaded from the home office have a value for the expected item count. |
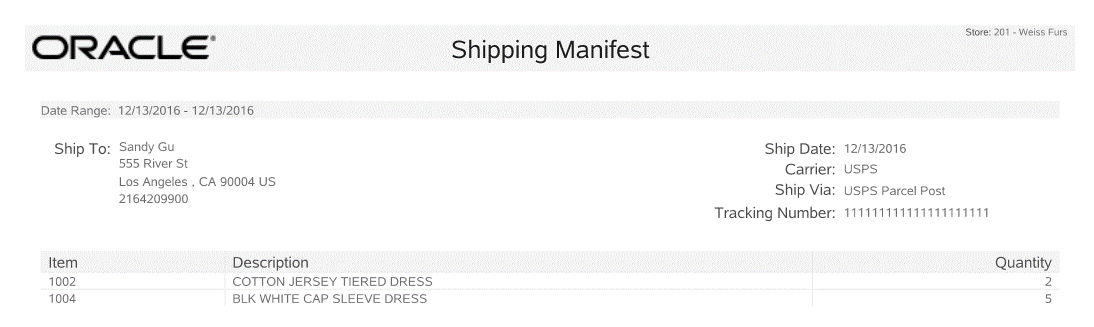
This report shows detailed information for each shipment that was sent within the given date range. The report includes where the shipment was sent, carrier, and tracking information, and a list of all items included.
This report allows you to specify only the Date that the shipment was sent. The following information is included on the Shipping Manifest Report:
Ship To (Name and Address)
Ship Date
Carrier
Ship Via
Tracking#
Item Id
Item Description
Qty
Refer to the Oracle Retail Xstore Reports Guide for more information about this report.
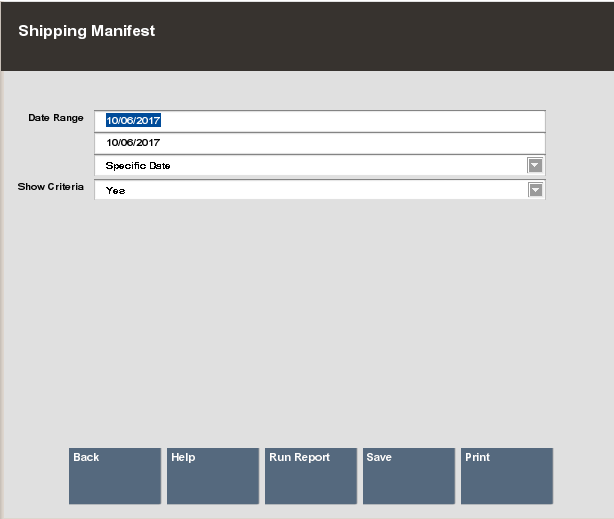
After logging in to the Back Office, select and enter Reporting, Inventory Reports and then Shipping Manifest Report.
The Shipping Manifest Report parameters form displays. Enter your criteria to generate the report:
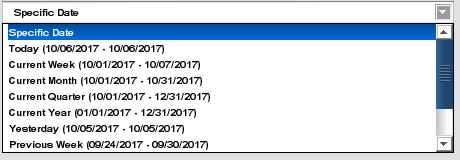
Date Range
<OR>
A date option from the list in the relative date field
Select one of these options to finish your report:
Run Report: Execute the report and display the results on the screen.
Print: Execute the report and send the results to a printer.
Save: You can save this report with the current data, or save only the report parameters to run this specific report with these parameters again.
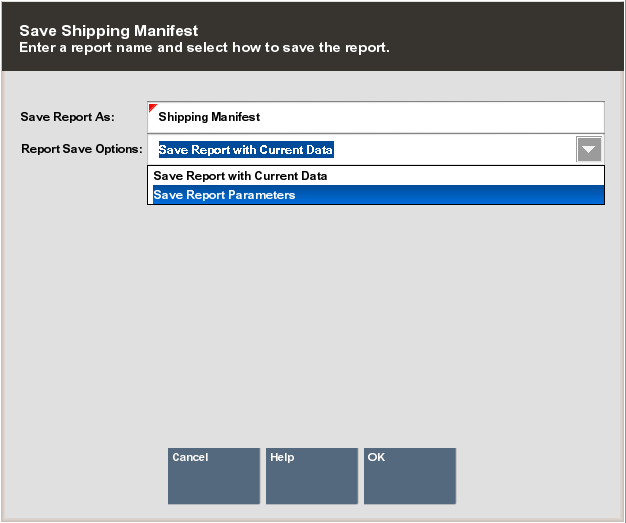
If you chose to save the report, assign a name to your report so it can be viewed whenever needed.
Choose one of the options in the Report Save Options list:
Save Report with Current Data - To save the report with the current values.
<OR>
Save Report Parameters - To save only the parameters to use these parameters as a template to generate a new report at another time.
|
Note: Use a relative date rather than a specific date for this option |
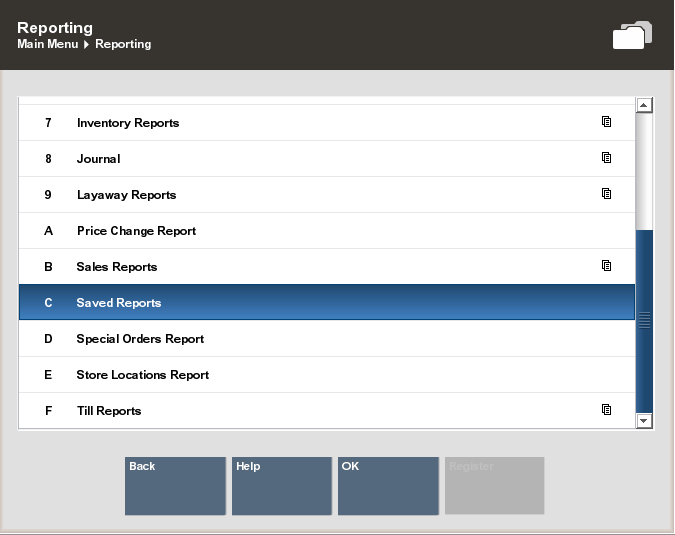
Select OK to save the report. Reports are saved to your personal report area and can be retrieved from the Reporting, Saved Reports menu option and press Enter.
|
Note: Refer to the Oracle Retail Xstore Reports Guide for more information about setting up and running reports. |