| Oracle® Retail Xstore Point of Service Mobile User Guide Release 20.0 F35714-03 |
|

 Previous |
 Next |
| Oracle® Retail Xstore Point of Service Mobile User Guide Release 20.0 F35714-03 |
|
Previous |
Next |
The Gift Registry feature is a tool to assist the customer in purchasing gifts for someone registered. Items in a sale transaction can be associated to a registry; additionally, gift registries can be set up and maintained in the system from the maintenance functions. Gift Registry is available if you are using Oracle Retail Customer Engagement Cloud Services.
You can sell, return and cancel gift registry items in the Register mode of Xstore Mobile POS. To sell an item off of a gift registry, you must first assign the gift registry to the sale or order. Gift registry sales can be added to special orders as well as Oracle Retail Order Broker Cloud Service orders.
If an item on the registry is returned with the original receipt, the gift registry is automatically updated.
Refer to the following topics for more information about the point of sale functions.
Refer to the following topics for more information about the maintenance functions.
From the Main Menu, select Customer.
Select Gift Registry from the Customer menu. See Mobile POS Customer Menu.
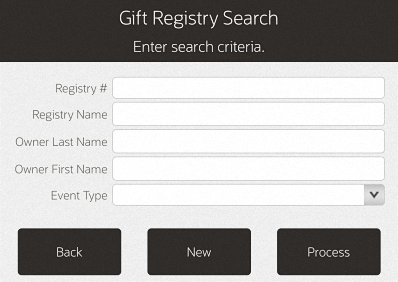
You have the following options at the Gift Registry Search prompt:
To create a new registry, select New. Skip to Creating a New Registry.
To search for a gift registry, enter one or more search criteria and the select Process. You can search by: Registry #, Registry Name, Owner First Name, Owner Last Name, Event Type, or scan a registry id with the handheld scanner. Continue with step 4.
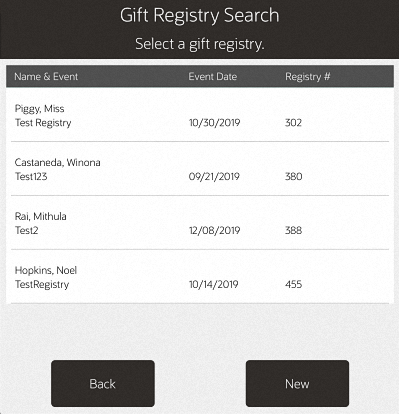
If Xstore retrieves more than one registry, select the registry you wish to view.
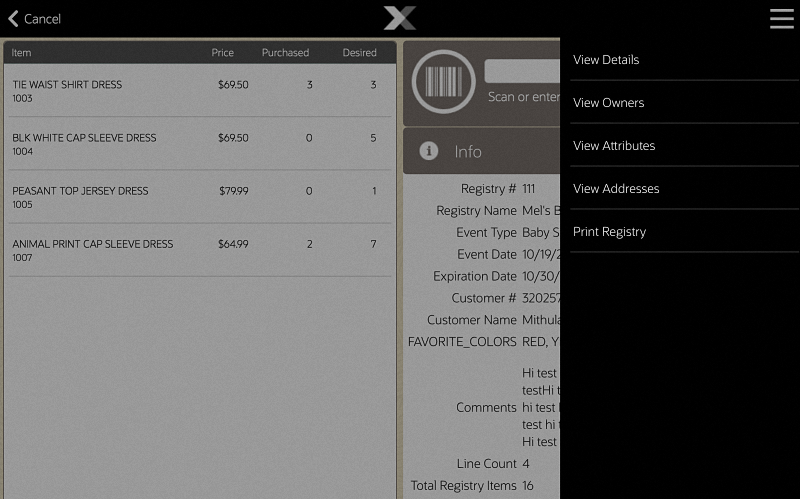
Click on the Context Menu to view the Gift Registry menu.
You have the following options at this screen:
Select View Details to review and edit the gift registry information. See Viewing and Modifying Details.
Select View Owners to view and edit registry owner information. See Viewing and Modifying Owners
Select View Attributes to see additional attribute information such as wedding date, baby's gender, and so on. See Viewing and Modifying Attributes.
Select View Addresses to view any addresses associated with the registry. Addresses include before event, after event, and vendor's address. See Viewing and Modifying Addresses.
Select Print Registry to print the gift registry. See Print Registry.
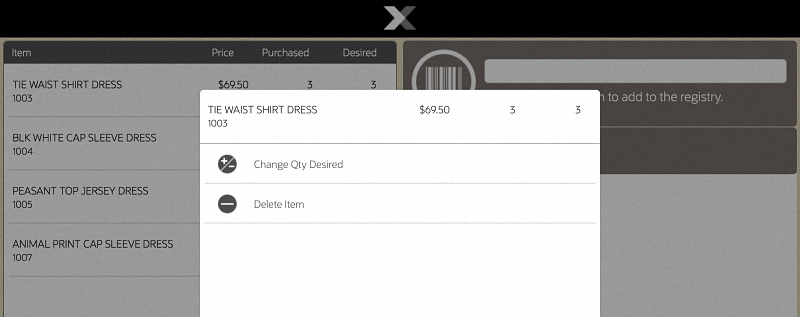
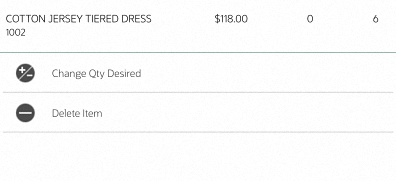
Select an item row to access the options menu.
You have the following options at this screen:
Select Change Qty Desired to update the desired item quantity. See Changing the Quantity.
Select Delete Item to remove the item from the gift registry. See Deleting an Item.
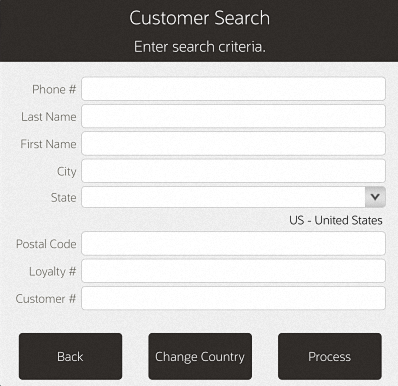
To create a new registry, select New from the Gift Registry Search prompt or the search results list. See Figure 31-1. The Customer Search form displays.
Enter the search criteria for the person for which you wish to create a gift registry. Select Process.
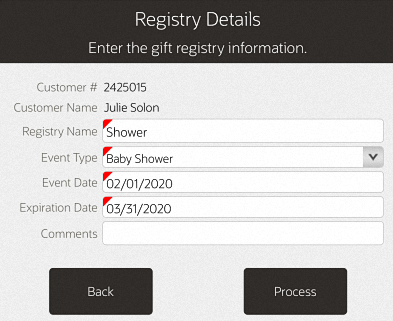
Select the customer from the retrieved list. If the customer is not listed, create a new customer record by selecting New. See Associating a Customer with a Transaction for instructions. Once you've added a new customer, the Registry Details screen displays.
Table 31-1 Gift Registry Fields
| Field | Description |
|---|---|
|
Registry Name |
Describe the event. |
|
Event Type |
Select an event from the drop-down list. |
|
Event Date |
Event date must be equal to or earlier than the expiration date. |
|
Expiration Date |
Expiration date must be later than the current business date. |
|
Comments |
Optional field. |
Complete the required fields and select Process:
The gift registry screen displays. The Registry information can be viewed and modified using View Details in the Context Menu.
To add or modify registry information see Modifying a Gift Registry.
With a gift registry displayed, add or modify the registry information as needed.
to add an item, refer to Adding Items
to change the quantity, refer to Changing the Quantity
to delete an item, refer to Deleting an Item
to view/modify details, refer to Viewing and Modifying Details
to view/modify owners, refer to Viewing and Modifying Owners
to view/modify attributes, refer to Viewing and Modifying Attributes
to view/modify addresses, refer to Viewing and Modifying Addresses
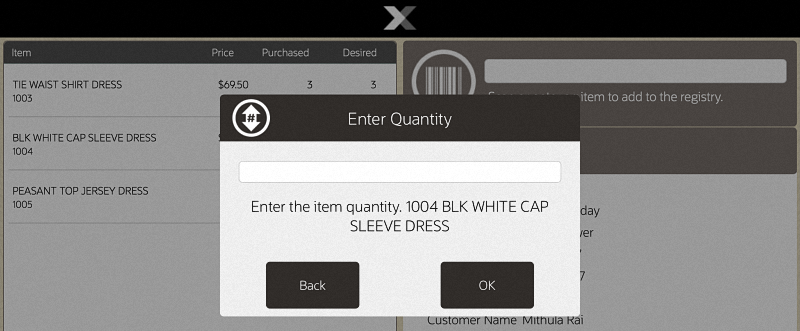
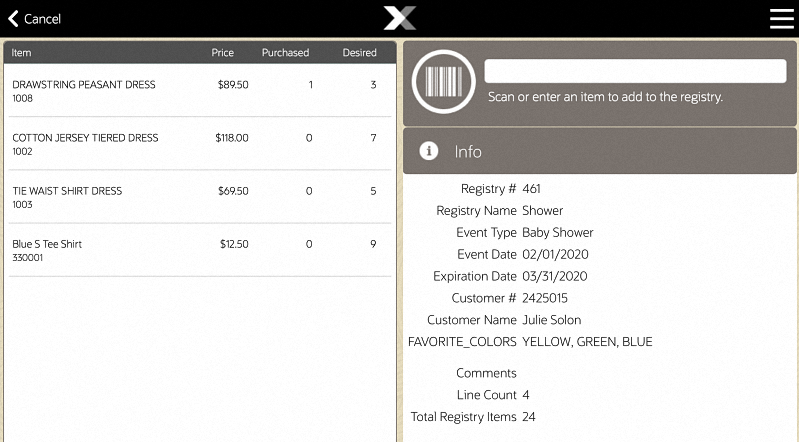
From the Gift Registry screen, scan or enter the UPC to add items to the gift registry.
If prompted, enter the quantity in the Enter Quantity field and press OK.
As you add items to the gift registry, the line count and total number of items on the registry are updated accordingly. This info is found on the right hand side under the Info tab.
From the Gift Registry screen, select the item you wish to modify.
Select Change Qty Desired.
Enter the Quantity required. The change displays in the View Port.
From the Gift Registry screen, select the item you wish to delete.
Select Delete Item. The item no longer appears in the view port.
The View Details option displays the information that was initially entered when setting up the registry.
From the Gift Registry screen, select View Details from the Context Menu.
Modify the information as needed and select Process.
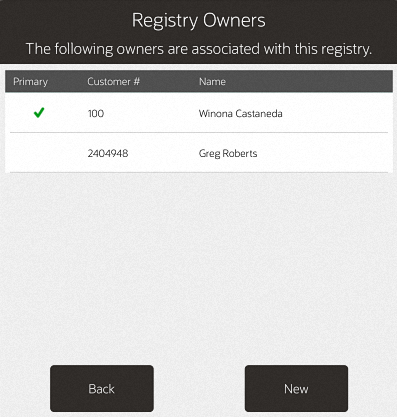
From the Gift Registry maintenance screen, select View Owners from the Context Menu.
The Registry Owners list displays. The check mark next to the Customer # indicates the primary owner.
If the registry has more than one owner, perform the following steps to change the primary owner.
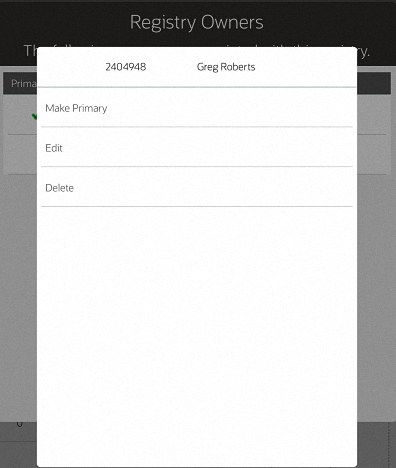
From the Registry Owners list, select the owner you wish to change to the primary.
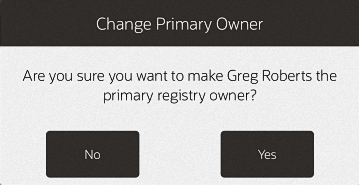
Select the Make Primary button.
When prompted, press Yes to confirm the change.
The new primary owner is moved to the top of the list and has a green check mark by the name.
Perform the following steps to create a new owner.
From the Registry Owners list, select New (see Figure 31-10).
The customer search screen displays. Enter your search criteria for the person you wish to add as an owner. Select Process.
|
Note: If the customer is not listed, create a new customer record by selecting New. See step 3 for more information. |
If more than one customer matches your search criteria, select the customer from the retrieved list.
Verify the address, modify if needed, and select Save Changes.
|
Important: The address information will be saved in the Customer Maintenance screen Addresses Tab with the address type of Gift Registry. Any modifications you make to the address will not change the primary customer address information. |
Repeat steps until all owners are listed.
To modify the primary owner, see To Modify the Primary Owner.
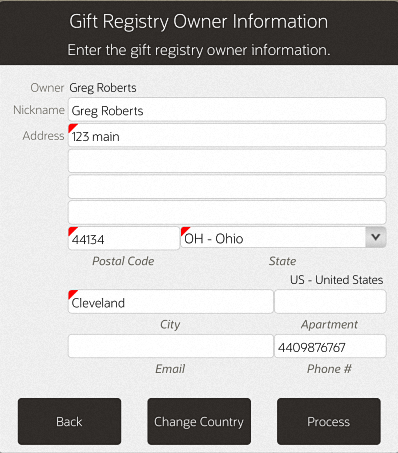
From the Registry Owners list, select the owner you wish to edit. (See Figure 31-10).
Select Edit.
At the Gift Registry Owner Information window, make your edits as needed.
Select Save Changes.
From the Registry Owners list, select the owner you wish to remove.
|
Important: You cannot delete a primary owner. Press Esc to close the prompt: the primary registry owner cannot be deleted.Designate a different primary owner prior to deletion. See To Modify the Primary Owner. |
Select Delete.
When prompted, press Y to confirm the deletion.
The Registry owner screen displays without the deleted owner. Select Back to return to the gift registry. To modify the primary owner, see To Modify the Primary Owner.
The message window of the Gift Registry screen displays only three attributes. To see additional attributes, or to modify an attribute, select View Attributes from the Context Menu.
From the Gift Registry screen, select View Attributes from the Context Menu.
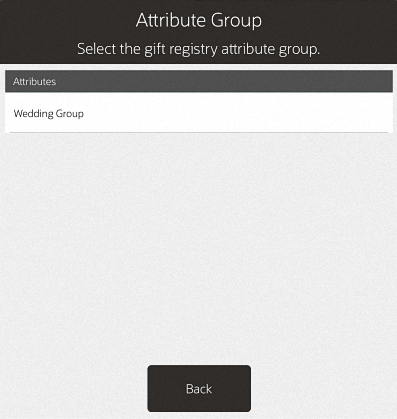
Select New.
Select the attribute you wish to add.
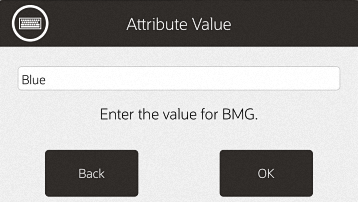
When prompted, enter the Attribute value and press OK. The new attribute will be associated with this gift registry.
Select Back to return to the Gift Registry screen.
From the Gift Registry screen, select View Attributes from the Context Menu.
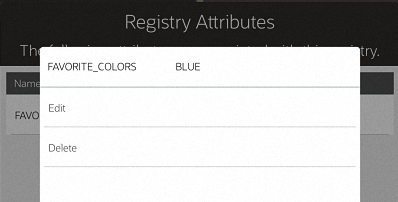
From the Registry Attributes list (Figure 31-17), select the attribute you wish to edit.
Select Edit.
Depending on the type of attribute, you may need to add a value to the attribute value focus bar or select from a list of values then press Enter. The attribute value is updated accordingly.
From the Gift Registry screen, select View Attributes from the Context Menu.
From the Registry Attributes list (Figure 31-17), select the attribute you wish to delete.
Select Delete. The attribute is removed.
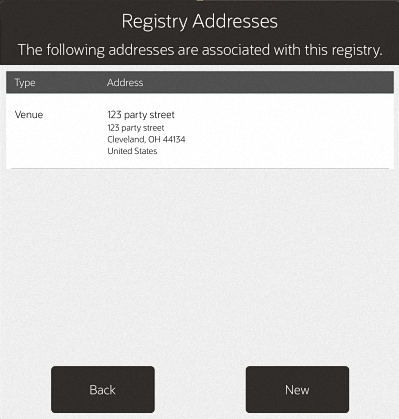
From the Gift Registry screen, select View Addresses from the Context Menu.
View address information:
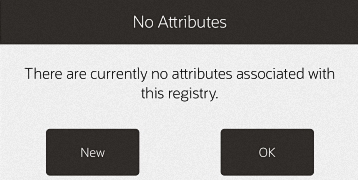
If addresses are associated with the gift registry they are displayed.
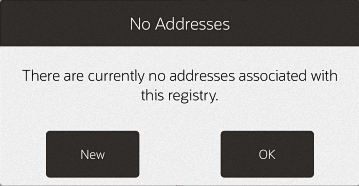
If no addresses are associated with the gift registry, this message displays. Press OK to close the message prompt or select New to add an address for this registry.
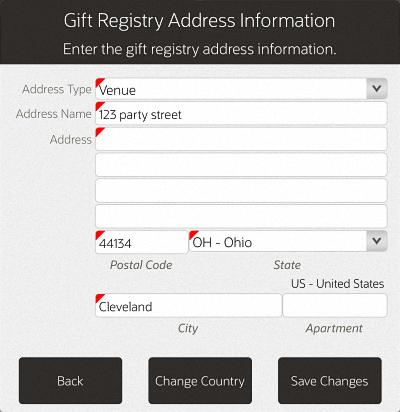
From the Gift Registry screen, select View Addresses from the Context Menu.
From the Gift Registry address list or the No Address on file prompt, select New.
When prompted, enter the required fields:
Select Save Changes.
From the Gift Registry maintenance screen, select Print Registry.
With the report displayed, select Print Report to print the report.
|
Note: The bar code on the report allows quick access to assigning a registry to a sale. |
|
Note: See the Oracle Retail Xstore Point of Service Reports Guide for more information about reports. |