5 Managing Oracle Key Vault Users
Oracle Key Vault users administer the system, enroll endpoints, manage users and endpoints, control access to security objects, and grant other users administrative roles as needed.
5.1 About Oracle Key Vault Users
Key Vault users fulfill multiple functions. A key function is to register and enroll Key Vault endpoints, who can manage their security objects using Key Vault.
- Types of Oracle Key Vault Users
- Create an Oracle Key Vault User
- Grant, Change or Revoke Administrative Roles
- Delete Oracle Key Vault User(s)
- View User Details
Parent topic: Managing Oracle Key Vault Users
5.1.1 Types of Oracle Key Vault Users
There are two types of Oracle Key Vault users:
-
Administrative users who have one or more of the three administrative roles: System Administrator, Key Administrator, Audit Manager.
-
Ordinary users who have none of the administrative roles, but who have access to security objects.
Separation of duties in Key Vault means that users with an administrative role have access to functions pertaining to their role but not the others. For example, only the system administrator sees the System tab, not the key administrator or the audit manager. Likewise, the system administrator can add endpoints, but cannot create endpoint groups. The user interface elements needed to create endpoint groups are visible only to the key administrator.
Users who have no administrative role can be granted access to security objects specific to their function, thus restricting their privileges. For example, you can grant a user access to a specific virtual wallet. This user can log into the Key Vault management console and add, delete, and manage his own security objects, but he cannot see system menus, details of other users and endpoints, their wallets, or audit reports.
Although the separation of user duties is recommended, organizations may opt to have a single user perform all the administrative functions by granting that user all the administrative roles.
An Oracle Key Vault user name cannot be the same as an Oracle Key Vault endpoint name.
Parent topic: About Oracle Key Vault Users
5.1.2 Create an Oracle Key Vault User
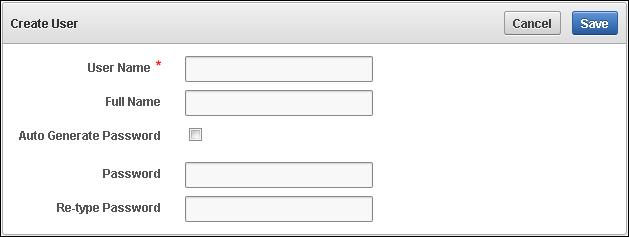
A user with the System Administrator role can create user accounts from the Oracle Key Vault management console.
To add a user to Key Vault follow these steps:
Parent topic: About Oracle Key Vault Users
5.1.3 Grant, Change or Revoke Administrative Roles
Parent topic: About Oracle Key Vault Users
5.1.3.1 Grant or Change an Administrative Role of a User
To grant or change an administrative role:
Parent topic: Grant, Change or Revoke Administrative Roles
5.1.3.2 Revoke an Administrative Role from a User
To revoke a role from a user follow these steps:
Parent topic: Grant, Change or Revoke Administrative Roles
5.1.4 Delete Oracle Key Vault User(s)
You can delete a Key Vault user if the user's function in the organization changes. Deleting a user removes them from Key Vault and removes them from any user groups they were part of. The operation does not delete any security objects managed by the user.
To delete a user from Oracle Key Vault follow these steps:
Parent topic: About Oracle Key Vault Users
5.1.5 View User Details
All administrative users can view the list of Oracle Key Vault users and their details. Users without any of the three administrative roles can only see their own user details.
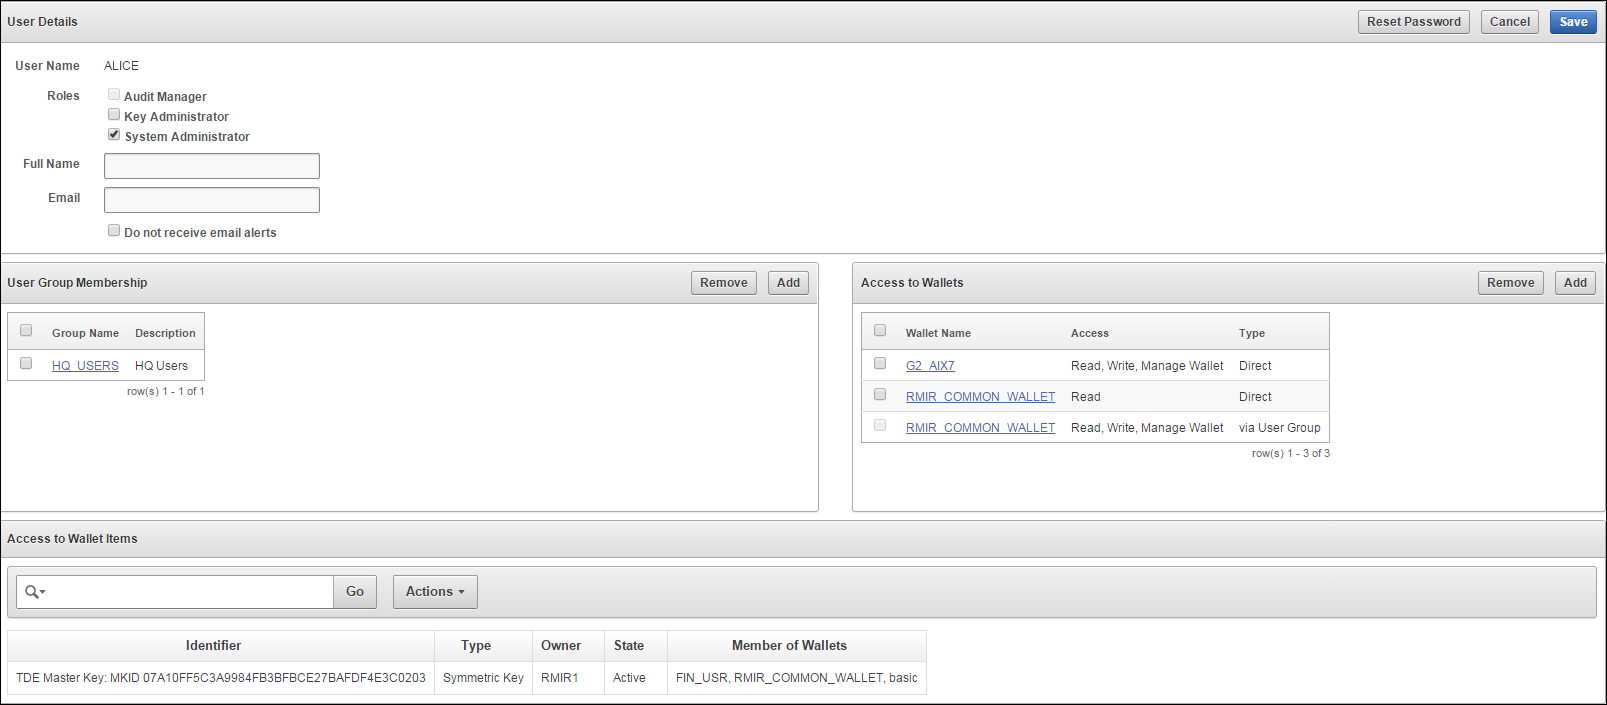
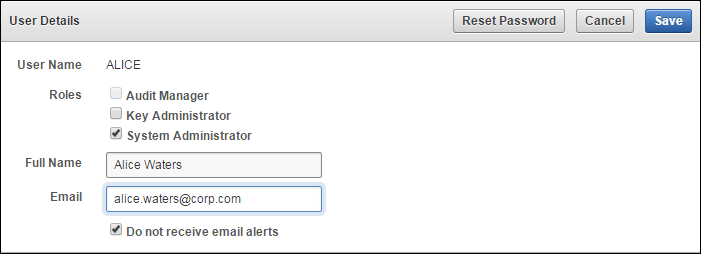
The User Details page provides a consolidated view of the Key Vault user. This is the page where all user management tasks are performed.
To view user details for a given user:
Parent topic: About Oracle Key Vault Users
5.2 About Changing User Passwords
Any valid Oracle Key Vault user can change his or her own password.
Parent topic: Managing Oracle Key Vault Users
5.2.1 How User Password Changes Work
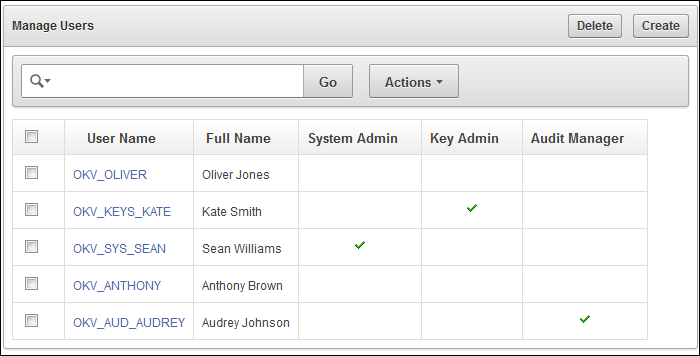
You can reset another user's password as a Key Vault System Administrator. You can also reset the password of another user if you have at minimum the same administrative role as that user. For example, if you want to change the password of a user who has the Audit Manager role, then you also must have this role before you can change the password.
Consider the following users and roles:
| User | System Admin | Key Admin | Audit Manager |
|---|---|---|---|
|
|
Yes |
Yes |
Yes |
|
|
Yes |
Yes |
- |
|
|
Yes |
- |
- |
|
|
- |
Yes |
- |
|
|
- |
- |
Yes |
|
|
- |
- |
- |
Suppose that user OKV_SYS_KEYS_JOE, who has the System Administrator and Key Administrator roles is logged in and wants to change the other users' passwords. This happens:
-
OKV_KEYS_KATE:OKV_SYS_KEYS_JOEcan change the password forOKV_KEYS_KATEbecause they have the Key Administrator role in common. -
OKV_AUD_AUDREY:OKV_SYS_KEYS_JOEcannot changeOKV_AUD_AUDREY's password becauseOKV_SYS_KEYS_JOEdoes not have the Audit Manager role. -
OKV_ALL_JANE:OKV_SYS_KEYS_JOEcannot change the password for userOKV_ALL_JANEbecause he does not have Audit Manager role. -
OKV_OLIVER:OKV_SYS_KEYS_JOEcan change the password for userOKV_OLIVER, who has no roles at all.
Parent topic: About Changing User Passwords
5.2.2 Change Your Own Password
Any user can change his or her own Oracle Key Vault account password.
To change your own password:
Parent topic: About Changing User Passwords
5.2.3 Reset Another User's Password
You can reset the password of another user if you are a Key Vault System Administrator or a user with the identical administrative role (at minimum) as the user, whose password you wish to reset. Key Vault provides two ways to reset a user's password.
Parent topic: About Changing User Passwords
5.2.3.1 Reset Password Manually
You can set the password manually for a user, and then use any out-of-band method to notify the user of the new password.
To reset another user's password follow these steps:
Parent topic: Reset Another User's Password
5.2.3.2 Reset Password Automatically
Another way to reset a user's password is to have it generated automatically by Key Vault. This password can be sent directly from Key Vault to the user. You must configure SMTP in Email Settings in order to use this feature.
To automatically generate a password and have it sent to the user follow these steps:
If you check Auto Generate Password without configuring SMTP, a link to Email Settings appears. Click the link to configure email settings and repeat Steps 1-7.
Parent topic: Reset Another User's Password
5.2.3.3 Reset Operating System User Account Passwords
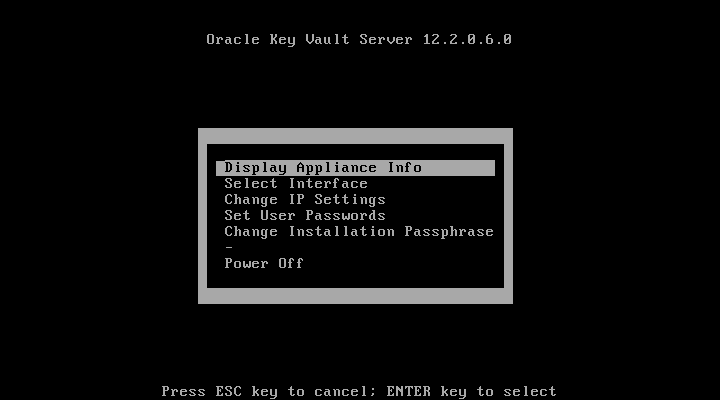
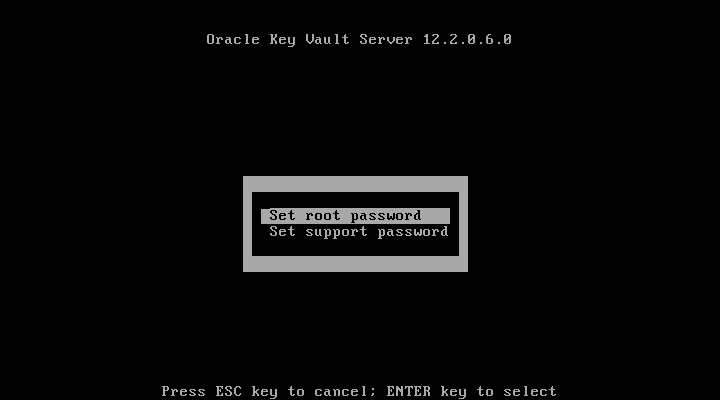
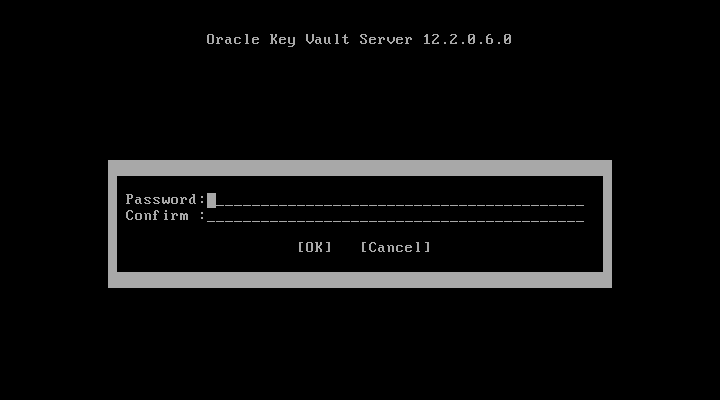
You can reset the passwords for the Operating System user accounts, Root and Support. The Root and Support users will be prompted to change their password when the next time they log in is past the expiration time of their passwords. The expiration times are 365 days with a warning at 120 days, and with STIG it is 60 days with a warning at 60 days.
The Operating System User password is changed.
Parent topic: Reset Another User's Password
5.3 Grant a User Access to a Virtual Wallet
A user with the Key Administrator role controls access to security objects for users, endpoints, and their respective groups. Any user may be granted access to security objects in Key Vault at a level appropriate to their function in the organization.
You can grant a user access to a virtual wallet as follows:
See Also:
Parent topic: Managing Oracle Key Vault Users
5.4 About User Email
It is important that Key Vault users have their current email on file so that system changes like alerts and password changes may be communicated directly from Key Vault. User email can be updated in the User Details page. Users can also elect to opt out of email notifications.
Parent topic: Managing Oracle Key Vault Users
5.4.1 Disable Email Notifications for a User
You can disable email notifications for a user on the user details page.
To get to the User Details page:
Parent topic: About User Email
5.5 Manage User Groups
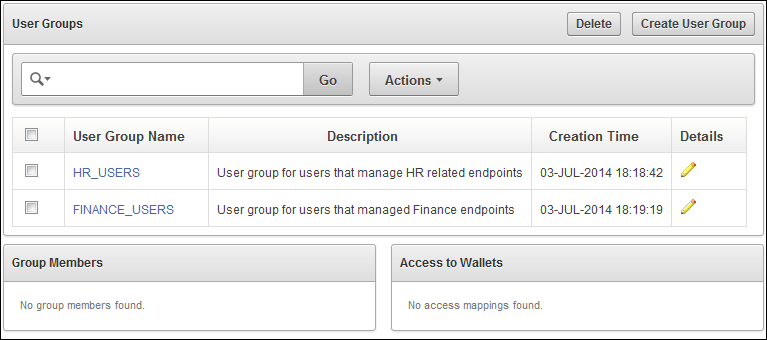
A user group is a named collection of users who have a specific purpose.
- How User Groups Work
- Create a User Group
- Add a User to a User Group
- Remove a User from a User Group
- Grant a User Group Access to a Virtual Wallet
- Modify User Group Description
- Delete a User Group
Parent topic: Managing Oracle Key Vault Users
5.5.1 How User Groups Work
Once a user group is created you can modify all its details except the group name, which may not be changed. Users who have the Key Administrator role can create, modify, and delete user groups, in order to manage their access to virtual wallets.
The main purpose of a user group is simplify access control to security objects. If a set of users need access to a common set of security objects, you can put these users in a group and grant the group access instead of granting access per user or per security object. When certain users do not need access to the security objects any more, they may be removed from the group. New users may be added to the group.
The group's access level to security objects may be modified at any time.
Parent topic: Manage User Groups
5.5.2 Create a User Group
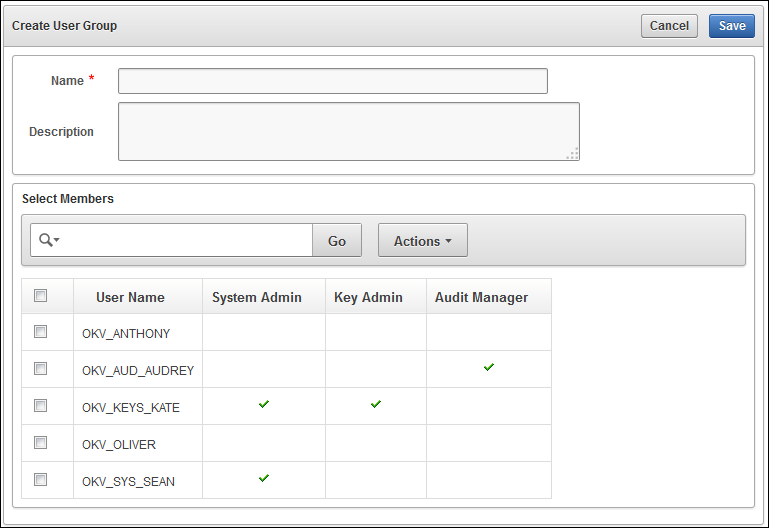
Create a user group when a set of users needs to manage a set of common security objects. You can add users to the group when you create the group or later after creating the group.
To create a user group and add users to the group at the same time:
Parent topic: Manage User Groups
5.5.3 Add a User to a User Group
You can add an existing user to a user group if that user needs to manage the same security objects as the group. You can add users to a group when you create the group or later after creating the groups.
To add a user to a user group after the group is created:
Parent topic: Manage User Groups
5.5.4 Remove a User from a User Group
You can remove users from a user group when their function in the organization changes, and they no longer need to manage the same security objects as the group.
Parent topic: Manage User Groups
5.5.5 Grant a User Group Access to a Virtual Wallet
The access level to a virtual wallet for a user group may be modified at any time as functional needs change.
To change the access level on a virtual wallet for a user group:
See Also:
Parent topic: Manage User Groups
5.5.6 Modify User Group Description
A group description is useful to identify the purpose of the group. This description may be modified at any time to match the purpose of the group.
You can change the description of a user group as follows:
- Log in as a user who has the Key Administrator role.
- Select the Users tab, and then select Manage Access. The User Groups page appears.
- On the User Groups page, select the pencil icon in the Details column, for the user group that you want to modify. The User Group Details page appears.
- Enter a new description in the Description field.
- Click Save.
Parent topic: Manage User Groups
5.5.7 Delete a User Group
You can delete a user group when the users in the group do not need to access the same security objects. This will automatically delete the group's access to wallets and security objects.
To delete a user group, follow these steps:
Parent topic: Manage User Groups
