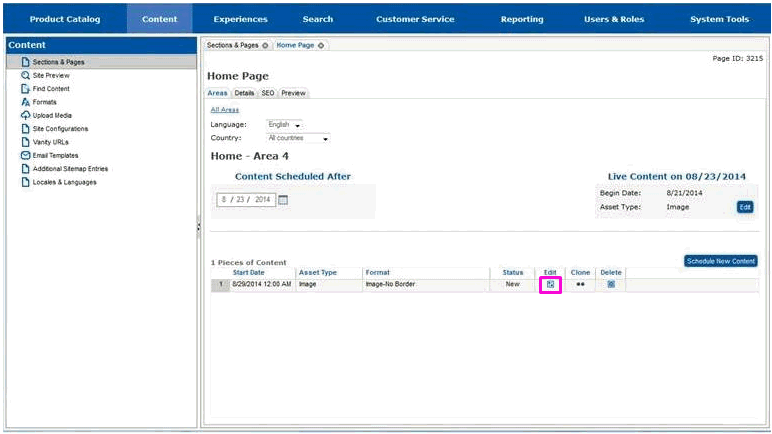
If you have changes you would like to make to the content, you can make those changes from the Areas tab for the specific page and area the content appears in. If you are not on the Areas tab, follow the steps in section Locate the Page and Area for New Content before proceeding with this step.
Select the Edit icon to the right of the content you are changing.
The page will redraw and you will see the content you added. The content will have a status of New. New content cannot be edited, so the content must be changed to the WIP (Work In Progress) status. This will indicate to others that you have reserved this content for editing.
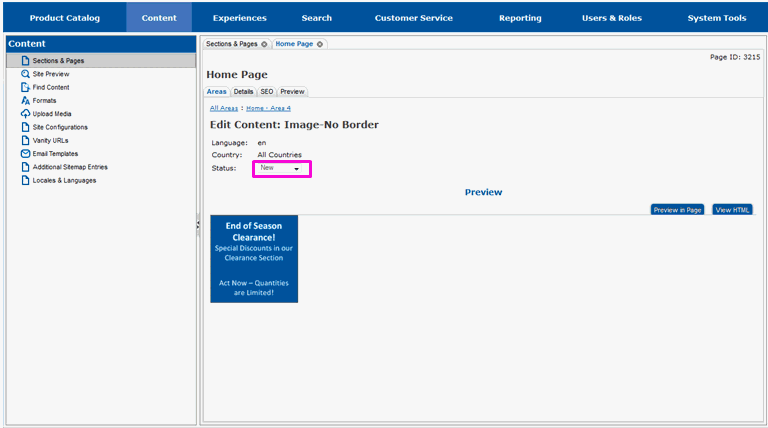
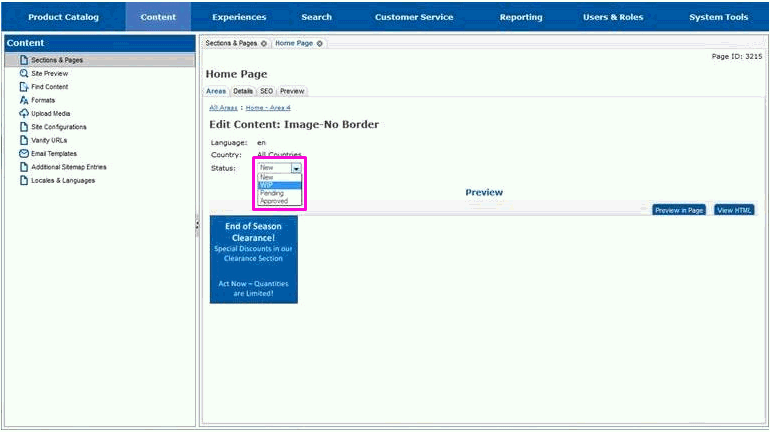
Using the Status drop-down list box, change the status to WIP.
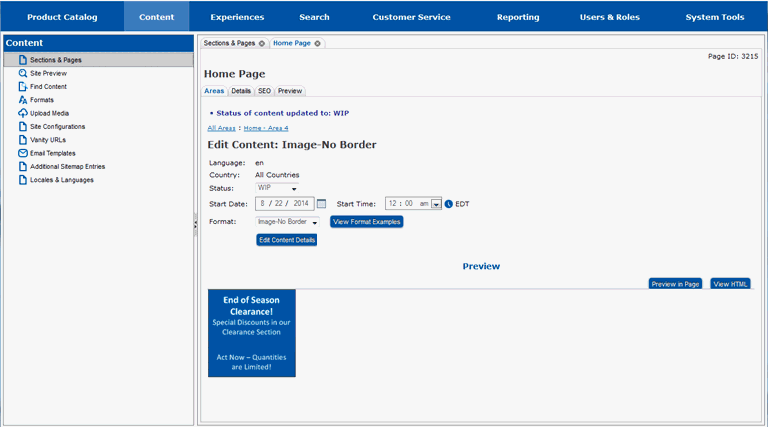
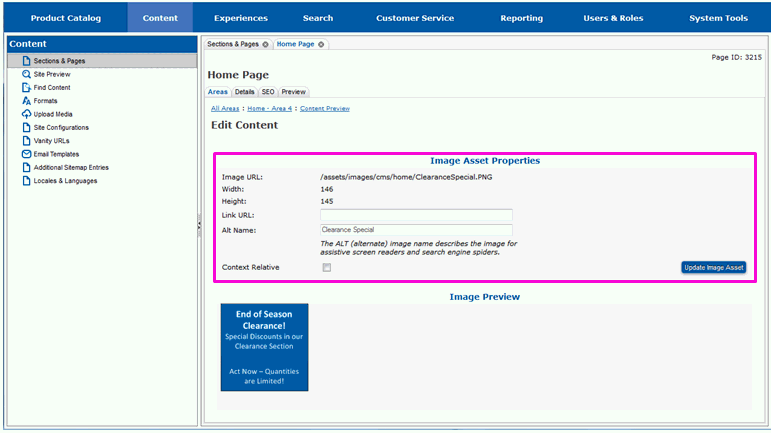
The page will redraw and you will see additional fields that can be used to change the format of your content. These fields will vary, based on the type of content you are adding.
Use the fields as appropriate to change your content.
Select Edit Content Details to make additional changes.
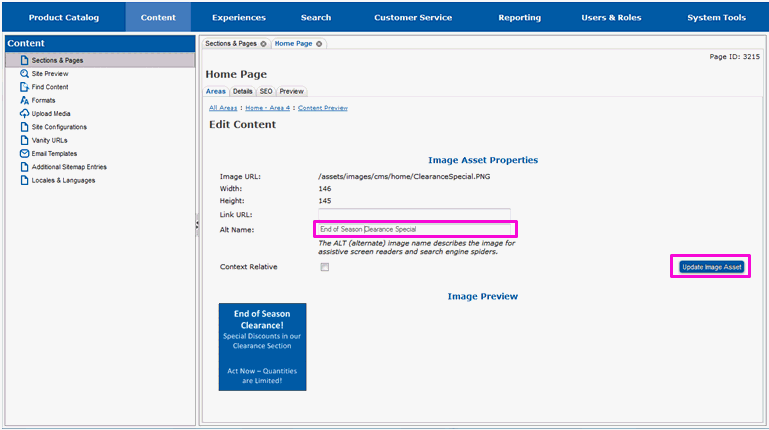
The page will redraw and you will see detailed fields for your content. These fields will vary depending upon the type of content you are editing.
Use the fields to make changes to your content.
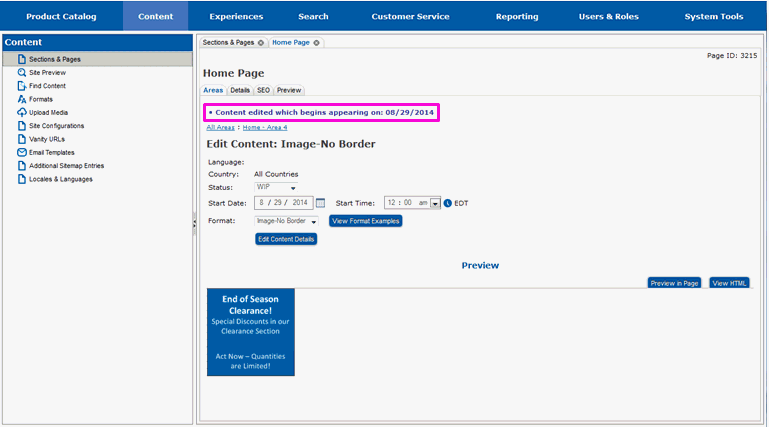
If available, select the Update or Save button to save your changes.
The page will redraw and you will be returned to previous page. You will see a message indicating that your content was edited.
Follow the steps in section Preview New Content to preview your changes. Continue previewing and editing your content until you are satisfied with it. When all the changes to it are complete, continue on to section Mark Content Ready for Approval to mark it ready for approval.
Locate the Page and Area for New Content
Mark Content Ready for Approval
Locate Content by Date or Status