Modify a Table
Modify the display of the table to help analyze your library system.
Detach a Table
Detach a table to display it in a separate window so that you can resize and move it within the browser window. You can detach one table at time.
-
Click the Detach
 icon in the table toolbar.
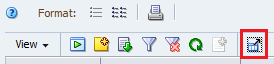
-
To restore the table to its normal position, click Close within the detached window.
Reorder Columns
Move table columns into an order that helps you best see the data.
-
Click and drag the column heading. The cursor changes to the Move object cursor.
Note:
The column on the far-left is fixed and cannot be moved.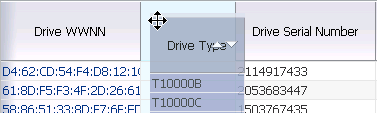
-
Once the column is close to the position you want, release the cursor. The column snaps into place. You do not need to position it exactly.
-
From the View drop-down in the table toolbar, select Reorder Columns...
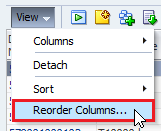
-
In the list, select the columns you want to move.
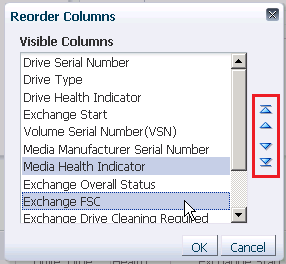
-
Click the up and down arrows on the right of the dialog to reorder the items.
Moving items up in the list moves the column left in the table.
-
Repeat this process until the list is arranged the way you want, and then click OK.
Resize Column Width
Adjust the width of a table column to better view the data.
-
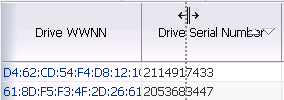
Hover over the right-hand border of the column heading.
-
Click and drag the border. A dotted vertical line appears to indicate the pending width.
-
When the column is the width you want, release the cursor. The column is resized. All other columns retain their original widths.
-
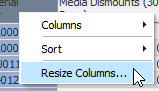
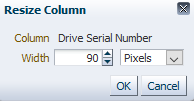
Right-click the heading of the column, and select Resize Columns...
-
Adjust the width using either Pixels or Percent.
If adjusting by percentage, the current width is multiplied by the percentage to calculate the new width. For example: an entry of 200 doubles the current width. An entry of 25 reduces the current width to one-quarter of what it is now.
-
Click OK.
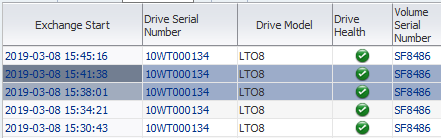
Sort by a Single Column
Sort the table by a single column. For screens that include a Page Number field (Exchanges, Drive Cleanings, and Messages), the sort applies only to the records displayed on the current page.
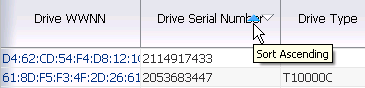
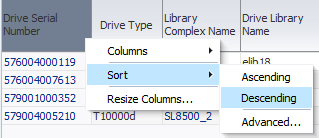
Hover over a column heading, then click either Ascending ![]() or Descending
or Descending ![]() .
.
Note:
You cannot sort the first column with the mouse. Use the menu method instead.Right-click the heading of the column. Select Sort, then Ascending or Descending.
Sort by Multiple Columns
Sort the table using up to three columns. For screens that include a Page Number field (Exchanges, Drive Cleanings, and Messages), the sort applies only to the records displayed on the current page.
-
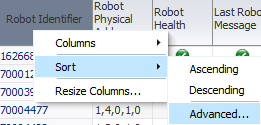
Right-click a column heading, then select Sort, then Advanced...
-
In the Sort By menu, select the column for the primary sort. Select either the Ascending or Descending options.
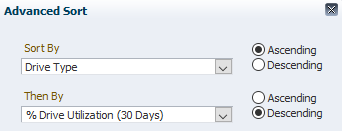
-
Repeat for up to three sorting criteria. Click OK.
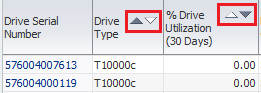
The table data is sorted according to your selections, and the column headers indicate the sort criteria.
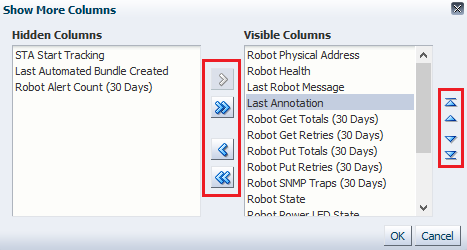
Hide and Reveal Columns
Select which columns appear in the table.
-
From the View drop-down
 , select Columns, then Show More Columns...
 -
Use the left and right arrows to move the columns between the Hidden and Visible lists. Use the up and down arrows to re-order the Visible columns.
Display a Specific Table Page
Messages, Alerts, Exchanges, and Drive Clearings screens display records grouped into pages each with 1,000 records.
Use the Page Number field in the toolbar to select the page to display.
Note that sorting only applies to the currently displayed page.
Display Details for One or More Resources
Display detailed information for one or more resources.
-
In the table, select a row (or use shift-click/ctrl-click to select multiple rows).
-
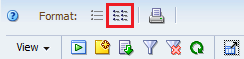
Click Detail View in the table toolbar.
-
If you have selected multiple resources, they are displayed, in order of ID. Scroll down to see all records.

-
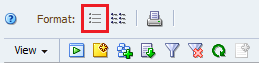
To return to the table, click List View in the toolbar.
Modify Table Annotations
Annotations allow the Operator or Administrator to attach a 250 character comment to selected records. Users with Viewer privileges can display annotations but cannot create or modify them.
-
Select a table row (or use shift-click/ctrl-click to select multiple rows).
If you do not select any records, the annotation will apply to all records currently displayed.
-
Click Add/Edit Annotation
 in the table toolbar.
 -
Type up to 250 characters in the text field. There are no formatting options, such as boldface, color, or line feeds.
-
Click Save Annotation.
Print a Table
Print the currently displayed table data.
This does not print all data in the table, only the data currently on the screen. To print all the table data, export the table data to a file and then print it. See Export Table Data to a Spreadsheet or Document.
-
Scroll to the area of the table that you want to print.
-
Click Printable Table
 on the table toolbar.
 -
Use the browser's standard Print function to send this display to a printer.
Refresh the Table Display
Do not use the browser refresh button. Update the table data using the refresh icon in the table toolbar.
Click Refresh Table ![]() in the table toolbar.
in the table toolbar.