2 Data Seeding
This chapter contains the following:
What is Data Seeding?
EICS needs merchandising foundation data (stores, items, initial inventory positions, suppliers, and so on) in order to function.
Initial inventory data seeding is applicable for new or fresh full EICS installation, and should only be run once. Once the initial set of data is seeded into EICS, subsequent inventory changes are communicated via Oracle Retail Integration Cloud Service (RICS - RIB).
EICS data seeding uses Oracle Retail Integration Cloud Service (RICS) BDI process to seed data from MFCS into the EICS. There are 35 processes that get extracted from MFCS into EICS. These processes have been grouped into nine (9) groups based on dependency and functionality. See Table I-1, "Data Seeding Process Flow Dependencies List" for details.
Data seeding can be used for a variety of use cases:
-
Loading just the Foundation data from Merchandising
-
Loading all stores data
-
Loading a single store data
Overview of Data Seeding Process
-
An Extractor extracts data from a data producing system into an outgoing intermediate integration interface table.
-
A Downloader and transporter services data to receiver service.
-
An Uploader uploads the data to an incoming intermediate integration interface tables.
-
An Importer imports the data from the interface tables into EICS application tables.
For additional detail on BDI Data Integration Topologies, please see Oracle Retail Bulk Data Integration Implementation Guide.
Pre-requisites
Prior to running data seeding, the following requirements must be met:
Sourcing System must be installed:
The sourcing system is the merchandising foundation data sourcing system, such as MFCS.
BDI Transport System must be installed:
BDI Process Flow: Mechanism to run multiple dependent batch jobs.
-
BDI-RMS Batch Job Admin: Provides management of BDI for RMS batch jobs.
-
BDI-SIM Batch Job Admin: Provides management of BDI for EICS batch jobs.
Target System must be installed:
EICS is the receiver target system, proper security settings and system configuration for data seeding must be set. See Configure EICS for Data Seeding section for details.
Configure EICS for Data Seeding
Security Settings
There are two types of security assignments. Enterprise Integration Group and Application Permissions. Enterprise security group is managed within IDCS. EICS Application Permissions are managed via EICS. See Oracle Retail Enterprise Inventory Cloud Service Security Guide "User Provisioning" section for details.
The following table shows user security relevant to Data Seeding:
| Task | Enterprise Security Group | Application Permission Name | Description |
|---|---|---|---|
| BDI Process Flow Integration to access EICS Importer Service | sim_integration_users | N/A | The Application integration user is meant for non-EICS application accessing EICS provided integration resources. The integration app user only needs to be assigned to enterprise security group.
Notes: The application integration user does not require access to the EICS client applications, and therefore does not require store assignments or role assignments (permissions). |
| View EICS Import Job Activities | sim_sysop_users | Access Job Admin | Allows access to EICS batch job screen. |
| Manual Run Data Seed Importer | sim_sysop_users | Access Data Seed | Allows EICS user to manually run data seeding importer jobs via EICS batch job admin. |
Configuration Parameters
The EICS Data Seeding Importer process in EICS imports data from the staged or intermediate tables into EICS application tables. The configuration parameters determine how the importer process operates in EICS.
The data seeding system configuration flags are disabled upon EICS installation because the full set of data should only be loaded once for foundation inventory data and store inventory data.
The following table shows the configuration parameters and their default values.
| Configuration Name | Description |
|---|---|
| Data Seed Foundation Data | The foundation data can be used for initial bulk load of EICS foundation data (such as Supplier, Merchandise Hierarchy, Item and others) from data producing system during initial setup of EICS system. This option should be disabled after EICS data seeding is completed. Default value is set to No.
If you set this parameter to Yes, then data from sourcing system is automatically loaded into EICS application tables during BDI Process Flow process. If you leave this parameter to No, the process loads the data from sourcing system into EICS BDI inbound interface tables, then you must run Importer Job to load data from interface tables into application tables manually via EICS Batch Job Admin Console, see Appendix: Run Importer Separately from EICS Job Admin for details. |
| Data Seed Store Data | The seed store data can be used for initial bulk data load of EICS store inventory data (such as Store Item, and Store Item Stock) from a data producing system. Default value is set to No.
If you set this parameter to Yes, then store data from sourcing system are automatically loaded into EICS application tables during BDI Process Flow process. If you leave this parameter to No, the process loads the store data from sourcing system into EICS BDI inbound interface tables, then you must run Importer Job to import store data from interface tables into application tables manually via EICS Batch Job Admin Console, see Appendix: Run Importer Separately from EICS Job Admin for details. |
| Data Seed By Store | Determines whether the store data are automatically loaded for a single store only when Data Seed Store Data is set to Yes. By default, this parameter is set to No, then all stores and inventory are seeded. To rollout a single store, enable this configuration allow only a single store's inventory data to be seeded. Default value is set to No.
If you set this parameter to Yes, then you must run Importer Job for store data manually via EICS Batch Job Admin Console, see Appendix: Run Importer Separately from EICS Job Admin for details. |
| Data Seed Chunk Limit | Controls the data seeding transaction size limit. Default value is set to 10000. |
| Data Seed On Error Continue | This flag determines how the error should be handled during data seeding import process. If the flag is turned on (true), the process will skip the current chunk of data, and continue to process next chunk of data. If the flag is turned off (false), the data loading process will be terminated when an error occurs. Default value is set to No. |
To change configuration values:
-
Login to Oracle Enterprise Inventory Cloud Service page as EICS System Ops user.
Note:
Full details about the configuration screens can be found in the Oracle Retail Enterprise Inventory Cloud Service User Guide. -
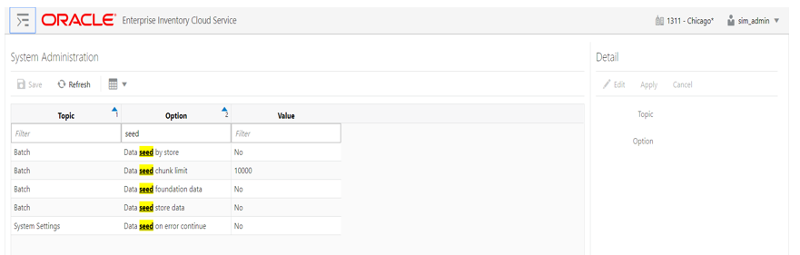
On Main Menu, select Admin - Configuration - System Administration.
-
Search for data seed in option field, change value and save the change.
Steps to Enable Data Seeding in EICS UI
To seed initial inventory foundation data from sourcing system directly into destination application tables, an application implementation consultant must perform the following configuration steps:
-
Use EICS System Administration Console to set data seeding foundation to Yes.
-
Use EICS System Administration Console to set data seeding store to Yes.
Steps to Manual Control Importers
Optionally, if you want to manually control importer steps, perform the following steps:
-
Use EICS System Administration Console to set data seeding foundation to No.
-
Use EICS System Administration Console to set data seeding store to No.
-
Start BDI Process Flow (see BDI Process Flow Admin Console section for details).
-
Once data is loaded into inbound interface table, if you want to import interface data into application tables, set data seeding foundation to Yes, set data seeding store to Yes.
-
Use EICS Batch Job Admin Data Seeding jobs to manually start data seeding importer job.
Optional Steps Prior Initial Seeding
For initial data seeding into EICS, if slowness is observed due to validating data integrity constraints, sysop user can disable the data seeding constraints prior to running initial data seeding (Note: only certain predefined database constraints can be disabled via Data Seeding Console). The database constraints must be enabled after initial data seeding is completed.
To disable data seeding constraints:
-
Login Oracle Enterprise Inventory Cloud Service page as EICS System Ops user.
-
On Main Menu, select Admin/ Technical Maintenance/Job Admin.
-
On Job Admin Screen, click Data Seed, this will bring you to the Data Seed screen.
-
Select Job Name Database Constraints.
-
From Seed Option drop down list, select Disable Constraint.
-
Click Start Job.
Notes: See Post Data Seeding steps for enable data seeding constraints
Run BDI Data Seeding
You only need to run one time full data seeding to initially seed functional inventory data into EICS.
The data seeding processes can be started via BDI Process Flow Admin Console.
BDI Process Flow Admin Console
To start the process flow:
-
Login to BDI Process Flow Console.
-
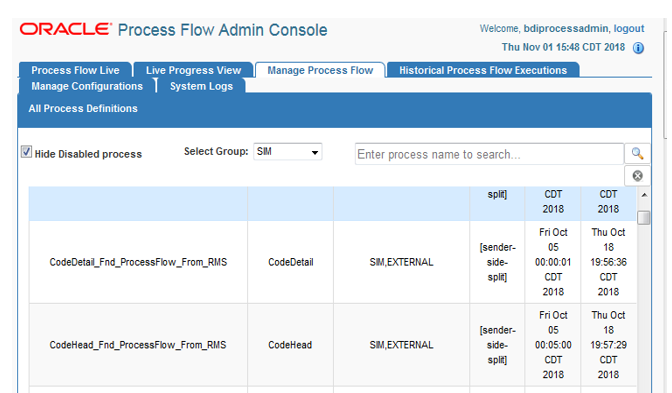
Click Manage Process Flow.
-
Choose group SIM from Select Group drop-down list.
Note:
For data seeding process flow list, see Appendix: Data Seeding Process Flows that shows a list of Data Seeding Process Flows from Merchandising to EICS with groups. There are no dependencies within the same data seeding process group.
To start the process:
-
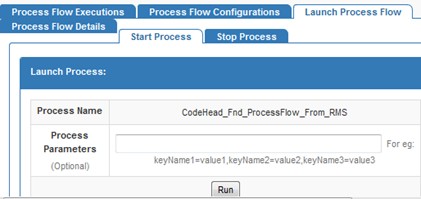
Select the process name.
-
Navigate to the lower panel, and click Launch Process Flow.
-
Click Run.
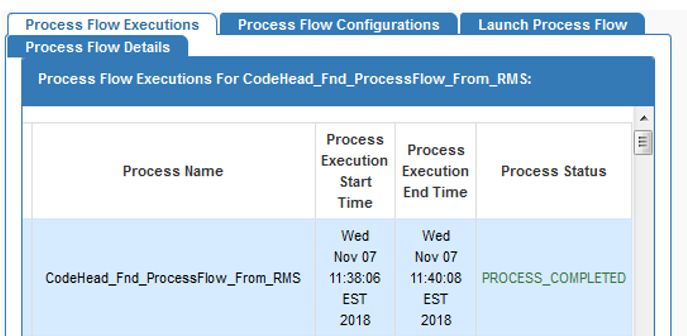
To view BDI Process Flow details, navigate to Process Flow Execution tab to track the status of process flow.
View Process Flow component details:
Extractor
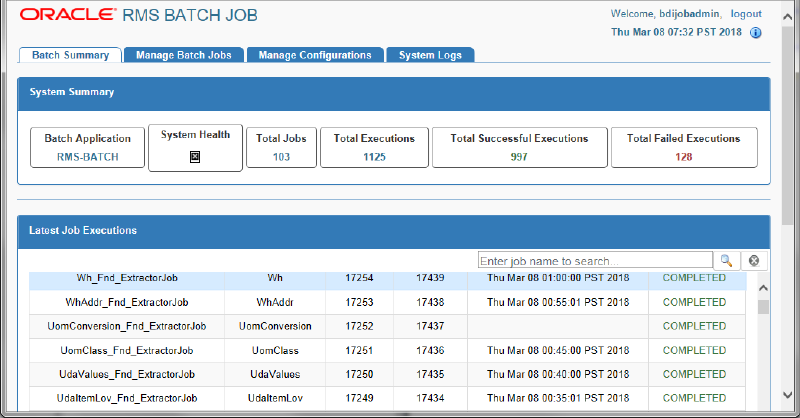
To view extract data from source app, launch edge app batch job admin. The following shows the steps to view extractor from RMS:
-
Launch RMS Batch Job Admin console.
-
Login as BDI Job Admin user.
For details, please see Oracle Retail Bulk Data Integration Implementation Guide.
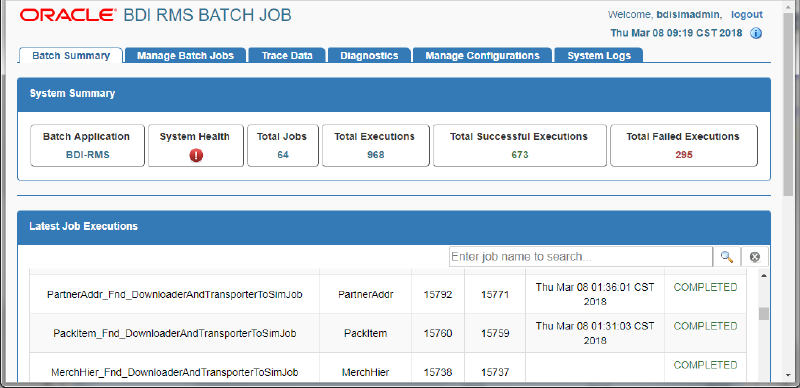
Downloader
To view BDI Downloader job details:
-
Launch BDI for edge app batch admin console.
Follow these steps to view download from RMS.
-
Launch BDI RMS Batch Job Admin console.
-
Login as BDI RMS Job Admin user.
For details, please see Oracle Retail Bulk Data Integration Implementation Guide.
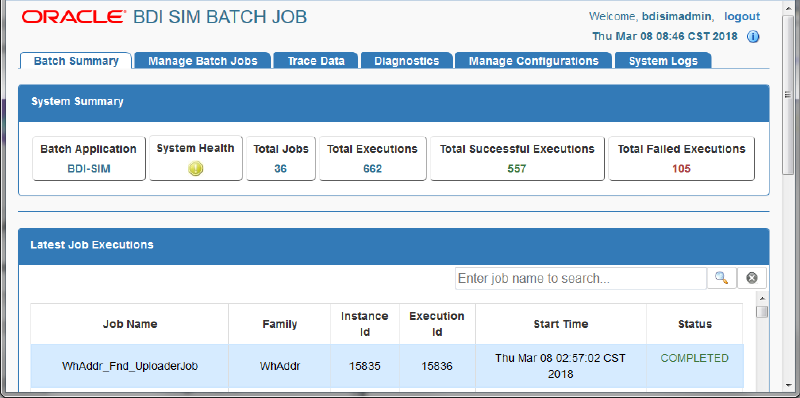
Uploader/Receiver
To view BDI SIM uploader details:
-
Launch BDI SIM Edge Batch Job Admin console.
-
Login as SIM BDI Job Admin user.
For details, please see Oracle Retail Bulk Data Integration Implementation Guide.
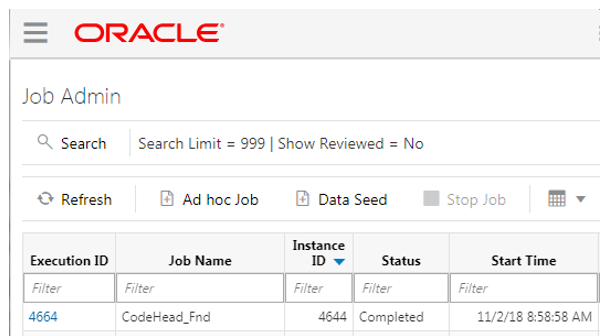
Importer
To View EICS Importer details:
-
Launch EICS application, login EICS as System Ops user.
-
On Main Menu, select Admin - Technical Maintenance - Job Admin.
-
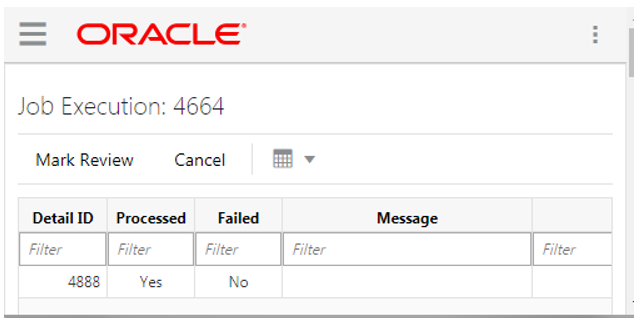
To view detail record, select the record, then click hyperlink on the execution id. This will bring you to the Job Execution Detail screen.
Import Staging Data to Application Tables
If you set the EICS seed options to enabled, the data from external source system is automatically imported into the application table, and you can skip the following steps.
If you set the seed options to disabled, and want to import data from staging table to applications through manual steps, please refer to the following:
| Task | Step |
|---|---|
| Enable Data Seed Flags | Login EICS as System Ops user.
On Main Menu, select Admin - Configuration - System Administration. Search for data seed on option field, change to desired value and save the change. Enabled Data Seed Foundation Data: true Enable Data Seed Store Data: true |
| Import data from stage tables to application tables | See Appendix: Run Importer Separately from EICS Job Admin. |
Re-running EICS Importer Data Loads
After correcting the errors during process flow, you may re-run the initial data seeding process flow.
Important: Before executing additional runs of data seeding, please choose the appropriate re-seed options in EICS Job Admin Console.
Note:
To import data for a specific store, please see Addition Notes: Importing Data for Single Store sectionEICS system ops user login EICS, from Main Menu, navigate to Admin Technical Maintenance - Job Admin
On Job Admin Screen, click Data Seed. This will bring you to the Data Seed screen (for screen details, see Data Seed Importer Job), follow following steps:
| Task | Step |
|---|---|
| Delete the previous seeded module data | Choose desired module from job drop-down list, and then select Data Seed Option Deleted.
For example: Choose Job Name Store End. Select Seed Option Delete Seeded. If you enter the store id, then only the seed data for that store is deleted. |
| Re-import data from stage tables
(see Re-import data from Source System, Re-import data step) |
Choose Job Name Store from job drop-down list, and then select Data Seed Option Seed.
For example: If you enter the store id, then only the seed data for that store is seeded. If you want to import all stores, leave the store id as blank. |
| Re-import data from Source System | Delete the previous seeded module data
Go to BDI process flow, choose the flow to be re-run, start the BDI process flow. |
BDI-Based Data Seeding Post-Load Processes
-
Enable Oracle Enterprise Inventory Cloud Service (EICS) constraints after data seeding.
-
Login EICS as EICS System Ops user.
-
On Main Menu, navigate to Admin - Technical Maintenance - Job Admin
-
On Job Admin Screen, click Data Seed. This will bring you to the Data Seed screen.
-
Select Job Name Database Constraints.
-
From Seed Option drop-down list, select Enable Constraint, click Start Job.
-
-
Purge data from inbound data seeding stage tables.
The inbound data seeding stage tables can be purged by batch job, the purge job purge group of data seeding interface tables, see Data Purging Batches - BDI Staging Data in the Batches chapter.
Alternatively, if you want to purge individual interface table, then follow following steps:
-
Login EICS as EICS System Ops user.
-
On Main Menu, navigate to Admin Technical Maintenance - Job Admin.
-
On Job Admin Screen, click Data Seed. This will bring you to the Data Seed screen.
-
Select Each Importer Job Name (for example Code Head), then choose Seed Option Delete In, click Start Job.
-
-
Turn off EICS Data Seeding System Configuration Flags.
-
Login EICS as EICS System Ops user.
-
On Main Menu, navigate to Admin - Configuration - System Administration.
-
Search for data seed on option field, change value and save the change.
-
Set the following values:
Enabled Seed Foundation: No
Enable Seed Store Data: No
-