6 Excursion Desk
The Excursion Desk function not only allow excursion bookings to be made, it also provides a booking status, booking lists, and mark the attendance of the excursion.
Booking Status
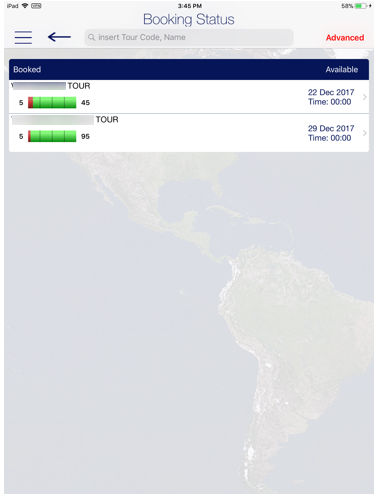
The Booking Status function displays a summary of bookable excursions by date, the number of bookings made and available. This function also lists the guest that has booked, on the waitlist, attended, or have not attended the excursion.
Figure 6-1 Excursion Booking Status
-
At the Excursion Desk screen, press Booking Status to list the available.
-
Use the search bar to search for a specific tour code or name, or filter the tour by date using the Advanced.
-
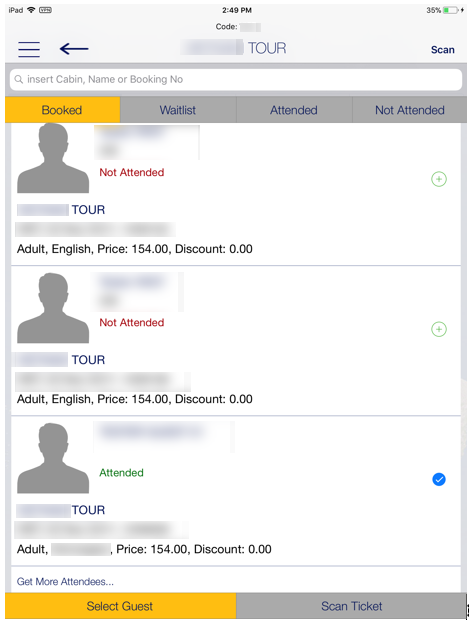
Select a tour to open the guest list sorted by booked, waitlist, attended, and not attended status. Press the Scan Ticket to search for the booking using the ticket barcode or board card.
-
Press the “+” button to the right of the Booked list to change the status to Attended and set the icon to checked.
Booking List
The Booking List displays the number of bookings made based on your current PC date, and listed the booking per booked, waitlist, attended, and not attended. It also enables you to update the attended status, similar to Attendees Tracking.
Booking a Tour by Account
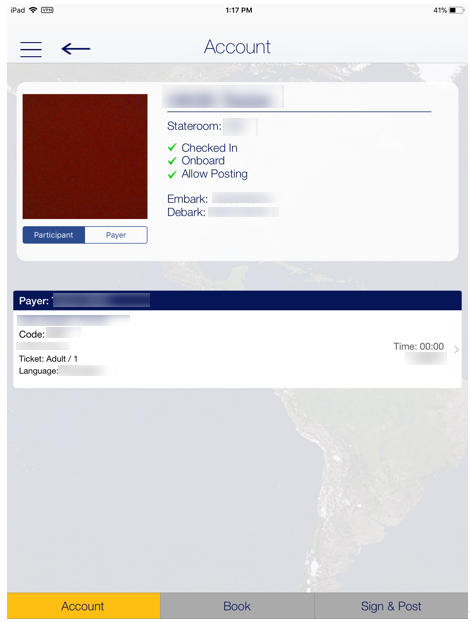
Figure 6-2 Tour Booking by Account
-
At the Excursion Desk screen, press the Book by Guest/Account button and search for the guest account by cabin or name.
-
Current excursion booked will be listed on the Account screen.
-
To book an excursion, press the Book button.
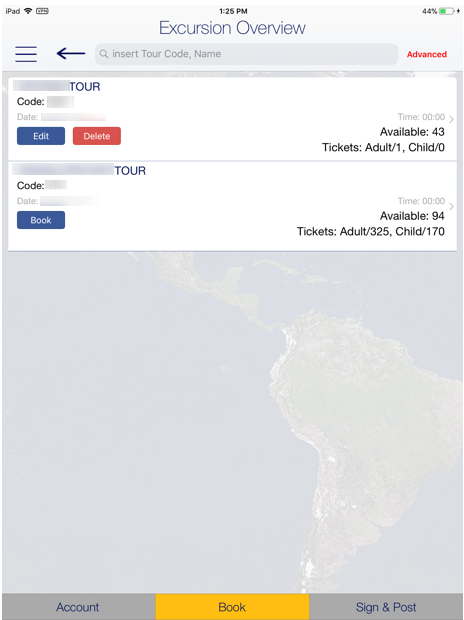
Figure 6-3 Excursion Overview - Book Function
-
Select the excursion listed on the Excursion Overview screen to view the excursion information or press the Book button to place a booking.
-
(Optional) Enter the quantity and discount.
-
Press Done.
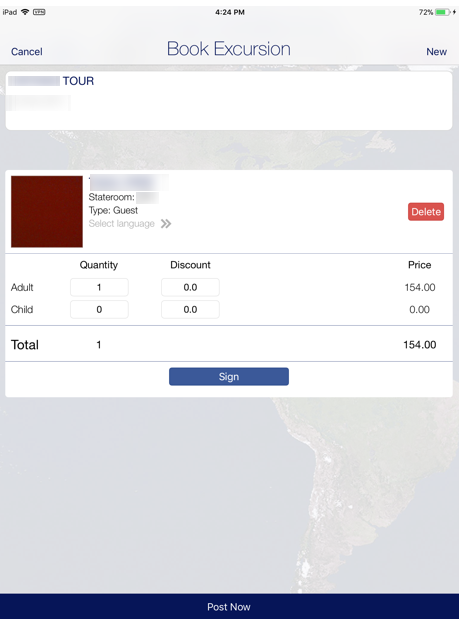
Figure 6-4 Excursion - Post Now
-
Press Sign & Post at the Excursion Overview to post.
-
Verify and confirm the details, and press the Sign and post all tickets button.
-
Allow the guest to place their signature on the signature pad and press Sign.
Booking a Tour using Book Option
-
At the Excursion Desk screen, press Book.
-
Select the excursion from the available list.
-
Press Book to place a booking.
-
Search the guest account by scanning the guest board card or use the search bar.
-
Select the guest(s) from the result list, and press Apply.
-
(Optional) Enter the quantity and discount.
-
Press Sign for guest to place their signature.
-
Press Post Now to confirm the booking.
-
Press the New to button to place a new booking.
Attendees Tracking
The Attendees Tracking function enables you to mark the guest attendance by scanning the ticket barcode or manually select the guest from the booking list.
-
At the Excursion Desk screen, press the Attendees Tracking button.
-
Place the ticket barcode inside the viewfinder rectangle to scan.
-
To manually select the guest, press the Select Guest button and select the guest from the Booked tab.
-
Press the “+” button on the right to turn them into a checked mark. This changes the status from Not Attended to Attended.