3 System Accounts
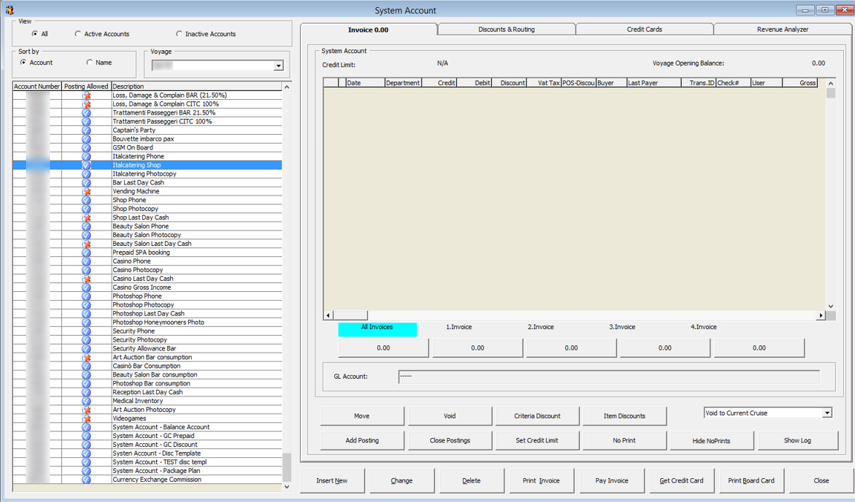
System Accounts is a repository account mainly used for postings that do not impact any of the passenger’s account, for example Cash postings from an outlet, Ad-hoc purchases, Crew signing privilege or as an adjustment account. These accounts do not have a check-in/out date, and when not in use, you can set it to ‘Inactive’
Figure 3-1 System Account
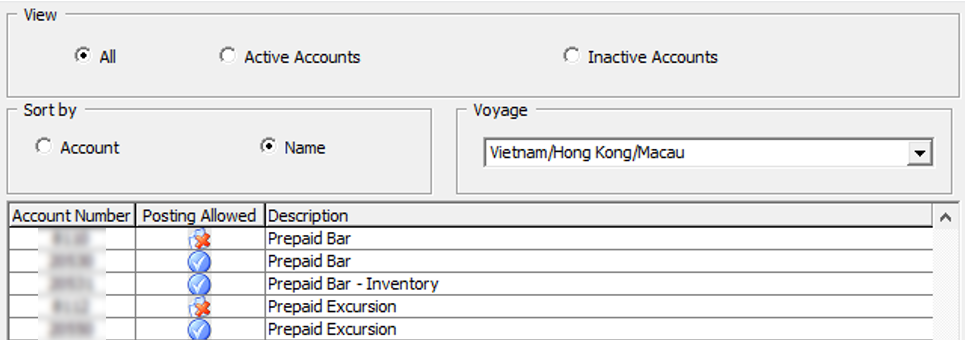
In the System Account Main window, accounts are filtered byAll, Active Accounts or Inactive Accounts, sortable by Account/Name or Voyage.
Figure 3-2 System Account Filters
Creating a System Account
- In the Management module, select Cashier, then System Accounts from the drop-down menu.
- At the System Account window, select Insert New.
- Enter the information for the account and then click OK to save. The newly created account will appear as ‘Active’ in the account list.
Figure 3-3 System Account Entry Form
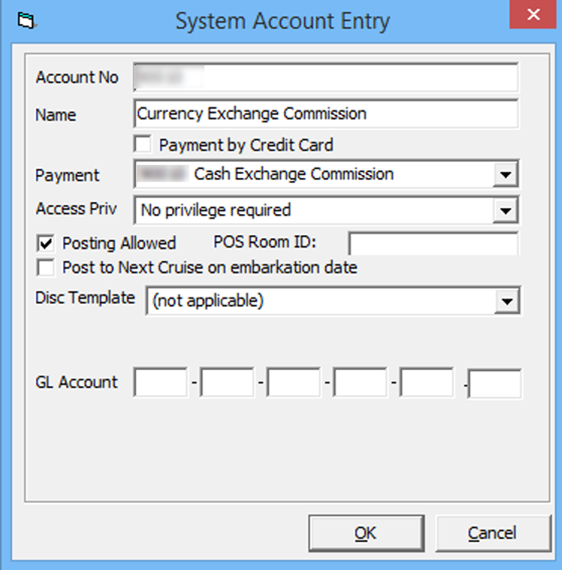
Table 3-1 Field Definition of System Account Entry Form
| Field | Description |
|---|---|
|
Account No |
User Assigned account number |
|
Name |
System Account Name |
|
Payment by Credit Card |
Enable credit card payment type |
|
Payment |
Payment type linked to Department Codes in Financial Setup |
|
Access Priv |
Privilege level allowed to access the account. |
|
Posting Allowed |
Sets the account Active/Inactive. |
|
POS Room ID |
Assigned Room ID for MICROS POS. |
|
Post to Next Cruise on embarkation date |
Enable posting of charges into the next Cruise when the account is balanced. |
|
Disc Template |
Linked to available Discount template and apply the discount when the posting added is a department code listed in the template. |
|
GL Account |
Link the transactions to designated GL account. Require Parameter: General, Enable System Account GL Setting. |
Changing the System Account Information
Information of the System Account can be changed by selecting the account from the Account list, then click Change, and then click OK to save.
Deleting a System Account
Note:
An account can only be deleted when there are no postings linked to the account.Posting a Charge to System Account
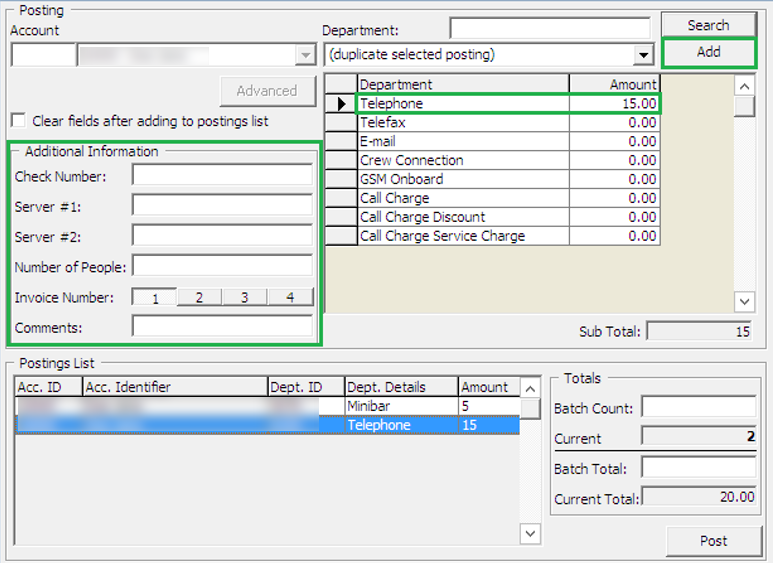
Posting a change to System Account is similar to Add Posting in Guest Handling. See Invoice Tab on how to Add, Void, Move and Route posting, Pay and Print an invoice, and other posting related function.
Enabling Posting for Next Cruise
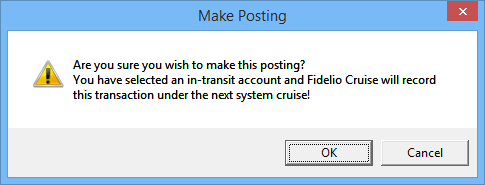
System Account allows you to post to future cruise by checking the ‘Post to Next cruise on embarkation date’ in the System Account Entry form.
Note:
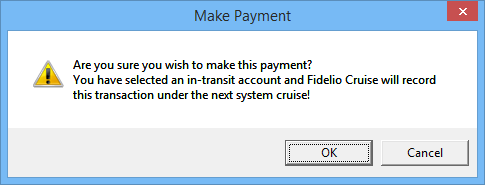
Posting will appear on Invoice tab until you perform a System Cruise Change.Applying Payment to Next Cruise Posting
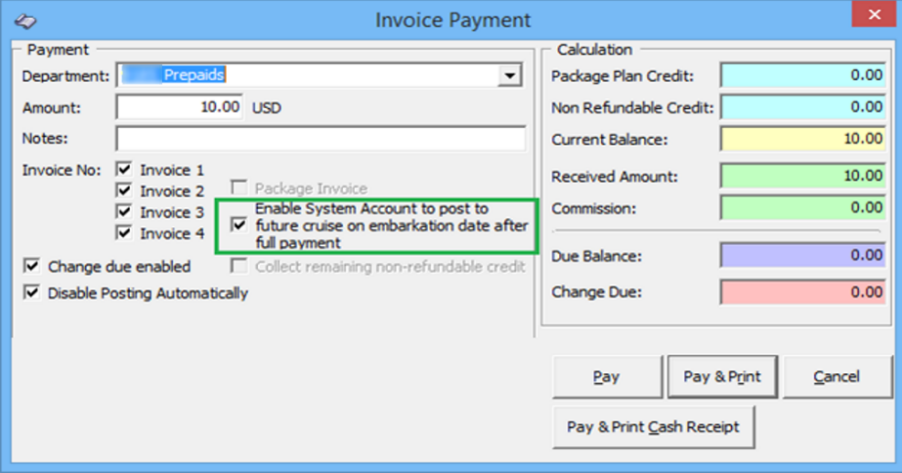
When applying a payment to future cruise, the account must have ‘Post to Next Cruise on embarkation date’ checked, otherwise the system will post the payment into Current Cruise.
Note:
If the ‘Post to Next Cruise on embarkation date’ is not checked in the System Account Entry form, the system then post the paymentinto current cruise by default, and this may cause an imbalanceDiscount & Routing Tab
The Discount & Routing tab in System Account function the same way as Discount handling in Guest Handling. See Disc, Route, Pkg Tab for more information.
