Creating a Connection

The first step in creating an integration is to create the connections to the applications with which you want to share data.

  1. In the Integration Cloud Service toolbar, click Designer.

  2. On the Designer Portal, click Connections.

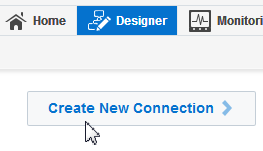
  3. Click Create New Connection.
    Description of GUID-8CBFC9BE-8EE5-44B3-8EDC-DB4B6FB5698C-default.png follows
    Description of the illustration GUID-8CBFC9BE-8EE5-44B3-8EDC-DB4B6FB5698C-default.png
    The Create Connection — Select Adapter dialog is displayed.
  4. Select an adapter from the dialog. You can also search for the type of adapter to use by entering a partial or full name in the Search field, and clicking Search.
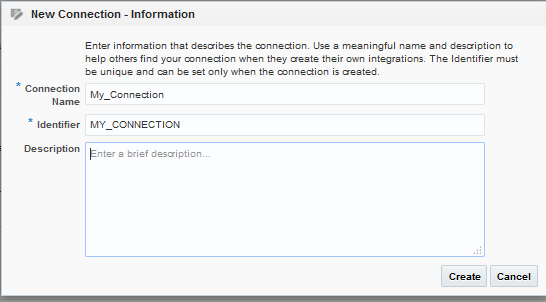
    The New Connection — Information dialog is displayed.
  5. Enter the information to describe the connection. Use a meaningful name to help others find your connection when they begin to create their own integrations.

  6. Click Create.
    Your connection is created and you are now ready to configure connection details, such as email contact, connection properties, security policies, and connection login credentials.

Adding a Contact Email

From the Connection Administrator section of the connection, you can add a contact email address for notifications.

  1. In the Email Address field, enter an email address to receive email notifications when problems occur.
  2. In the upper right corner, click Save.

Configuring Connection Properties

Enter connection information so your application can process requests.

  1. Click Configure Connectivity.
    The Connection Properties dialog is displayed.
  2. Enter the host name or IP address of the database server.
  3. Enter the database server port number.
  4. Enter the database name.
  5. Click OK.
    You are now ready to configure connection security.

Configuring Connection Security

Configure security for your MySQL Adapter connection by selecting the security policy and security token.

  1. Click Configure Credentials.
  2. Enter your login credentials.
    1. Select the security policy. Only the Username Password Token policy is supported. It cannot be deselected.
    2. Enter a username and password to connect to the database.
    3. Reenter the password a second time.
  3. Click OK.
    You are now ready to select the agent group with which to associate the application.

Configuring an Agent Group

Configure an agent group for accessing your on-premises application.

  1. Click Configure Agents.
    The Select an Agent Group window appears.
  2. Click the name of the agent group.
  3. Click Use.
  4. Test the connection. See Testing the Connection.

Testing the Connection

Test your connection to ensure that it is successfully configured.

  1. In the upper right corner of the page, click Test.
    If successful, the following message is displayed and the progress indicator shows 100%.

    The connection test was successful!

  2. If your connection was unsuccessful, an error message is displayed with details. Verify that the configuration details you entered are correct.
  3. When complete, click Save.