Configuring a Custom Banner
Important:
The CompanyInfo element can only be configured in the DEFAULT_HEADER_FLUID header definition or a clone. While DEFAULT_HEADER_FLUID itself applies to classic components only, the CompanyInfo element within it can be configured for classic, fluid, or both.
You can configure a special CompanyInfo element in the DEFAULT_HEADER_FLUID header definition to create a custom banner that can include your own images, logos, and links. This custom banner is in addition to both the classic header and the fluid banner. The custom banner can be displayed above the system header on classic pages and homepages, above the fluid banner on fluid pages and homepages, or both.
When configuring the CompanyInfo element, be aware of these considerations:
-
Review and adhere to the general limitations for using the rich text editor found in Applications User’s Guide: Working With Rich Text Editor Fields.
-
Do not add new JavaScript functions–that is, do not use the <script> tag. However, you can reference PeopleSoft system JavaScript functions.
-
Design your custom banner to account for the adaptive and responsive nature of both fluid and classic pages. Depending the simplicity of the design of your custom banner, you may be able to create a single combined definition for both fluid and classic pages. However, because fluid application requirements for being both adaptive and responsive differ from classic applications, you may need to select the check box to enable separate banner definitions.
-
Avoid explicitly specifying font and other formatting using the rich text editor toolbar tools. Instead, create custom style classes for branding or use style classes delivered in your PeopleSoft system and apply those styles to the elements in your custom banner.
-
Similarly, avoid specifying image attributes (such as height, width, border, and others) to images uploaded through the rich text editor. Remove any such attributes on the Image Properties page and use style classes instead to modify image rendering.
-
Use the Source button to add <div> elements creating structure to which you can apply styling.
-
In addition, use the Source button to review the HTML code to remove spurious formatting, image attributes, and other code that is not HTML5 compliant.
Note:
In order to view and configure the CompanyInfo element, the branding administrator requires the Company Info Administrator role, in addition to the roles required to define headers and footers. See Roles Required for PeopleTools Branding for more information.
To configure a custom banner:
-
Select .
-
Select the DEFAULT_HEADER_FLUID header definition to customize it. (Otherwise, if you have cloned the version of DEFAULT_HEADER_FLUID delivered in PeopleTools 8.57 or later, then select your cloned header definition.)
-
Click the CompanyInfo element.
-
Click the Additional Options link.
-
Complete the additional options for the CompanyInfo element:
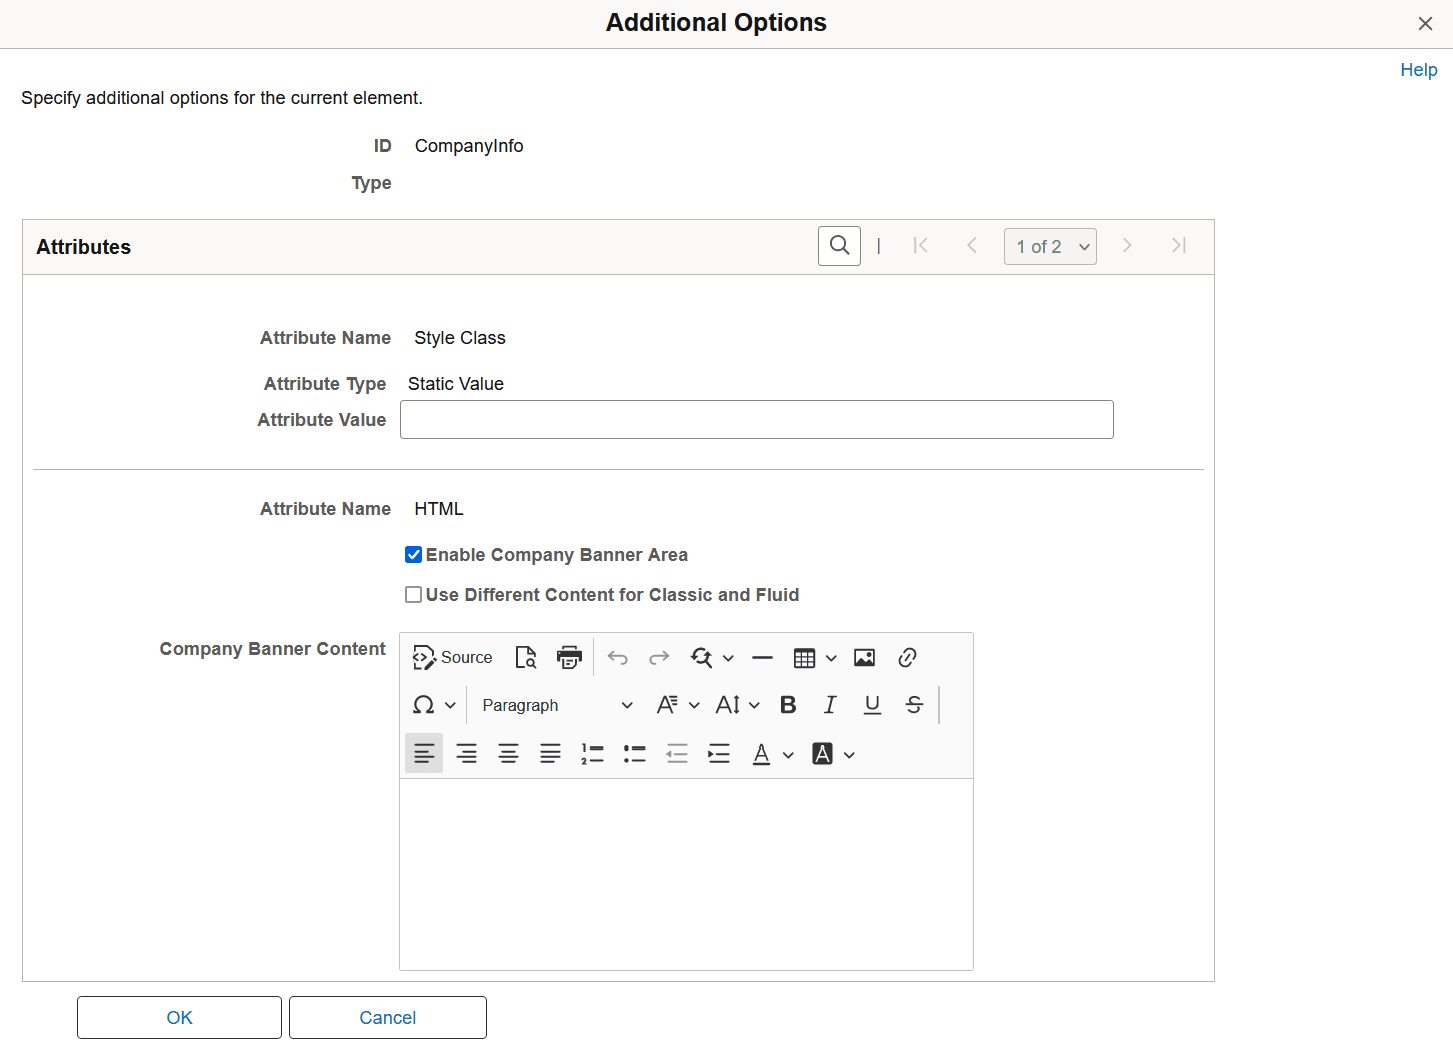
This example illustrates the fields and controls on the Additional Options page for the CompanyInfo element. You can find definitions for the fields and controls later on this page.
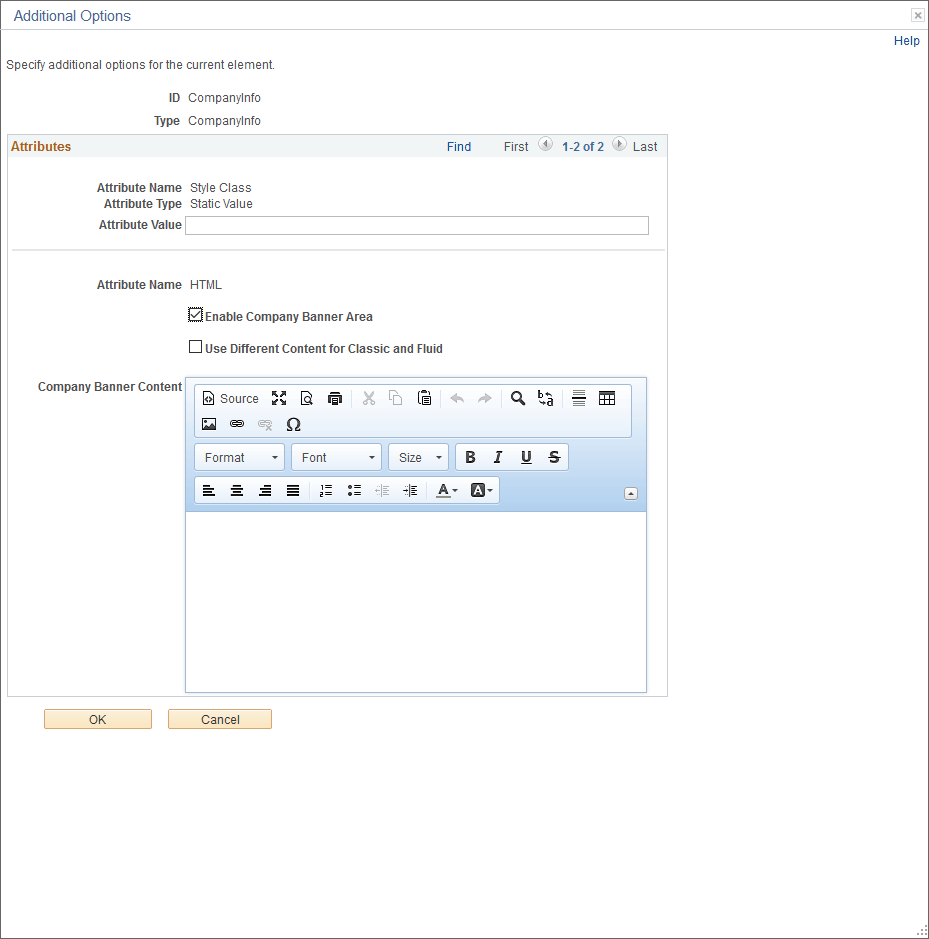
Field or Control Description Style Class: Attribute Value
Enter one or more free form style class names separated by spaces to specify additional formatting for the CompanyInfo element.
Enable Company Banner Area
Select this check box to enable the custom banner. Selecting this option will reveal the rich text editor, which allows you to create the content for the custom banner.
Use Different Content for Classic and Fluid
Select this check box to enable two separate rich text editor fields to create separate custom banners for classic and fluid.
Note:When this check box is deselected, the same banner will be displayed for classic and fluid.
Banner Content
Use each rich text editor field to define the text, images, and links to be displayed in your custom banner. When the Use Different Content for Classic and Fluid check box is selected, two rich text editor fields are displayed: one for classic, one for fluid. Otherwise, only one rich text editor field is displayed.
See Applications User’s Guide: Working With Rich Text Editor Fields for more information.
-
Click OK.
-
Click Save to save the header definition.
-
Test your custom banner by navigating to a classic page, a classic homepage, a fluid page, and a fluid homepage, depending on how you customized the content of the banner.
-
Optionally, use macros to define other aspects of the custom banner including its background color, bottom border, banner-specific style sheets and so on. See Updating Custom Macro Sets for the Current Release for the list of new macros added in PeopleTools 8.57 to support custom banners.
Related Topics