Identifying Trusted Nodes
After the remote nodes have been defined on each system, all the default local nodes participating in the single signon configuration need to be identified on each system.
To identify the trusted nodes on each system:
-
Select .
-
In the Configure Unified Navigation center, expand the Single Signon Setup section and select the Define Trusted Nodes link to open the Single Signon page in the target area.
-
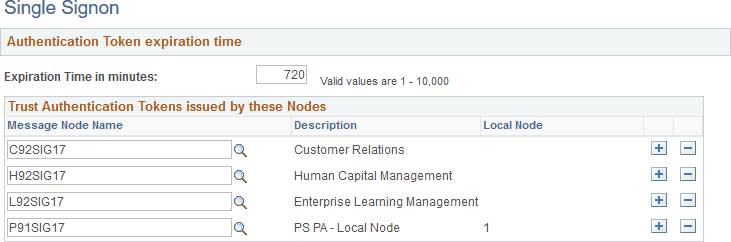
Add the default local node from each content provider system as a trusted node.
This example illustrates the Single Signon page listing all trusted default local nodes.
-
Save the list of trusted nodes.
-
Select .
-
Select the Authorized Site page.
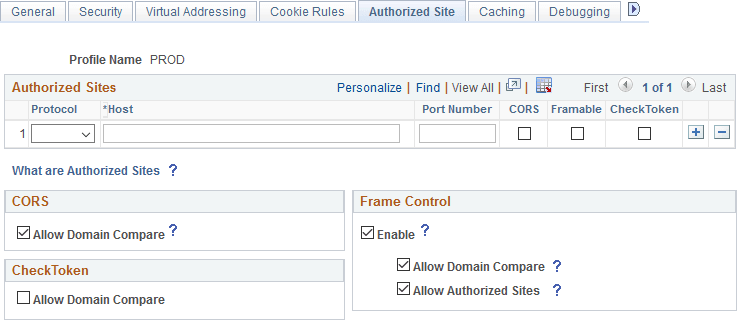
This example illustrates the fields and controls on the Web Profile Configuration - Authorized Site page.
-
Using the CheckToken settings, add each remote host participating in the single signon configuration, either explicitly, by specifying the host’s domain or subdomain, or by selecting the Allow Domain Compare check box when appropriate.
-
Save the configuration. Then, stop and restart the web server.