Attach an AI Agent and Configure Filter Mapping in a Workbook
Attach an AI Agent to a workbook and configure filter mappings so the AI Assistant can use workbook filter context when generating responses.
After you prepare the workbook filters and parameters, attach the AI Agent to the workbook and map the workbook parameters to the corresponding AI Agent filters. The mappings determine which workbook filter values the AI Agent receives during Assistant interactions. When workbook consumers interact with the AI Assistant, the agent dynamically applies the current workbook filter selections to AI-generated responses.
Before performing this task, confirm that you created an AI Agent with parameter-bound filters and prepared the workbook for AI Agent filter binding. See Configure an AI Agent to Use Workbook Filter Values and Prepare a Workbook for AI Agent Filter Binding.
Note:
- From the Preview menu
 , select Configure Presentation.
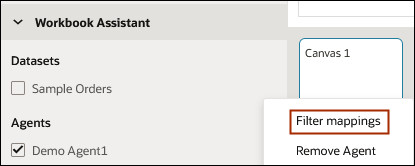
 - In Agents, locate the agent you added, click Show Agent Options, and click Filter Mappings.
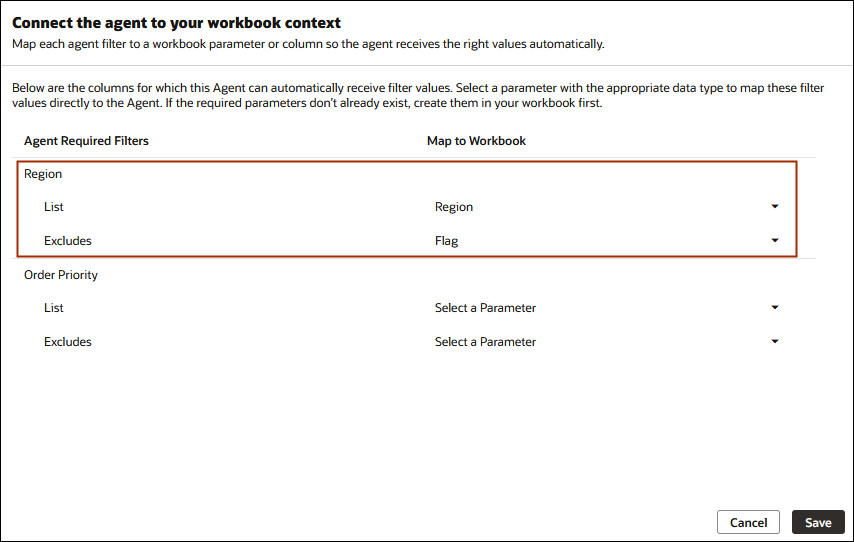
- In Connect the agent to your workbook context, locate the List required filter and select the parameter to map it to.