Configure an AI Agent to Use Workbook Filter Values
Configure an AI agent that you can add to a workbook and map to receive and apply the workbook's filter values in AI Assistant responses.
Creating the agent is the first step in a multi-step process for enabling workbook filter binding. See Create an Oracle Analytics AI Agent.
After you create the agent to accept workbook filter values, you must configure workbook parameters and parameter bindings to pass the workbook’s filter values to the AI agent. See Prepare a Workbook for AI Agent Filter Binding.
After configuring the workbook filters, parameters, and parameter bindings, add the AI agent to the workbook and define the filter mappings. See Attach an AI Agent and Configure Filter Mapping in a Workbook.
- On your home page, hover over the agent you want to configure, click Actions, and then click Open.
- Click Edit the Agent.
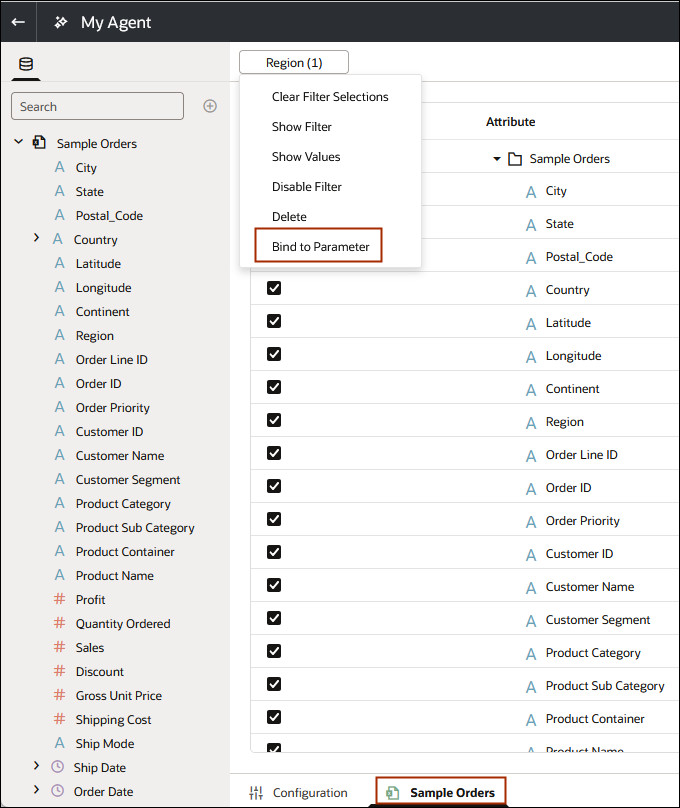
- Click the dataset tab and go to the Data pane. Locate and drag and drop the columns you want to filter to the filter bar.
- Right-click the filter you want to bind to the workbook filter.
- Optional: Click Show Filter to display filter values in workbook consumer mode. This is useful because it helps the workbook user know which filter values are applied to the data displayed in the Assistant.
- Click Save.