Manage User Roles and Access
You can create, edit, and remove user roles to secure access to your application's business objects.
In addition to the Authenticated User role granted to users who sign in to your application, users can be assigned a user role based on their credentials and the groups they've been assigned to in Oracle Identity Cloud Service (IDCS). When a user tries to access data in a business object secured by this user role, the roles assigned to the user are authenticated in IDCS. Access is granted if one of the user roles securing the business object is mapped to one of the groups the user has been assigned to in IDCS or if the user was mapped to that user role directly.
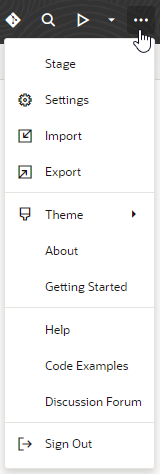
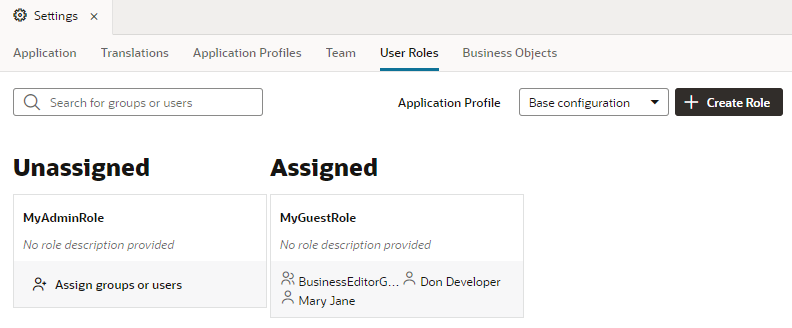
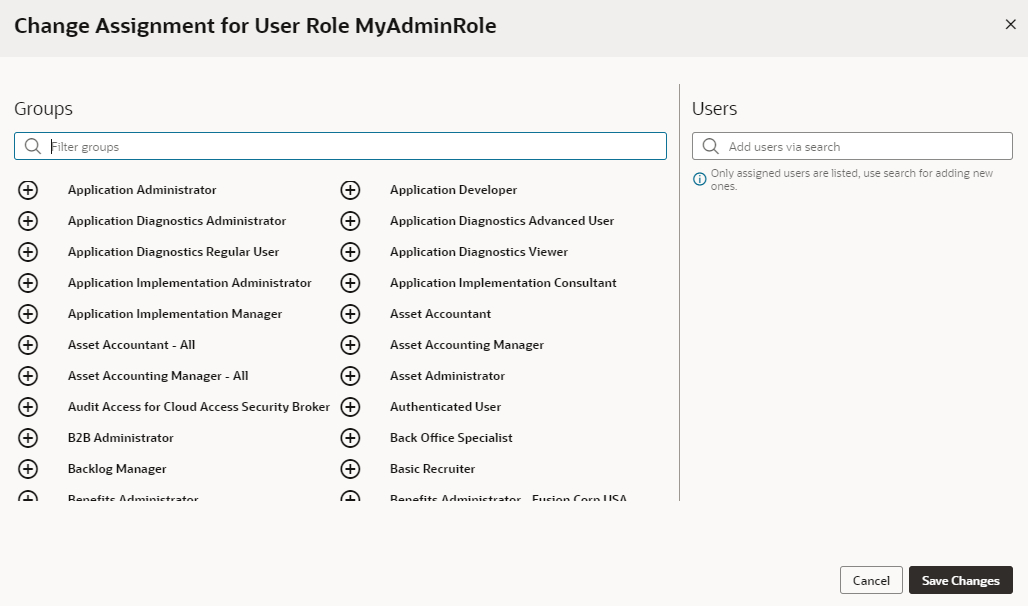
Use the User Roles tab in a visual application’s Settings editor to create a user role and assign users and groups in your IDCS account to the user role. Assigning groups to your user role maps the role to IDCS groups and is known as "role mapping". Once you create a user role, the role and any users or groups assigned to it are automatically added to the client application in IDCS.
To create a user role in your visual application:
After you create a role, you'll need to enable role-based security for the application's business objects by specifying the user roles that can access the object and setting access privileges for the role in the business object’s Security tab.
Besides securing access to the data in your business objects, user roles can help control what a user sees in your application. For example, you can use role-based permissions to limit access to the app, entire pages or flows, even set restrictions on certain components in a page, so only users with certain roles can view that information.
Note:
An application's user role definitions are preserved whenever it is exported and imported—as long as the app is imported to the same IDCS domain it was exported from. When you export an app, its user roles (as defined inuser-roles.json) are included in the exported application archive (role-mapping.json), then re-created when you import the application. Once this is done, the role-mapping.json file is deleted from the application's sources. But if you run into errors and this doesn't happen (say, because you're importing an older app whose users and groups no longer exist in IDCS), you'll need to manually set up the user roles again.


