Tour: Explore an Integration That Sends a Hello World Message
This tour provides a walkthrough of a Hello World integration, including steps to monitor the integration.
Step 1. View the Integration Design
- In the navigation
pane, click Design, then
Integrations.
This integration consists of the following:

-
A REST Adapter is configured as a trigger (inbound) connection in the integration. The REST Adapter is configured with a resource endpoint of
/input/{Helloworld}and a GET operation. The REST Adapter is configured to receive a message and respond with a message. The REST Adapter is triggered when you specify an integration name on the Configure and run page. - A logger action is configured with a
concatfunction that accepts the integration name you specify on the Configure and run page and concatenates it to the message.concat('Integration name is :', name) - A mapper maps the source value to the target message element.
- A response is returned.
-
Step 2. View How to Run the Integration
- Hover your cursor over Hello World, then click
Activate
 .
.
- Click Activate when prompted.
- Wait for the icon to turn green and the word Active to appear in the Status column, indicating that the integration is activated.
- Hover your cursor over Hello World, then click
 and select Run. The Configure and run page is displayed.
This page is available only for REST Adapter-trigger based
integrations and scheduled integrations.
- Enter
Hello World, and click Run.
Step 3. View the Movement of Messages Through the Integration
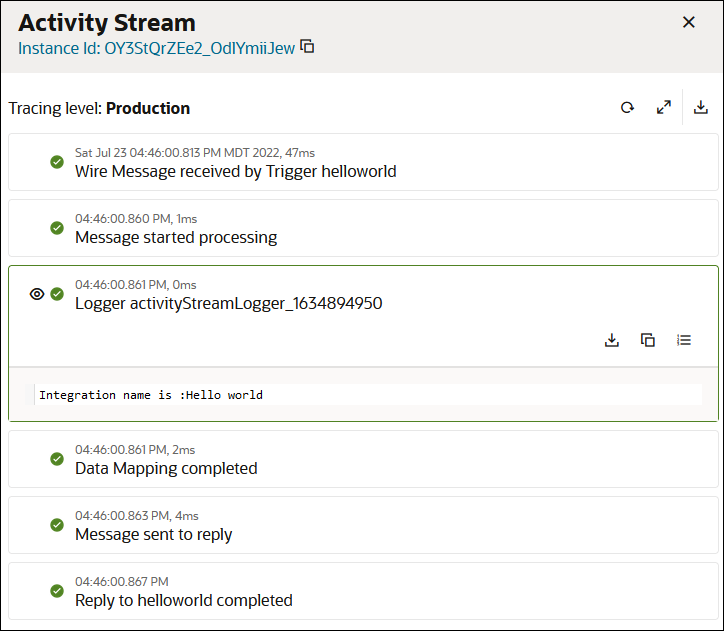
- Expand the logger action to see the message.

Step 4. View How to Monitor the Integration
- Click the instance ID at the top of the Activity Stream panel. The Instance Details page
provides a graphical view of the integration flow. The same Activity Stream panel is also
visible on the right.

- Click < to return to the Configure and run page.
- Click Track Instances and note that the
Hello World integration instance is listed as
Succeeded in the Status column.

-
In the navigation pane, click Observability, then Integrations.
The message is listed as successfully received and processed without any errors.

Learn More About The Features in this Tour