2 Using Maven and Gradle

The following sections provide information about how to connect to Oracle Autonomous Database using a Maven project or a Gradle project.

Topics:

2.1 Using a Maven Project

You can establish a connection to Oracle Autonomous Database using a Maven project.

2.1.1 Setting Up a Maven Project

This section lists the steps to set up a Maven project.

Make sure to complete all the steps from the Prerequisites section.
  1. Create a Maven project.

    Download Apache Maven and set the PATH variable before using mvn commands. Use the following Maven command to create a project:

    mvn archetype:generate -DgroupId=com.oracle.jdbctest -DartifactId=jdbc-test-project -DarchetypeArtifactId=maven-archetype-quickstart -DinteractiveMode=false
  2. Copy the ADBQuickStart.java file to the src/main/java/com/oracle/jdbctest directory.
  3. Modify the pom.xml file and add Oracle JDBC driver as a dependency.

    Note:

    ojdbc8-production will download the Oracle JDBC driver (ojdbc8.jar) along with ucp.jar (required for using UCP as a client-side connection pool), oraclepki.jar, osdt_core.jar, and osdt_cert.jar. These JARs are required for using Oracle Wallets while connecting to Oracle Autonomous Database.
    <properties>
        <maven.compiler.source>11</maven.compiler.source>
        <maven.compiler.target>11</maven.compiler.target>
    </properties>
    <dependencies>
      <dependency>
        <groupId>com.oracle.database.jdbc</groupId>
        <artifactId>ojdbc8-production</artifactId>
        <version>19.18.0.0</version>
        <type>pom</type>
      </dependency>
    </dependencies>

2.1.2 Building and Running a Sample Java Program

This section lists the steps to build and run a sample Java program.

Make sure that you are in the directory where pom.xml file is present.
  1. Clean and compile the Java code.

    Use the following commands:

    mvn clean
    mvn compile
  2. Run the sample Java program:
    mvn exec:java -Dexec.cleanupDaemonThreads=false -Dexec.mainClass="com.oracle.jdbctest.ADBQuickStart"

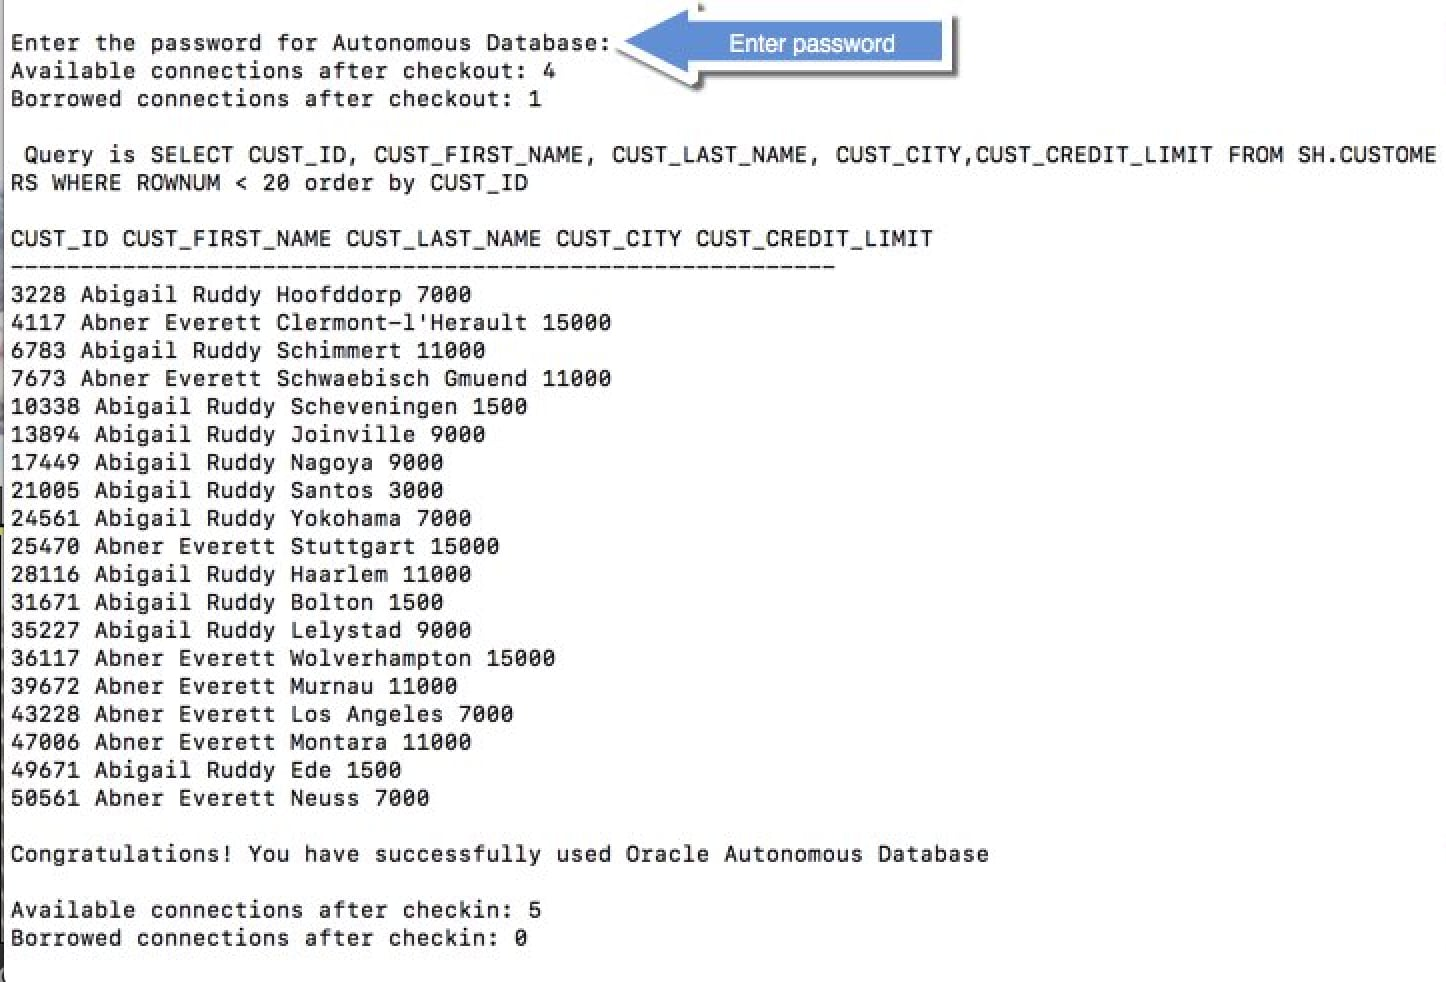
Sample Output:

The screenshot below shows the queried rows, along with a success message:

Sample Output

Note:

If you connect to the Oracle Database from behind a firewall, you will likely encounter a connection timeout error. Make sure to be outside the firewall while running this sample or update the tnsnames.ora file to use an HTTPS proxy.

See Also:

Using Oracle Autonomous Database Serverless for more information.

2.2 Using a Gradle Project

You can establish a connection to Oracle Autonomous Database using a Gradle project.

2.2.1 Setting Up a Gradle Project

This section lists the steps to set up a Gradle project.

Make sure to complete all the steps from the Prerequisites section.
  1. Create a Gradle project.

    Follow the instructions from the Gradle Guide for Gradle download and build instructions, and set the PATH variable before using Gradle commands. As a first step, create a Gradle project using the following command:

    gradle init

    Make sure to choose 2:application for Select type of project to generate. Also, for Source package (default:temp): use com.oracle.jdbctest.

  2. Copy the ADBQuickStart.java file to the src/main/java/com/oracle/jdbctest directory.
  3. Modify the build.gradle file with the following changes:
    • Add mavenCentral()as a repository.
    • Add Oracle JDBC driver as a dependency.

      Note:

      ojdbc8-production will download the Oracle JDBC driver (ojdbc8.jar) along with ucp.jar (required for using UCP as a client-side connection pool), oraclepki.jar, osdt_core.jar, and osdt_cert.jar. These JARs are required for using Oracle Wallets while connecting to Oracle Autonomous Database.
    • Update the mainClassName to ADBQuickStart.
    • Add a run block to read the password from the console.
    repositories { 
      // Maven Central
       mavenCentral()
     } 
    dependencies { 
      // Get the 19.18.0.0 Oracle JDBC driver along with other companion jars
      implementation("com.oracle.database.jdbc:ojdbc8-production:19.18.0.0")
     }
    application { 
      // Define the main class for the application
      mainClassName ='{your_project_directory}.ADBQuickStart' 
    } 
    // To pause to read the password from console
    run {
      standardInput = System.in
    }

2.2.2 Building and Running the Gradle Application

This section lists the steps to build and run the Gradle application.

Make sure you are in the directory where build.gradle file is present.
  1. Compile the Jave code using the following command:
    ./gradlew build
  2. Run the sample Java program.
    ./gradlew run
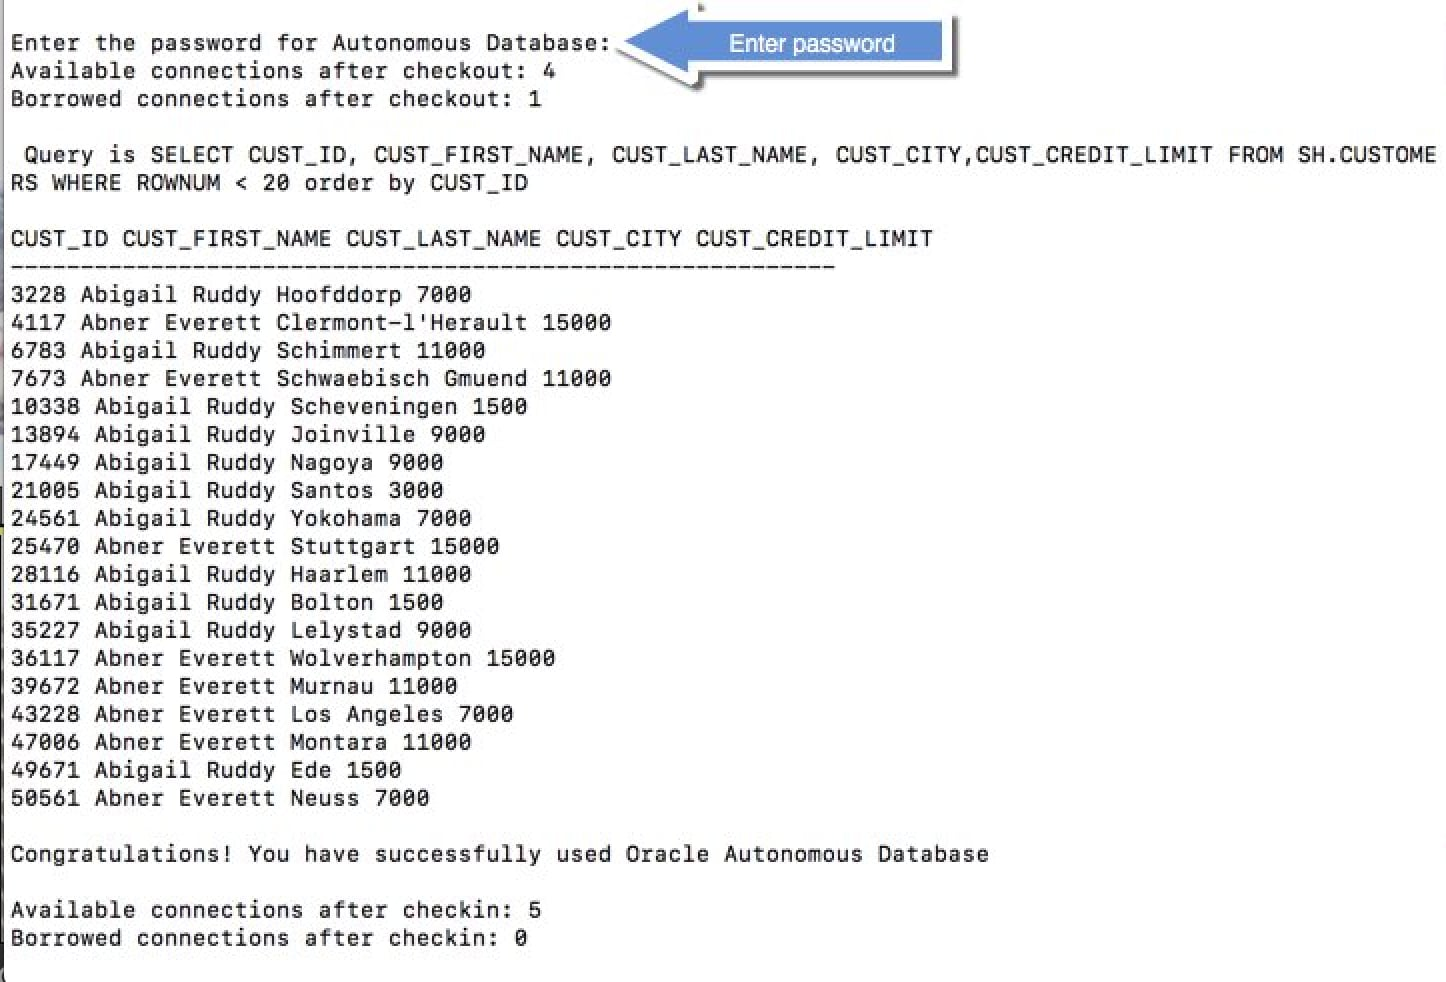
Sample Output:

The screenshot below shows the queried rows, along with a success message:

Sample Output

Note:

If you connect to Oracle Autonomous Database from behind a firewall, you will likely encounter a connection timeout error. Make sure to be outside the firewall while running this sample or update the tnsnames.ora file to use an HTTPS proxy.

See Also:

Using Oracle Autonomous Database Serverless for more information.