Create a Simple Integration Using B2B for Oracle Integration
Using a simple example, let's explore how to use the B2B action in your integration to parse an incoming EDI X12 document.
Create an Integration
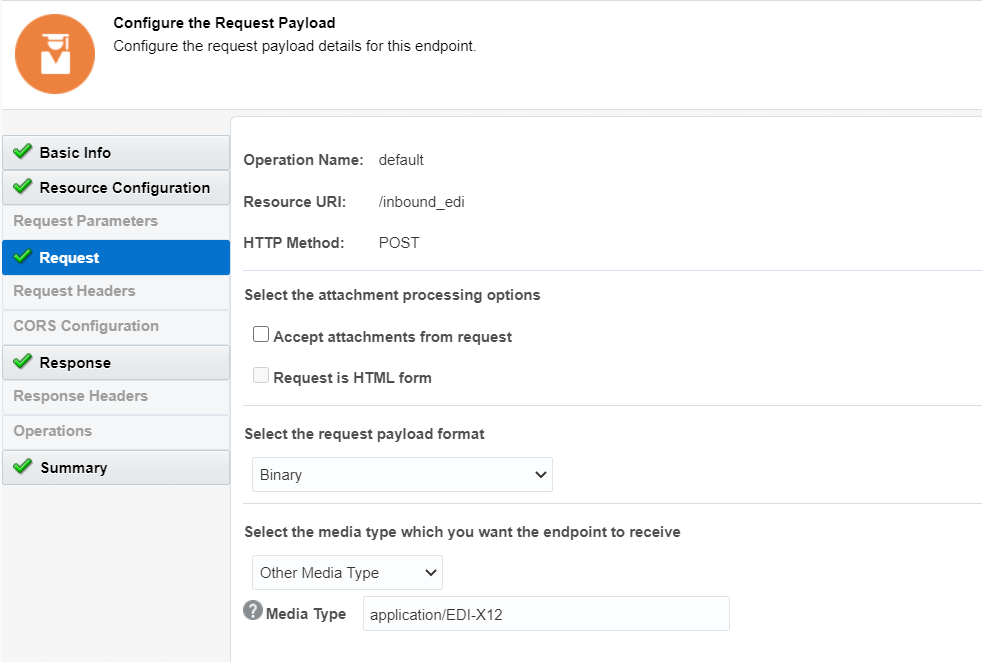
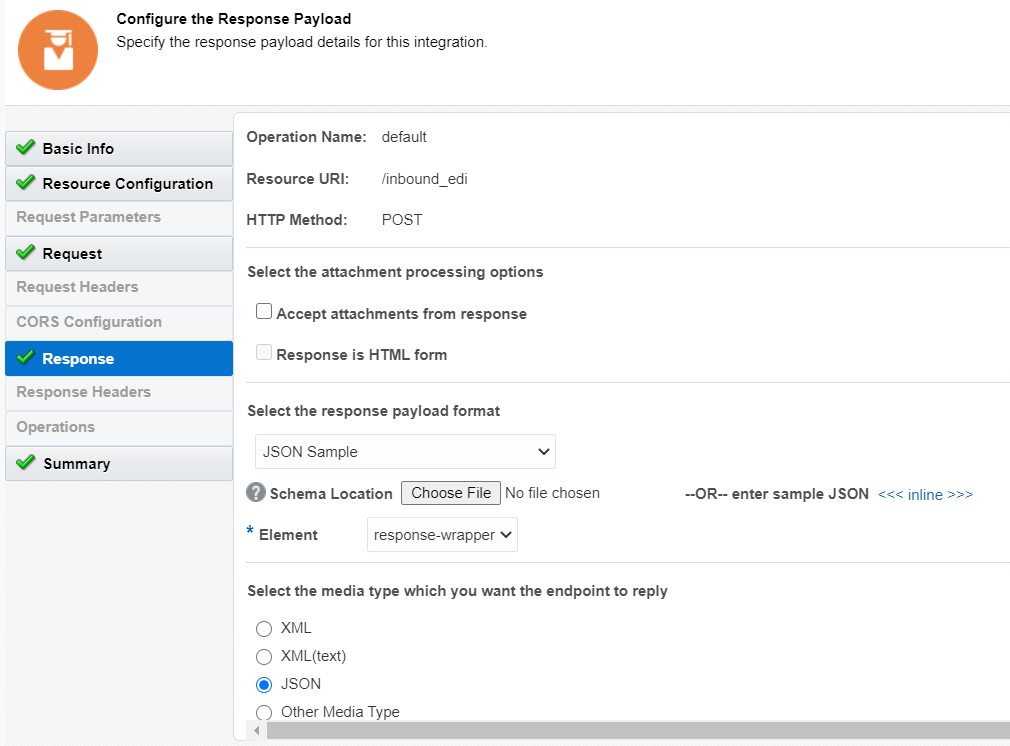
Let's create a basic, inbound integration flow that receives an EDI document through a REST request, parses and validates the EDI, converts it to XML, and returns the XML in the response.
Note:
This integration flow uses REST for simplicity. You can substitute the REST Adapter trigger connection with any other adapter, such as the FTP Adapter, available in Oracle Integration. Generally, FTP is the transport type used with EDI.- In the navigation pane, click Integrations.
- On the Integrations page, click Create.
- Select App Driven Orchestration as the style to use. The Create New Integration dialog is displayed.
- In the What do you want to call your integration? field, enter
Inbound EDI via REST, then click Create.
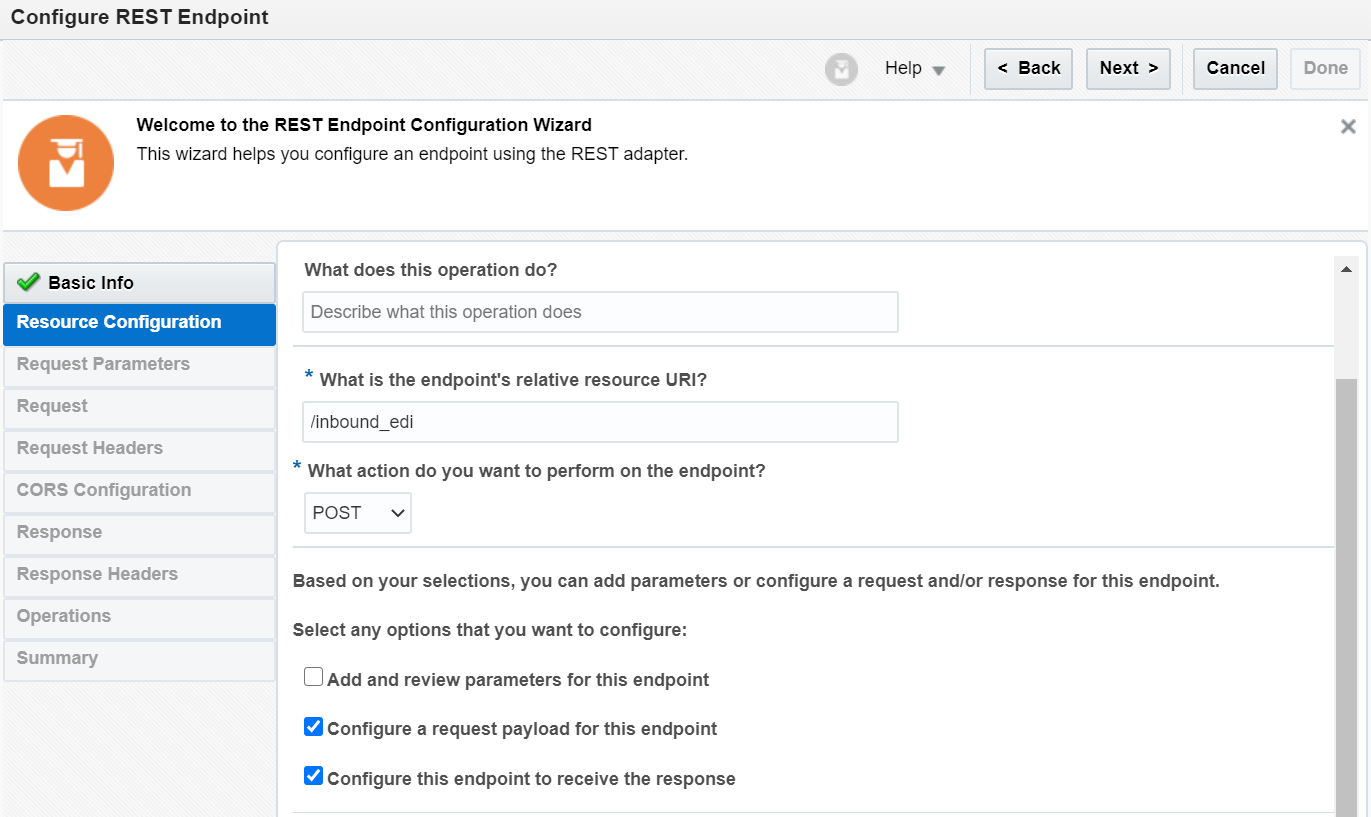
Configure the REST Adapter Trigger Connection
On the integration canvas, click the start node and select Sample REST Endpoint Interface as the trigger connection.
Configure the B2B Action
Add a B2B action to the flow to translate an EDI document into an Oracle Integration XML message.
Configure Mapping Actions
Configure data mappings for the EDI-Translate action and Receive-EDI action in order to successfully parse the incoming EDI message and translate it to an XML message.
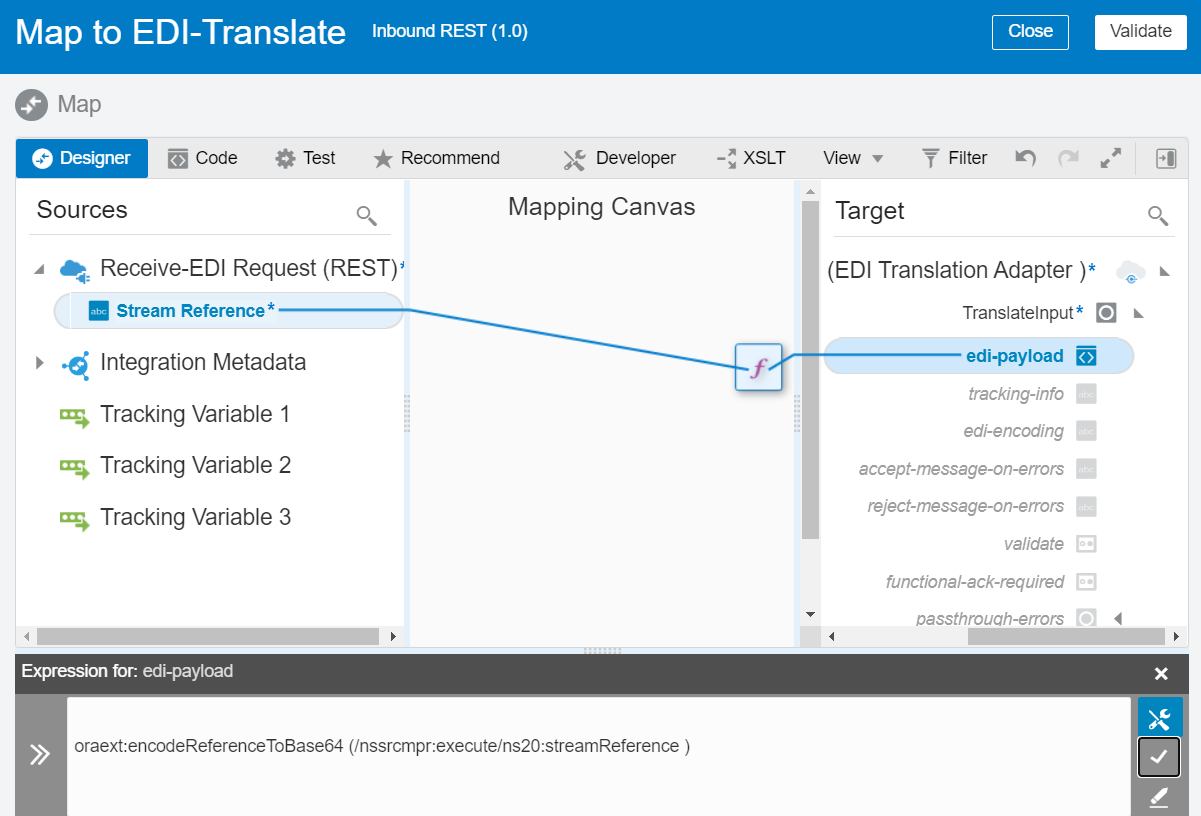
Configure the Map to EDI-Translate Action
- Click the Map to EDI-Translate action and select Edit.
- Map
streamReferenceon the left toedi-payloadon the right, withinTranslateInput. - Click Switch to Developer View
 in the expression pane that appears at the bottom, and edit the expression for the mapping.
Prefix the function call
encodeReferenceToBase64to the existing edi-payload expression as follows:oraext:encodeReferenceToBase64 (/nssrcmpr:execute/ns20:streamReference ). Click Save .
.
- Click Validate and then Close.
Configure the Map to Receive-EDI Action
- Click the Map to Receive-EDI action and select Edit.
- Click Developer on the toolbar.
- Map
edi-xml-document(present on the left, under$EDI-Translate>executeResponse>TranslateOutput) totranslated_payload, within theresponse-wrapperon the right.Note:
To achieve this mapping, initially map the@formatvariable (withinedi-xml-document) totranslated_payload. In the expression for this mapping, delete/@formatand click Toggle on the toolbar. In the Components pane, expand String under Functions. Select the get-content-as-string function and drop it into the expression editor. Copy the existing expression in the editor into the function as follows:
 oraext:get-content-as-string ($EDI-Translate/nsmpr0:executeResponse/ns20:TranslateOutput/ns20:edi-xml-document ). Click Save .
.
- Map
translation-statuswithin the sameTranslateOutputelement totranslate_resulton the right. - Map
validation-errors-presenttohasError. - Map
validation-error-report(TranslateOutput>validation-errors) tovalidationErrors. - Click Validate and then Close.
Activate the Integration
Check for errors, save, and activate the integration flow.
- You'll notice an error notification on the canvas. To resolve it, click Actions Menu
 in the top-right corner of canvas, and select Tracking.
- In the resulting dialog, select
streamReferenceon the left and move it to the table on the right. - Click Save.
- Save the integration and click Close.
- On the Integrations page, click the Activate
 button against your integration.
- Click Activate in the Activate Integration dialog.
Parse Your First EDI Document
To execute your sample integration, send a request from a REST client tool, such as Postman.
Test Syntactical Validations
In addition to translation, the B2B action also validates the EDI data it receives and reports the errors found.
As an integration developer, when you build integrations to send EDI X12 documents to backend applications for further processing, you can check for validation errors while parsing the EDI data and handle these errors appropriately in the integration flow. For details on error handling, see Parse and Transform an Inbound EDI Message. To enable input data validations, select Yes in the Perform validations on input data? field while configuring the B2B action. See Use the B2B Action in Standalone Mode.
To test the validation feature of the B2B action, let's introduce a syntactical error in the EDI X12 purchase order document and send it to the example B2B flow through the REST client.
- In your REST client, in line 5 of the request body (containing the EDI X12 PO data), replace
USDwithUSD123to make this data longer than the field allows. - Send the updated request from the client.
- You'll see a response as follows:
{
  "translate_result": "Error",
  "hasError": true,
  "validationErrors": "[1] Error code: B2B-01752 | category: data_size | message: (Severe) Element CUR02 (element id 100) has a identifier value [USD123] of length 6, which is
  more than the maximum allowed length of 3. | segment-CUR > CUR02 (element id 100) | segment position 3 (starting with ST segment) | element position 2 | line 4 |
  character position 7\n\n",
  "translated_payload": ...
}
The
translate_resultis now returned asErrorand the syntactical error in the data is reported in thevalidationErrorselement. This means the EDI X12 document was not successfully processed.


