Localize Applications
Apply localization and adapt your applications and their content to a specific locale. You can make your applications usable for a new locale by translating the content from the source language to the language used in the locale.
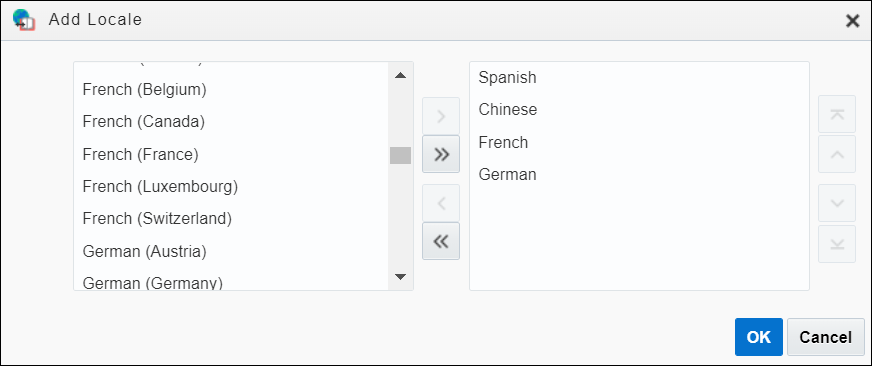
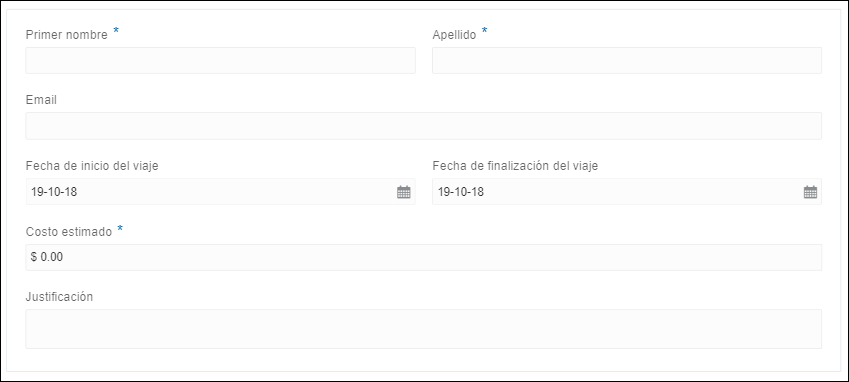
By default all applications are created in English. You can add language resources (locales) and then localize process and form elements by providing localized strings. When the application is published and viewed by users, the published content displays labels in the localized language based on the users’ browser language setting.
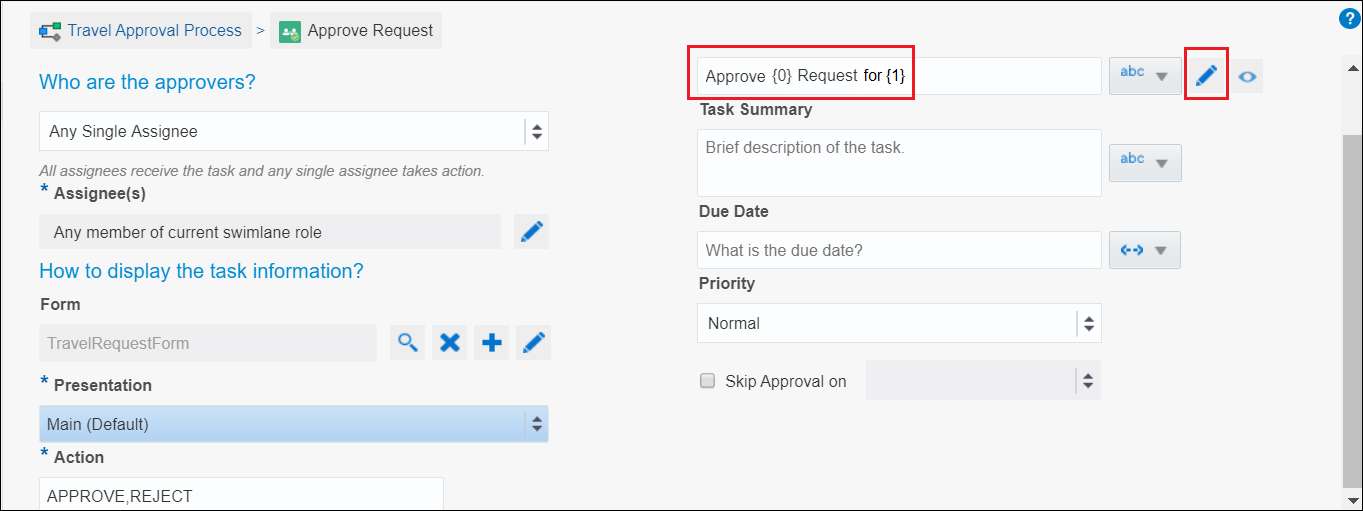
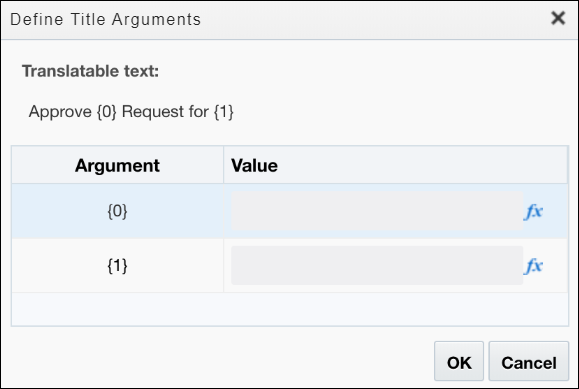
You can localize your application components such as process and form elements, human task titles and outcomes from the Localization page. The Localization editor provides a consolidated and editable view of all your default and translated resources. Its interface allows you to manage all your localization resources from one place.
Apart from the Localization editor, you can apply localization to specific application components from within those components. For example, you can also localize form field labels in the Form editor.
See Localize Web Forms.
See Localize Processes.
Work with the Localization Editor
The localization editor provides a consolidated interface to manage all your default and translated resources.
Click a locale (language resource) in the Localization page, for example English, to open it in the Localization editor. The localization editor’s central canvas has the following columns: Component, Element, Property, Default Text, and Translation. There is a search field and a filter field at the top left. You can filter by component to display elements related to either Form or Process. Use the search field to find and display a specific element.
| Column | Description |
|---|---|
|
Component |
The component of the application. For example, Form or Process. |
|
Element |
The element of the particular component. For example, the First Name control of a form. |
|
Property |
The property of the form or process element. For example, Label of a particular form field or the Title of a process within the application. |
|
Default Text |
The text that has to be localized. |
|
Translation |
The localized version of the default text. |
There are four icons (on the top right) that enable you to complete different tasks in the editor.
| Icon | Description |
|---|---|
|
|
Expands the central pane with the five columns (Component, Element, Property, Default Text, and Translation). |
|
|
Applies and saves the changes done in the Translation column. |
|
|
Shows or hides duplicate rows. Note that changes done to one row will be applied to all duplicate rows, when they are collapsed. |
|
|
Displays the columns selected in the drop-down menu. Click the drop-down menu to select the columns that are to be displayed. |
To localize contents of an application:


