Promote Decision Models as Samples to the Gallery

If you want to make your decision models available to others, and also allow developers to adapt them for their own use, promote them as Samples to the gallery.

To promote a decision model as a sample to the gallery:

  1. Open the model you want to add as a sample to the gallery.
  2. In the decision model editor, click Menu Menu icon on the toolbar, and then select Promote to Gallery.
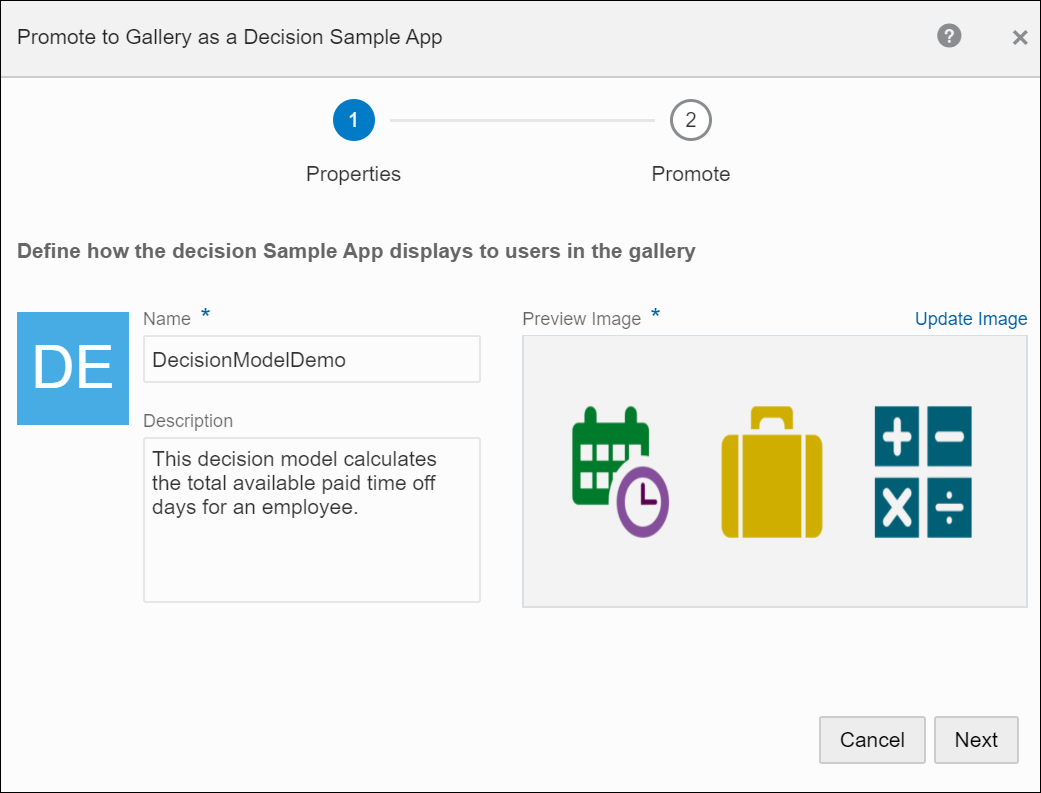
  3. On the Properties train stop of the Promote to Gallery as a Decision Sample App wizard, define how the sample decision model displays in the gallery.
    1. Enter a suitable name in the Name field.
    2. Enter a meaningful description in the Description field.
    3. Add a preview image that best illustrates the model.
  4. Click Next.
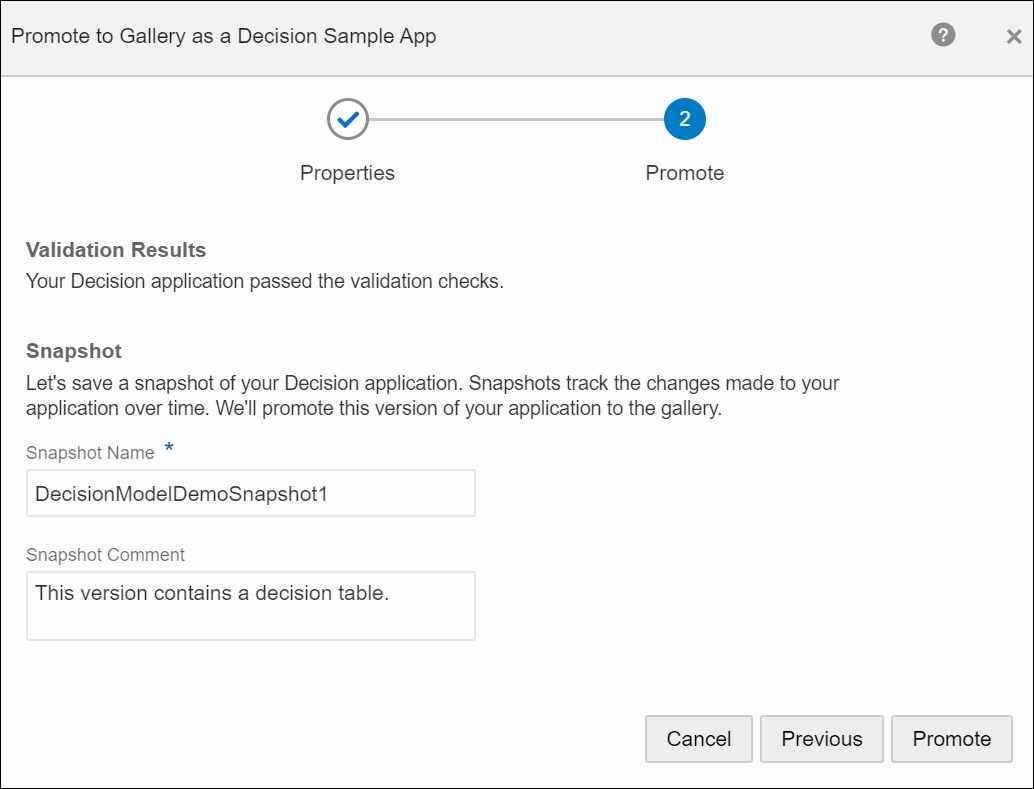
  5. On the Promote train stop, enter a name for the decision snapshot that'll be saved and promoted to the gallery. Optionally, in the Snapshot Comment field, enter notes relevant to the snapshot being saved.
  6. View and check for warnings under Validation Results. Fix all major validation errors before promoting the model to the gallery.
  7. Click Promote. You get a confirmation that a snapshot of your decision model has been saved and promoted to the gallery.
  8. Click Close.
    Your decision model will now be available in the gallery for users to select and create copies of it.
To delete the decision samples you promoted to the gallery, contact your design-time administrator. See Delete Apps from the Gallery.