Filter and Customize Your View
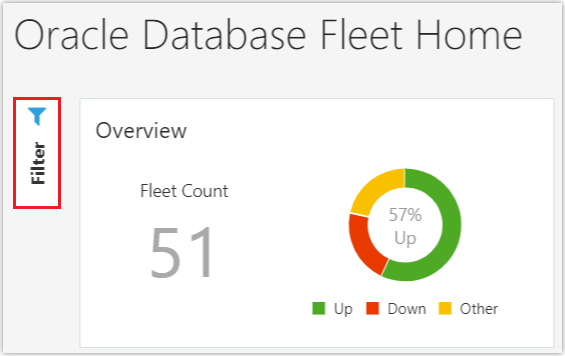
Oracle Database Management provides advanced filtering options to filter, customize, and view the data relevant to you on the Oracle Database Fleet Home page.
Use the Filter Pane
Using the options available on the Filter pane, you can categorize and view the Oracle Database entities in your fleet by Status, Fleet Distribution, Region, and Version.
To filter the data displayed on the Oracle Database Fleet Home page and save a filter:
- Go to the Oracle Database Fleet Home page.
- Click Filter to view the database filtering criteria.
- Select the filtering criteria you want to use and click Apply.
For example, on the Filter pane, if you select Up in the Status options, ADW in the Fleet Distribution options, Ashburn in the Region options, and 18.0.0.0.0 in the Version options, and click Apply; only the 18.0.0.0.0 Autonomous Data Warehouse entities in Ashburn, whose status is Up, are displayed on the Oracle Database Fleet Home page.
- Click Save to save the filter.
In the Save Filter dialog box, enter a name for the saved filter. If you select the Remember performance metric option, then the Metric and Group By options selected on the Performance tile are also saved.
To view the saved filter, click Saved on the Filter pane. After you apply a filter or select a previously saved filter, the data pertaining to the selected filter criteria is displayed on the Oracle Database Fleet Home page.
Use the Global Entity Selector
You can use the Global Entity Selector to filter the data displayed on the Oracle Database Fleet Home page.
To do so, enter and select the entity in the Global Entity Selector.

Description of the illustration global-entity-selector.png
The data on the Oracle Database Fleet Home page is filtered to only display the data related to the selected Oracle Database entity.
