4 Building and Testing Your Apps
You can test your apps using a Web-based simulator or on a phone.
Previewing Your App
You can preview your app in a hosted simulator or on a device at any point after you’ve created its first screen.
Note:
You need a test user account to preview your app with live data. Contact your administrator if you don’t have one.-
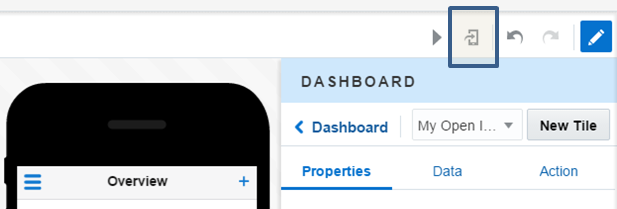
Click Test (
 ).
).
-
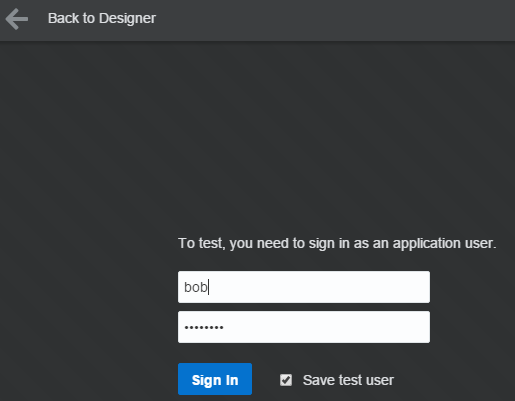
Enter the user name and password for your test user account and then click Sign In.
-
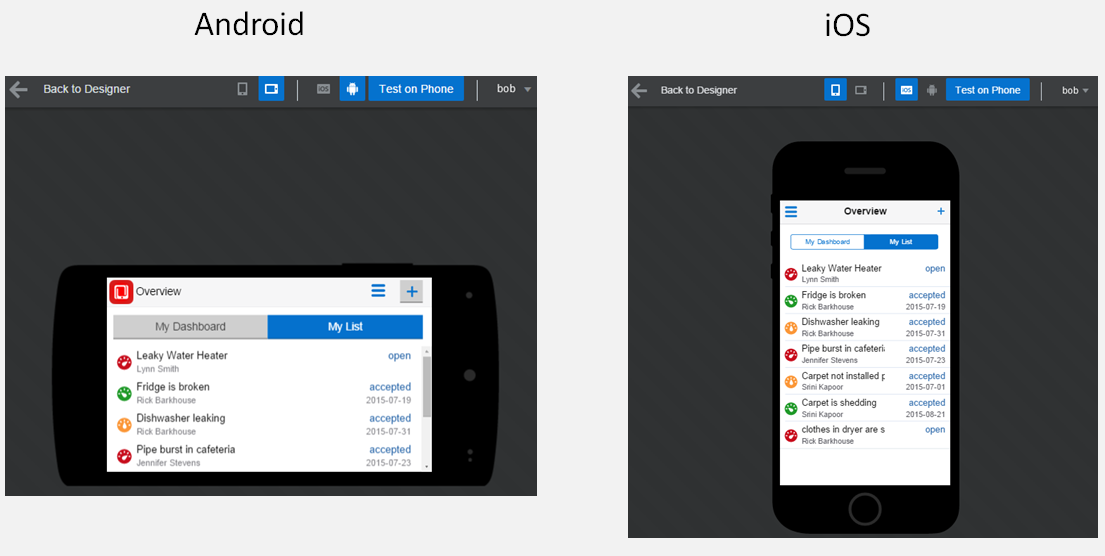
Test your app’s functions, such as the overall page flow, the behavior of a single field, or the create and back actions. While you’re testing, toggle the orientation and the iOS and Android options on and off. When you’re done, click Back to Designer (
 ) to resume your work.
-
If you want to continue to work on your app, click Back to Designer (
 ). Otherwise, you’re ready to see how your app works on an actual phone. See Testing Your App to find out more.
Testing Your App
Testing your app on an actual device gives you a better picture of how your app functions on different platforms, operating systems, and device models. It’s where the rubber hits the road, so to speak. Unlike an emulator, which approximates the user experience using a mouse, you can use actual tap and swipe gestures to navigate through your app’s screens when you run it on a real smartphone. You can also find out how your app interacts with actual device services, like the phone or the contact list. You need the MAX App to run your app on a device. To find out more, see Installing the MAX App.
Note:
Before you can begin this real-world testing:-
Install the MAX App onto any device that you’re planning to use. Your test group (that is, anyone who’s participating in the testing) must also have the MAX App installed.
-
All app users (app testers and app users alike) must have user accounts.
-
You need a test user account to generate the QR code associated with the test version of the app.
-
In the left navbar, click Screen Flow (
 ) to make sure that there are no problems.
-
If you signed out when you last previewed your app, enter the user name and password for your test user account.
-
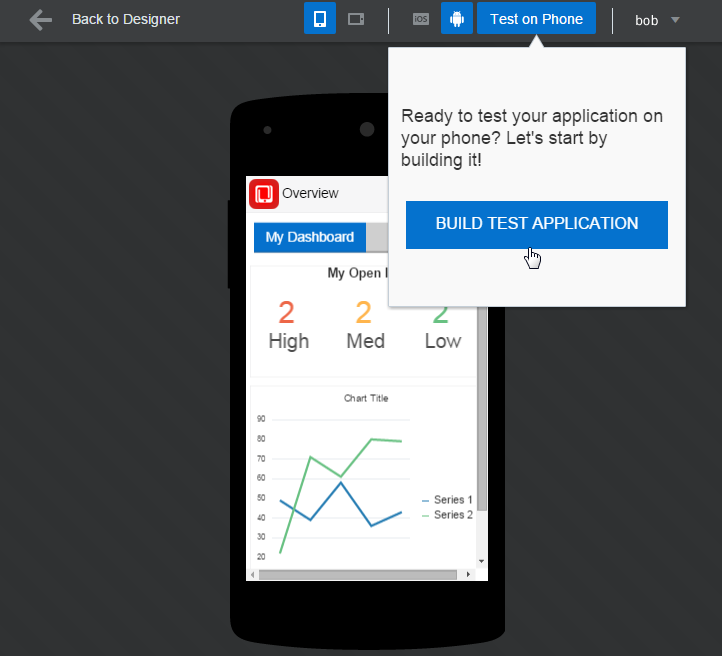
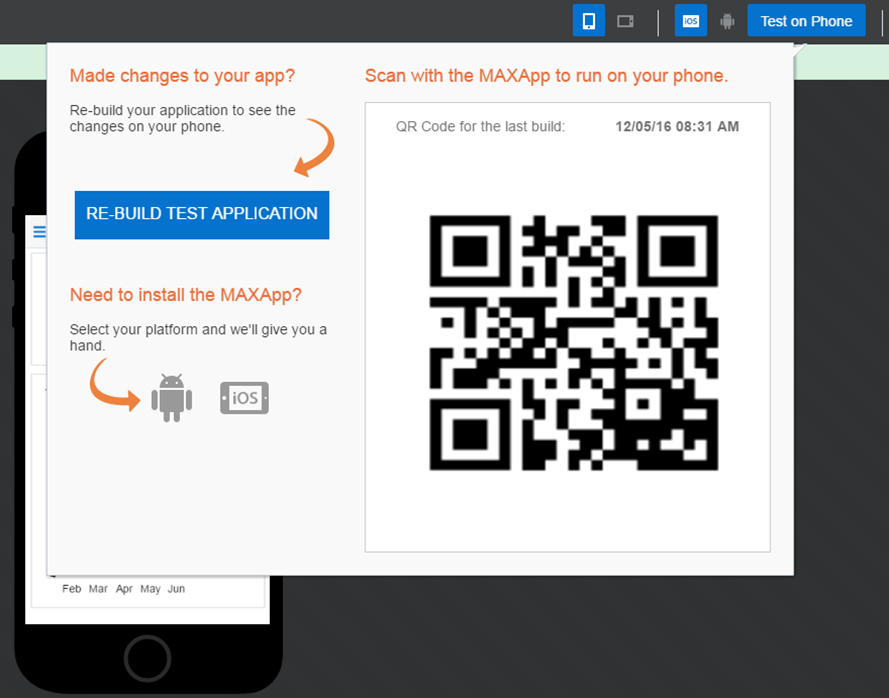
Click Test on Phone (
 ) and then Build Test Application.
MAX generates a QR code when the build finishes.
-
Scan the QR code using the MAX App.
Important:
This QR code is for testing apps that are under development. Share it with your test group. When you publish the app later on, MAX will generate a different QR code, one associated with the published (or finished) version of your app. It’s the one that you’ll use to distribute all versions of your app to its users. The test and production versions of the app can’t coexist within the MAX App: when you scan the QR code for the published version of your app, the published app replaces the test version that’s currently in the MAX App. -
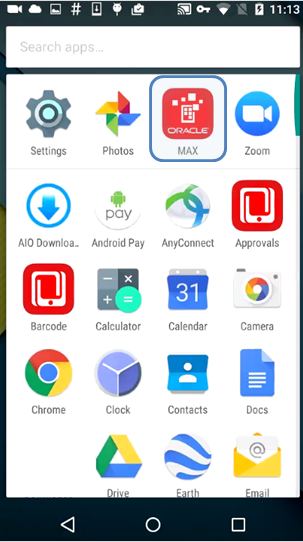
On your device, open the MAX App (
 ).
).
-
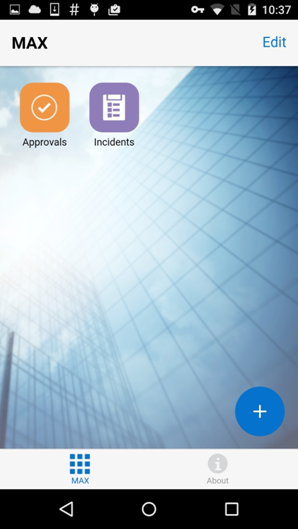
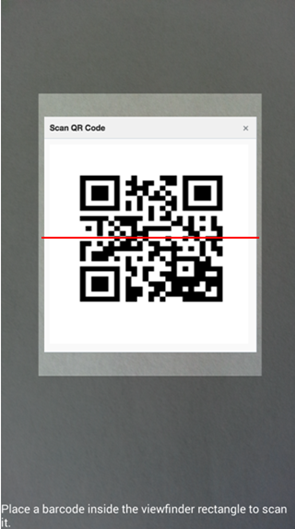
Click Scan (
 ).
).
-
Point your phone at the test QR code to download the app.
-
Log into the app by entering your user name and password. The test app appears in the MAX App.
Tip:
You can also login using your test user name and password. -
Repeat these steps when you’re ready for another round of testing.
Tip:
You might see errors if plan to run the both the test and production version of the app on the same phone. To avoid this, delete and then reinstall the MAX App before running the production version of the app. If you’re going to revise the app, then you need to once again delete and reinstall the MAX app before you test a new version of the app.
Installing the MAX App
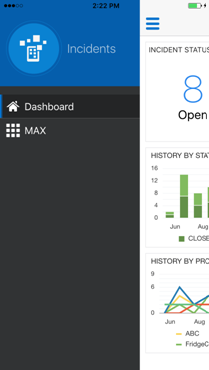
You can only run your mobile app on an actual device using the MAX App, a container that allows your app to not only display its content and leverage device services, but also behave identically to other apps that were developed specifically for iOS or Android devices. While the MAX App provides a consistent user experience, it also allows users to install your app. Because of this, all of your users (app testers and actual users alike) need to install the MAX app on their devices. You can install the MAX App from both the App Store and from Google Play.
Installing the MAX App on iPhones
-
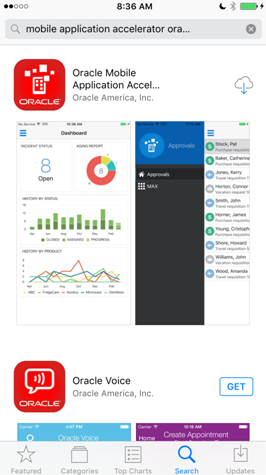
On your iPhone, open the App Store.
-
Search for Oracle MAX App.
-
Tap Get and then Install.
Note:
You might be prompted to sign into iTunes if you’re not already signed in. -
When the download completes, tap Open.
-
When prompted, allow MAX to send you notifications.
-
Read through the end user terms and conditions and then tap Agree.
-
Enter your login information:
-
Host
-
Username
-
Password
-
-
Tap Sign In.
Installing the MAX App on Android Devices
-
On your phone, open Google Play.
-
In the Play Store, tap Apps.
-
Search for Oracle MAX App.
-
Tap Install.
-
When prompted, allow MAX to send you notifications.
-
Read through the end user terms and conditions and then tap Agree.
-
Enter your login information:
-
Host
-
Username
-
Password
-
-
Tap Sign In.
MAX App Quick Reference
| To do this... | Do this... |
|---|---|
| Download an app |
|
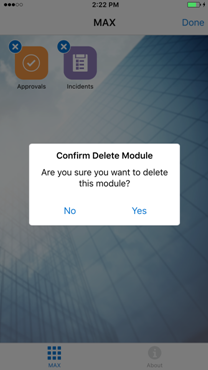
| Delete an app |
|
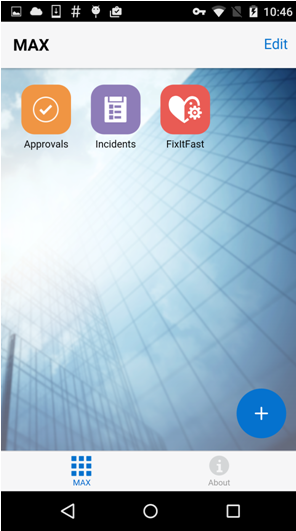
| Switch apps |
|
| Navigate back to the springboard | Click the MAX springboard icon ( |
Sharing Your App
To share your app, you need to distribute a QR code to your users along with the name of your app.
Important:
All users must have the following:-
The MAX App installed on their devices. Your mobile app can only run in the MAX App. Both your test group and your user group will install your app and run it using the MAX App. To find out more, see Installing the MAX App.
-
User accounts.
Sharing Your App with Your Testing Group
You don’t need to publish an app to test it on a device. As described in Testing Your App, MAX generates a QR code that you use for testing purposes. You can distribute this code by sending a picture of it to your testing group. They will scan this code every time they need to install a new iteration of this app.
Sharing Your App with Your User Group
To get the QR code used for distributing the release version of your app to your user group, you must first publish it. To do this:
-
Click the Publish button (
 ).
).
-
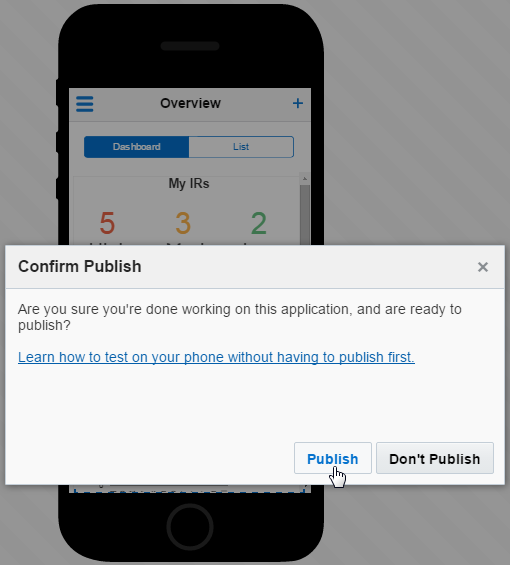
If you’re done testing are now ready to publish the app, click Publish in the confirmation dialog. MAX generates a QR code for the published app.
-
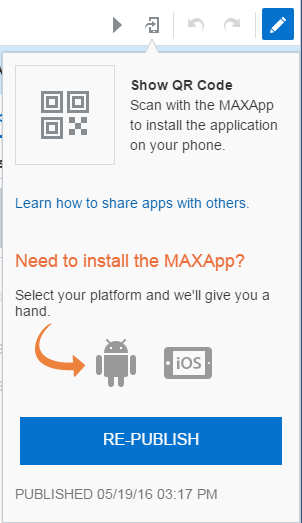
Click Show QR Code (
 ) to display the QR code.
-
Send a picture of this QR code to your user group. They will scan this code to install any new versions of this app.
-
After they launch the MAX APP, your app users click Scan (
 ). When prompted, they allow the MAX app access to the device camera and then focus the scanner to read the QR code. The MAX app then downloads the app to their smartphones. All downloaded apps display in the MAX App springboard.
Offline Sync
You can allow your users to view and update their apps when they're offline.
To enable your app to run in offline mode, select the Allow Offline Tasks options in the Settings panel. 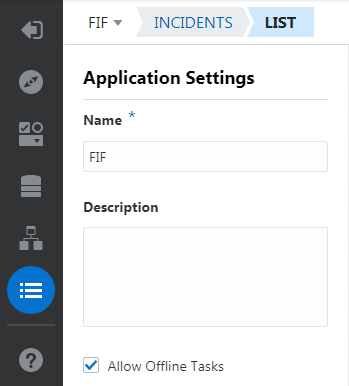
-
First, use MAX App to scan the app’s QR code. Log in after the download completes. See Building and Testing Your Apps.
-
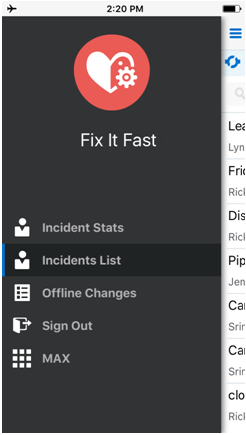
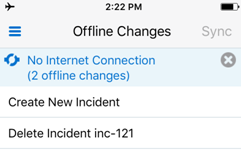
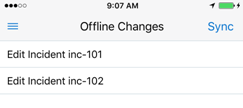
Launch the app and then open its menu. Because you selected Allow Offline Tasks, the menu indicates that this app can run offline by displaying the Offline Changes option. Clicking this option opens the Offline Changes page, which in addition to listing all of the changes that a user made while offline, also includes the Sync function. The app menu only displays the Offline Changes option (
 ) when it’s running on a device. It’s not visible in the simulator or the Preview.
-
Because you can only view the data that have been cached on your device after the app goes offline, prime the cache by paging through the app so that you’ll have something to test.
Tip:
You might want to tell your app’s users that they can only view and update the data that they viewed prior to going offline. -
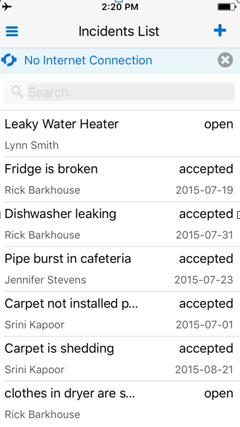
Switch on airplane mode. Your app displays the No Internet Connection banner.
-
Explore your app by drilling down from lists items to detail pages. Make some changes to your app:
-
Edit some records.
-
Create some records.
-
Update some records.
Note:
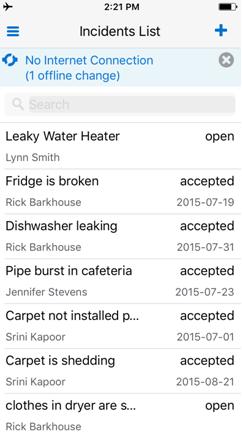
You can’t upload images when you’re offline.The app records your changes in the No Internet Connection banner. You can also see a log of your changes when you click Offline Changes in the menu. The Sync function is deactivated, because you’re not connected to the server. Other than this tracking, you won’t see any updates. That’s because none of these changes have been made to the data itself, which resides on the server. Your offline changes won’t be reflected in your app until after you’re back online, your changes have been synced with the server and the app itself has been refreshed.Note:
If you delete a record while offline, the record is removed from the UI but not actually deleted until you’re back online and your changes have been synced.
-
-
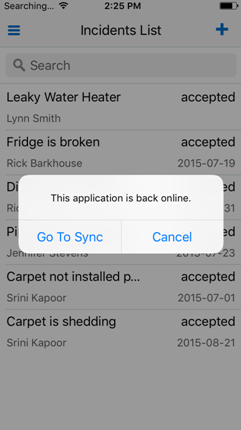
When you’re done updating your app, switch the airplane mode off. Your app notifies you that it’s back online.
-
Click Go to Sync to open the Offline Changes page, whose Sync function is now activated. Click Sync.
Note:
If you click Cancel, you can also open the Offline Changes page from the app menu. -
To view the changes, refresh your app using a pull-to-refresh gesture.

 ).
).
 ).
).
 ) and then open the app.
