How You Move Tool Windows
Being able to move tool windows gives you the flexibility to arrange your console to suit your own work preferences.
You might want all windows to remain on the navigation pane but want them in a different order. Or you might want to move all tool windows to the left or right navigation pane or to the status bar to create more space on the content pane. Plus, you can return the windows to their default locations at anytime. Click File and select or see Change Your Personal Settings and select the Reset Local Settings check box.
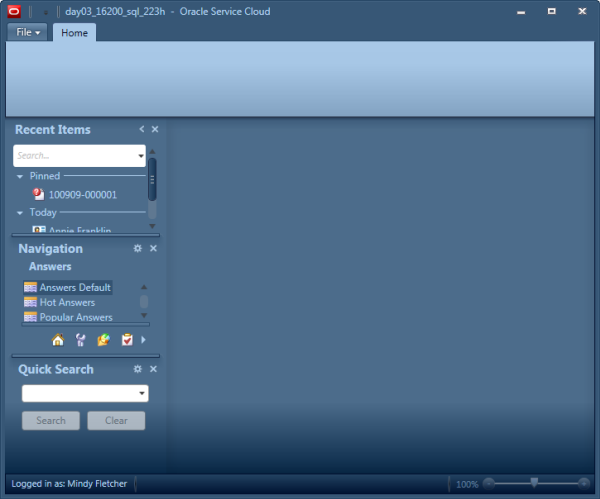
In the default console configuration, Recent Items and Navigation display on the left navigation pane and Quick Search displays on the right.
When you drag a window to another area on the console, the content pane momentarily changes to light gray, the area where you can dock the window is highlighted in blue, and a docking area indicator displays. In this example, we’re moving the Quick Search tool window to the left navigation pane.
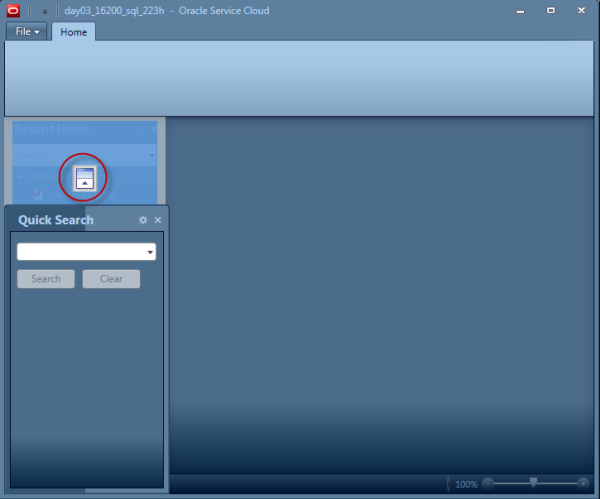
When you release your mouse, Quick Search is docked on the left navigation pane.
Using the same technique, you can move all tool windows to the status bar.
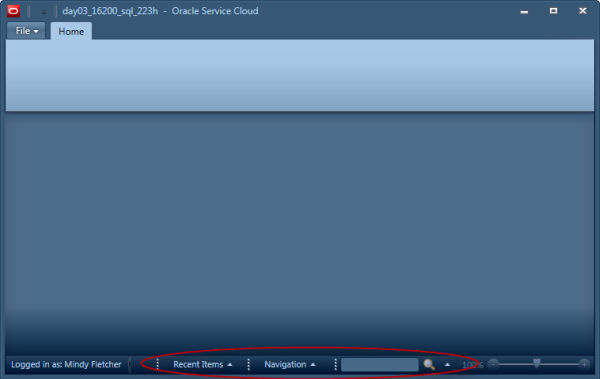
When a tool window is docked to the status bar, just click its button to display a full flyout. For the Quick Search tool window, the first docked filter displays on the button. Simply enter an entry and click Search. If you want to change to another Quick Search report, click the arrow next to Search to display the full Quick Search menu.