Creating Next best actions
When you create a Next best action, you set up an export of a segment and corresponding actions to a marketing orchestration platform such as Oracle Responsys.
Before you begin
Before creating a Next best action, make sure you have Set up data for Next best recommendations.
Create a new Next best action
To create a Next best action:
-
Click the Oracle icon
 in the bottom-right corner to open the navigation menu.
- Select Next best recommendations.
- In the top-right corner, click Create and select Next best action.
The Create next best action page is displayed.
Step 1: Define next best action details
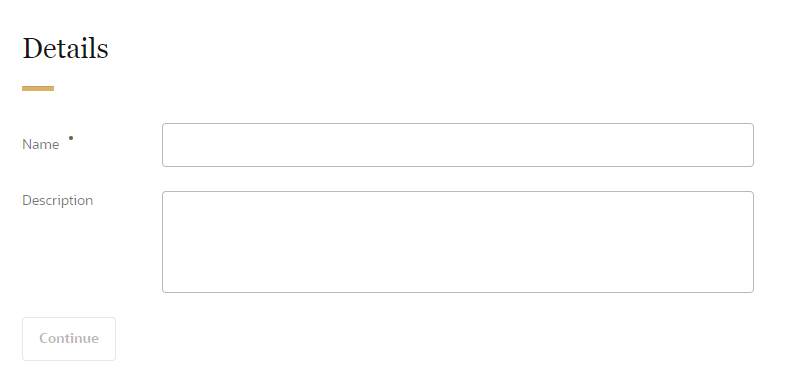
The details section allows you to define how the Next best action will display in Oracle Unity.
To define the details:
- Enter the details for the Next best action.
- Name: This is the name used to identify the Next best action throughout the application. The name must be unique and have 1 or more characters, up to a maximum of 30. Use only letters (a–z and A–Z), numbers (0–9), underscores (_), hyphens (-), and spaces. The first character cannot be a space.
- Description: This field is optional, but it is highly recommended to add descriptions for any entity created. This helps all other users get additional context when using and navigating Oracle Unity. The description can have a maximum of 512 characters with no restrictions on characters used.
- Click Continue.
Step 2: Select evaluation criteria
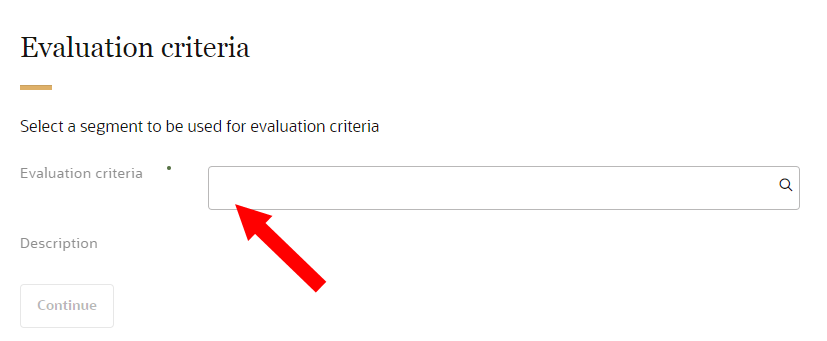
The Evaluation criteria section allows you to select the segment that will define which customers should receive the actions.
To select evaluation criteria:
- In the Evaluation criteria field, search for segments that have been created by entering the segment name. You can also click the input field and scroll through the list of segments.
- The list of personalization attributes for the segment will display. To edit the list of personalization attributes, you will need to update the personalization attributes selected for the segment before creating the Next best action. Learn more about Managing segments.
- Review the details for the segment and click Continue.

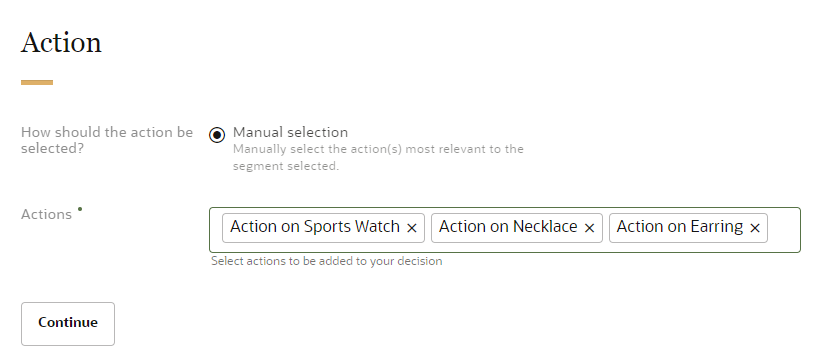
Step 3: Select actions
The Action section allows you to configure the actions that will be assigned to customers after being activated.
To select actions:
- Configure how the actions should be selected:
- Leverage machine learning: The machine learning model will automatically select the most relevant actions from the selected catalog.
- Manual selection: Enables you to manually select the most relevant actions to include.
- Based on your selection, configure the following:
Leverage machine learning
- Use the drop-down list for Catalog to select the set of actions from which the machine learning model will select from.
- Click the up and down arrows for Number of actions to specify the number of actions to include from the selected catalog.
- To select an additional catalog, click Add
 and repeat the previous steps.
 - To remove a selected catalog, hover your mouse over the catalog name and click Delete
 .
.
Note: Only catalogs that have been added and trained at least once will be available for selection.
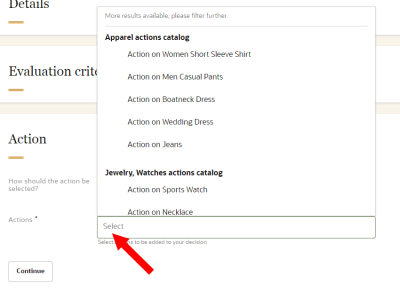
Manual selection
- Click the input field and scroll through the available actions. You can also search by the action name. To view the definition of an action, hover your mouse over the action name.
- Click the action names to select them. When your next best recommendation is activated, every customer identified will receive these actions.
- To remove an action, click X.
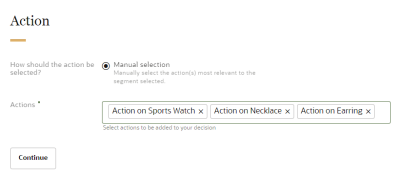
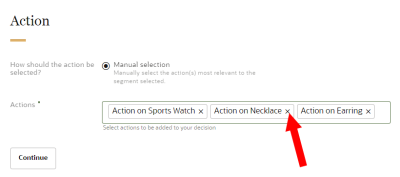
- Review the selections and click Continue.


Step 4: Destinations
The Destinations section allows you to select where the data will be exported. The following destination types are supported for Next best recommendations:
-
Secure FTP
-
Responsys
-
CX Sales
To select the destination:
- Select the destination you want to use.
-
Enter a custom file name for the exported file.
-
We recommend using a file name that includes the Next best action name for easy identification.
-
The file name you provide will override the file name defined in the destination.
-
A timestamp will be added to the custom file name you provide in the following format: yyyy-MM-dd-HH-mm-ss-SSS. For example, entering the file name recent_purchaser_actions will generate the following file name in the destination when it runs: recent_purchaser_actions_2020-05-13-08-04-13-354_0.csv.
- Confirm the selection and click Continue.
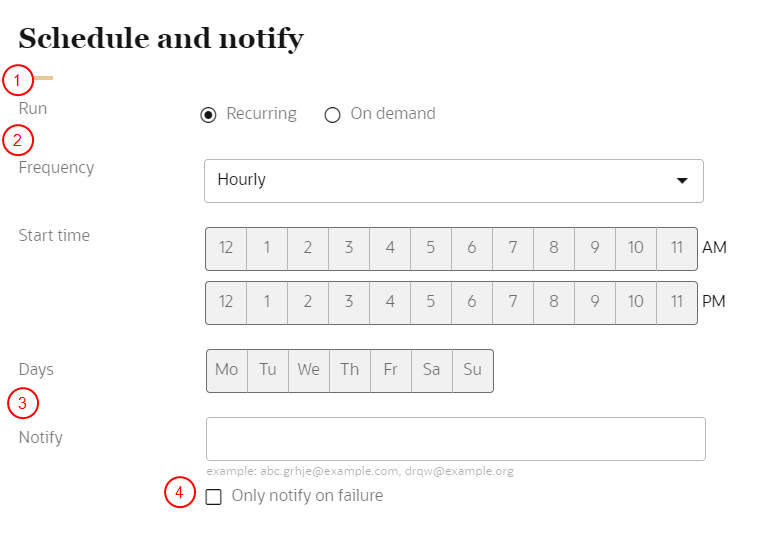
Step 4: Schedule and notify
You will need to configure the schedule and notification settings for the job associated with the Next best action.
To configure the schedule and notification settings:
- Configure the schedule settings:
- Click Recurring to automatically run the job associated with the Next best action on a regular schedule. If a job is still running while the next one is scheduled to run, the next scheduled run will not start until the current one completes. Two scheduled instances of the job can't run simultaneously.
- Click On demand to run the job as needed from the Next best recommendations page.
- If the job is recurring, select the Frequency, Start time, and Days it will run.
- In the field for Notify, enter the email addresses of people to be notified when the job runs. Separate multiple emails with a comma.
- If you only want a notification if the job fails, click the checkbox Only notify on failure.
Step 5: Save and publish the next best action
After saving the Next best action, you will need to publish the changes before it can run.
To save and publish the Next best action:
- Scroll to the top of the page and click Save or Save and close.
- Follow the steps for Publishing changes.
When the publishing task successfully completes, the job associated with the Next best action can run.
Managing next best recommendations