Introduction
This 25-minute hands-on tutorial shows you how to use EPM Automate to export dimension metadata from Enterprise Data Management Cloud, copy it to a Planning environment, and then import the metadata into Planning. The sections build on each other and should be completed sequentially.
Background
Enterprise Data Management Cloud provides multiple solutions for managing changes in your business by ensuring consistency across enterprise data, even across disparate applications.
You can export dimension metadata from Enterprise Data Management Cloud to a Planning instance manually or by using the EPM Automate utility. You can also create a Groovy business rule in Planning that calls the Enterprise Data Management REST API to export the dimension metadata, then imports the metadata to Planning using a saved import job.
In this tutorial, you update the Product dimension in Enterprise Data Management Cloud and then synchronize the changes to Planning using EPM Automate.
Note:
See the Next Steps section for links to tutorials on manually exporting and importing, and using Groovy rules.Prerequisites
An EPM Cloud Service instance allows you to deploy and use one of the supported business processes. To deploy another business process, you must request another EPM Enterprise Cloud Service instance or remove the current business process.
- Have Service Administrator access to two instances of EPM Enterprise Cloud Service. The instances should not have business processes created.
Tip:
If you have already set up these instances for one of the tutorials listed in the Next Steps section, you can continue to use the same environments and skip these prerequisites tasks. Your results may vary from those shown in the screenshots for this tutorial, depending on whether and in which order you have completed the related tutorials. - Configure one of your instances for Enterprise Data Management Cloud and configure the other instance for Planning.
- In your Enterprise Data Management Cloud instance, create a sample application. For more information, see the documentation.
- Upload and import this snapshot into your Planning instance. For more information on uploading and importing migration snapshots, refer to the Administering Migration for Oracle Enterprise Performance Management Cloud documentation.
Adding a product in Enterprise Data Management Cloud
Currently, the Product dimensions in Enterprise Data Management Cloud and Planning are in sync. In this section, you add a new product to the Corporate Planning application in Enterprise Data Management Cloud.
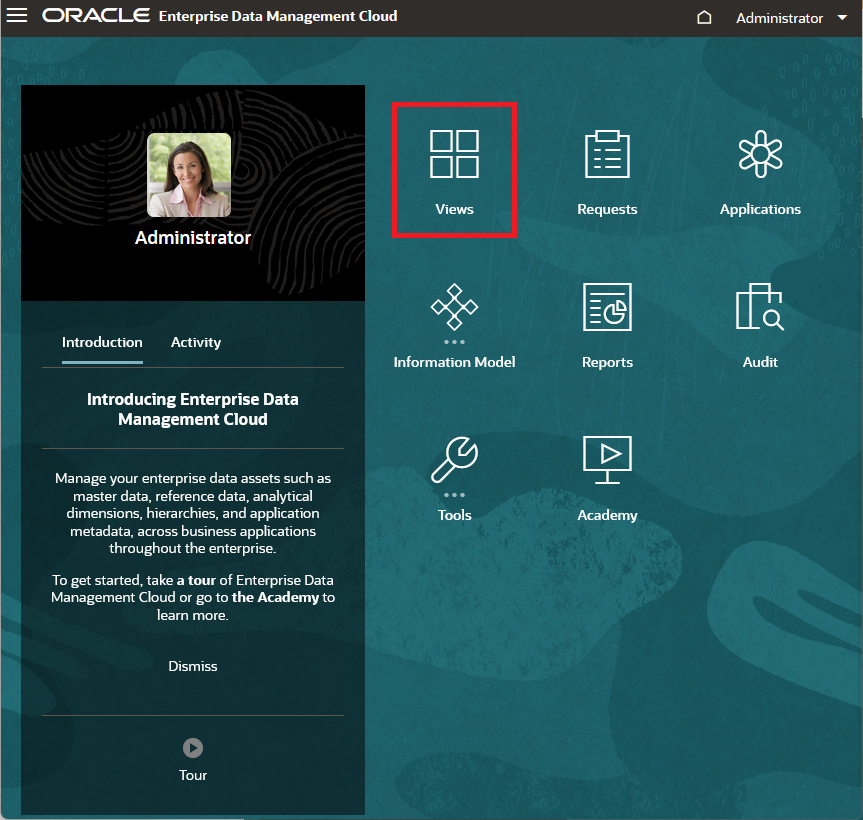
- On the Enterprise Data Management Cloud home page, click Views.
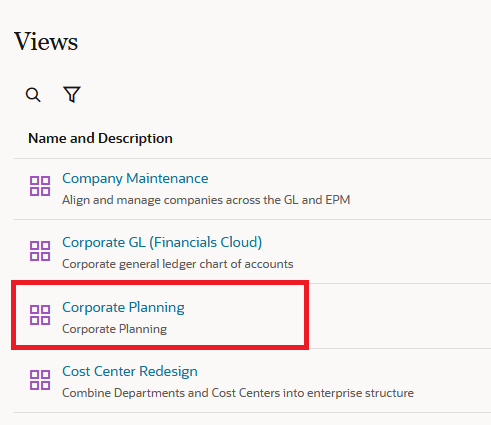
- Click Corporate Planning to open the view.
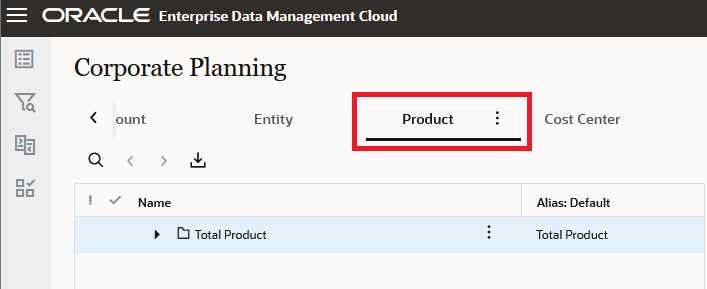
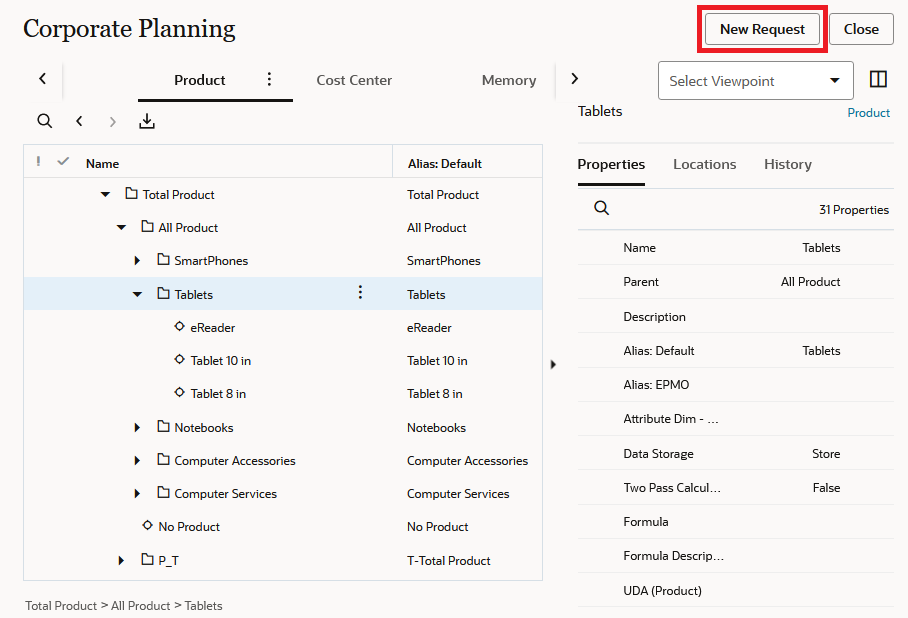
- Select the Product viewpoint.
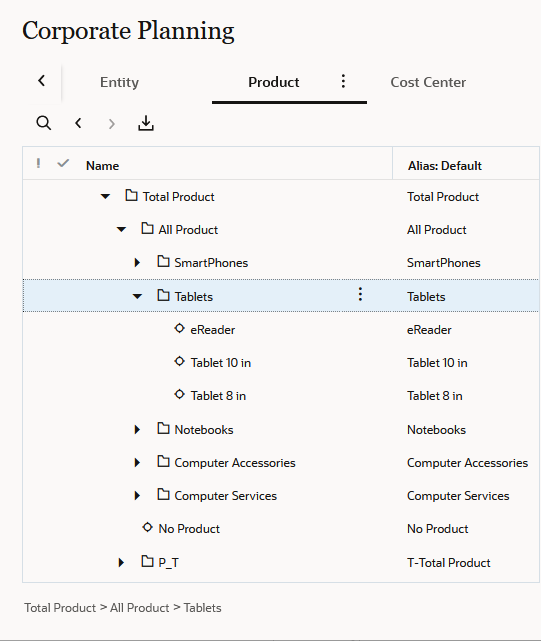
- In the Product hierarchy, expand Total Product, then All Product, and then Tablets.
- Click New Request to add a product.
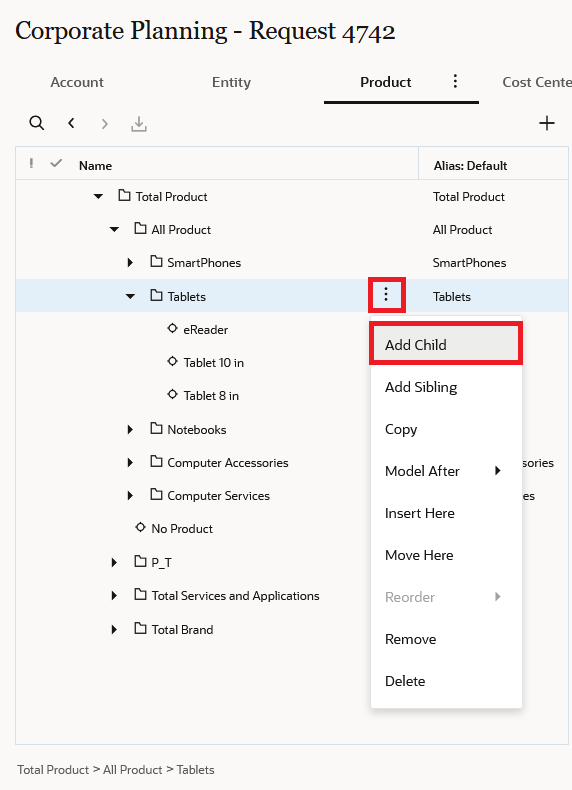
- In the Tablets row, click the Actions icon (
 ) and select Add Child.
- Enter property values for the new product (for any properties not listed in the table, use the default value):
Property Value Name Tablet 13 in Description Tablet 13 in Plan Type (Plan1) False 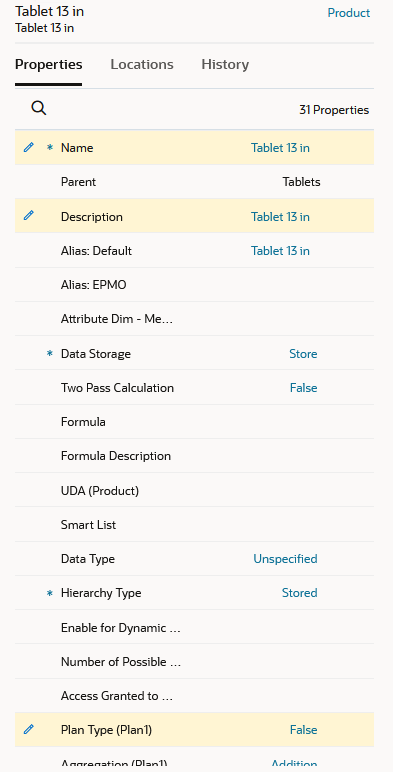
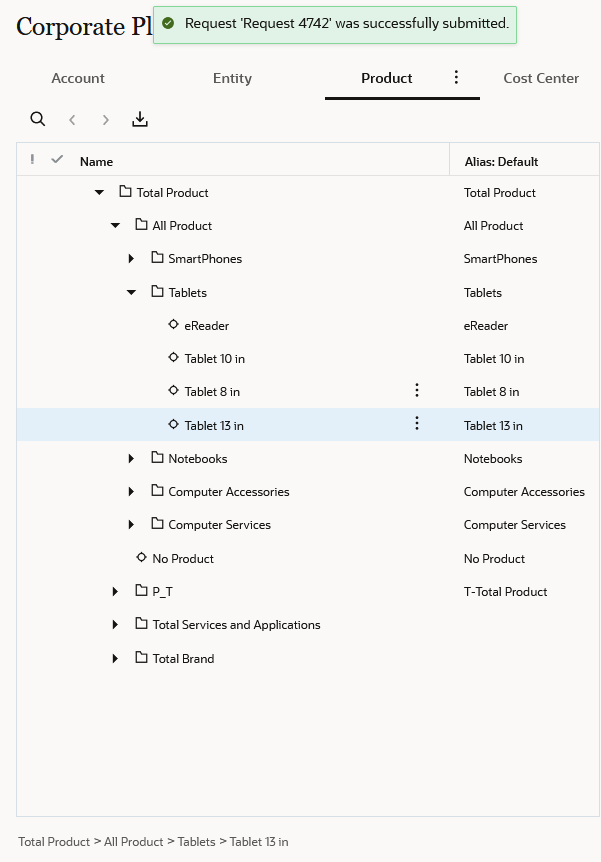
- Click Submit to commit the changes.

You receive a message that the request was successfully submitted.
Note:
Submitting the request validates your changes. If there are no validation issues and there is no approval workflow defined, the changes are immediately commited to the dimension. - Click Close to close the view, then return to the home page.
Creating an import job in Planning
With EPM Automate, you can import files stored in the Planning Inbox/Outbox by referencing a saved import job. In this section, you create an import job for the edmc-product.csv file, which you will export from Enterprise Data Management Cloud using EPM Automate.
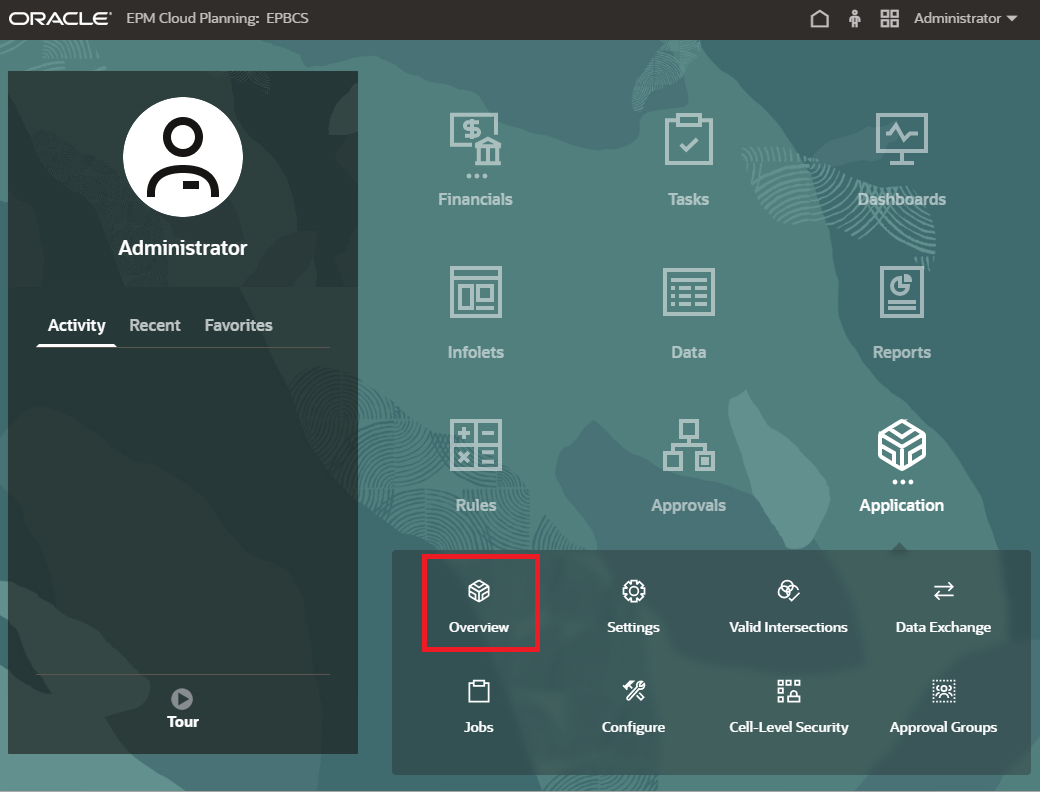
- Open a new browser tab and log in to your Planning instance. From the home page, click Application, and then click Overview.
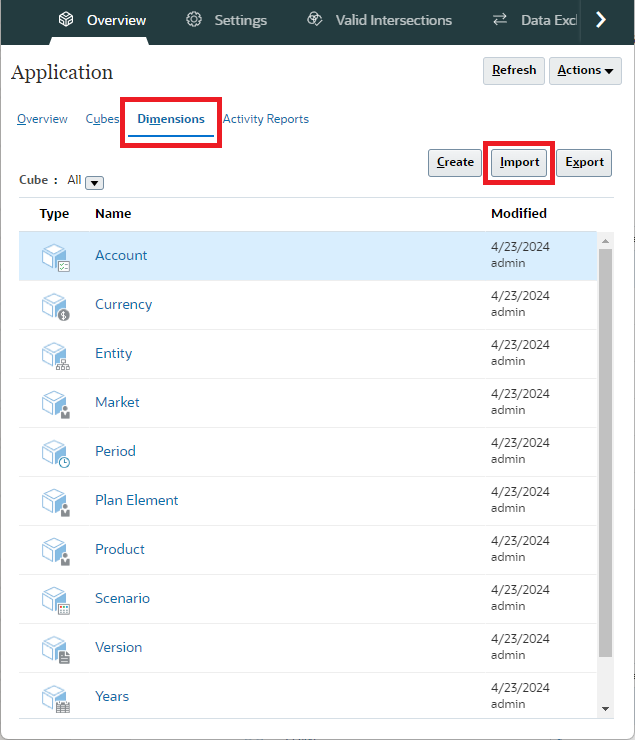
- Select the Dimensions tab, and then click Import.
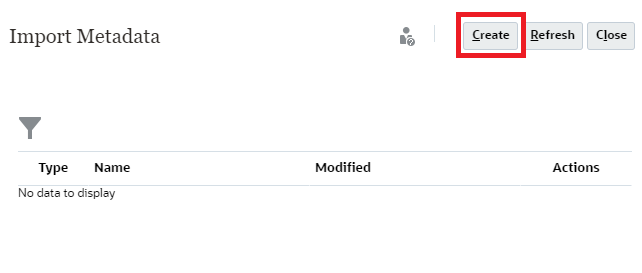
- In the Import Metadata dialog box, click Create.
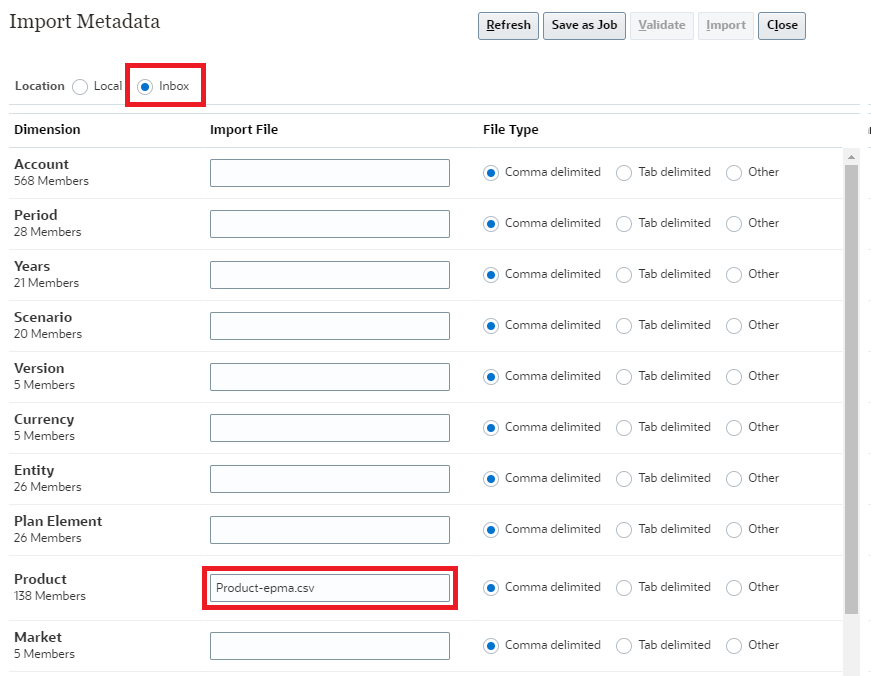
- For Location, select Inbox. In the Product dimension row, enter Product-epma.csv, and accept the default (Comma delimited) for the File Type.
-
Click Save as Job.
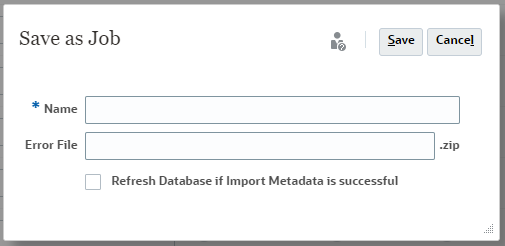
- Configure the job:
- Name: Import_Product
- Error File: edmc_product_error
Note:
This file provides information about the metadata records that were not imported for each dimension. If you specify an error zip file, a separate error file is created for each dimension, then the error files are zipped together, and the zip file is stored in the Outbox where you can download the file using Inbox/Outbox Explorer. - Refresh Database if Import Metadata is successful: Selected
Tip:
You must refresh the database after modifying dimensions and members. In a production environment, Oracle recommends that you notify all users, asking them to save their work and close the application, before you refresh the database. For more information on database refreshes, please see Before Refreshing the Database in Administering Planning.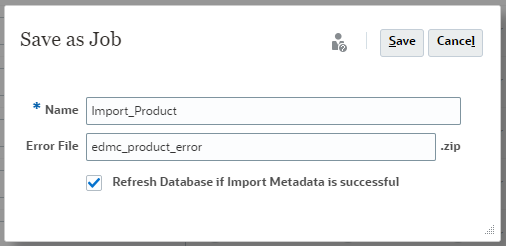
- Click Save, then click OK to close the information message.
- Click Close to close the Import Metadata dialog box that lists dimensions.
- In the Import Metadata dialog box that lists saved import metadata jobs, click Refresh to view the job you created.
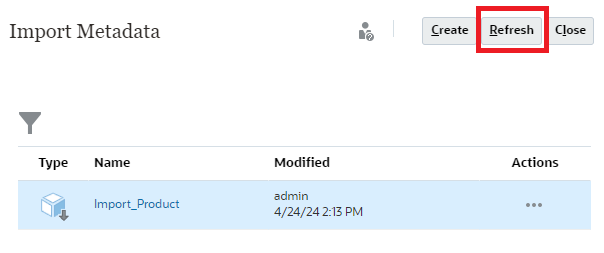
- Click Close, then return to the Planning home page.
Downloading and installing EPM Automate
In this section, you download and install the EPM Automate client.
Note:
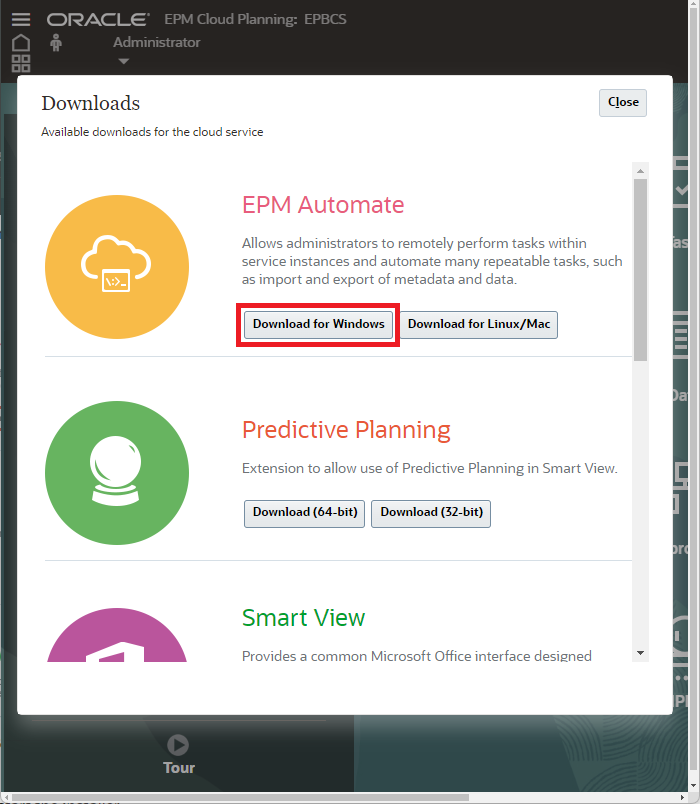
These instructions are for installing and working with EPM Automate on Windows. For installation instructions for Mac OS X or Linux, please see Installing EPM Automate on Linux/UNIX/Mac OS X.- On the Planning home page, select your user name (in the top right corner), and click Downloads.
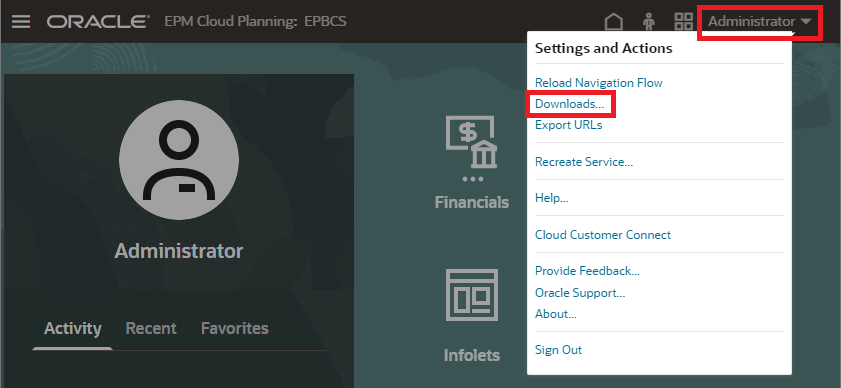
- In the EPM Automate row, click Download for Windows.
- Save EPM Automate.exe to your local drive.
- Open Windows Explorer and browse to the location where you saved EPM Automate.exe
- Double-click EPM Automate.exe to start the installer.
- By default, EPM Automate will be installed to
C:\Oracle\EPM Automate. You can accept the default or click Change to change the destination folder.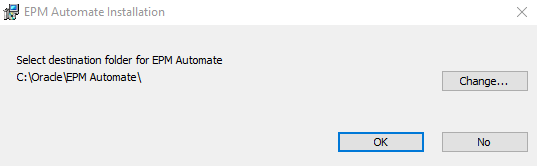
- Click OK to start the installation. The installation may take several minutes to complete.
- At the successful completion message, click OK.
Exporting and importing dimension metadata interactively in EPM Automate
In this section, you enter interactive commands in EPM Automate to export the Product dimension metadata from Enterprise Data Management Cloud, copy the exported file to your Planning instance, and import the dimension metadata into Planning.
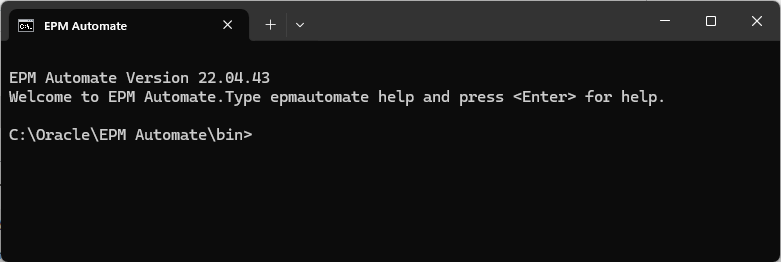
- In Windows Explorer, browse to the directory where you installed EPM Automate, and open the bin folder.

- Double-click epmautomate.bat to open a command window.
- Log in to Enterprise Data Management Cloud using the user name, password, and URL for your instance:
epmautomate login USER_NAME PASSWORD URL
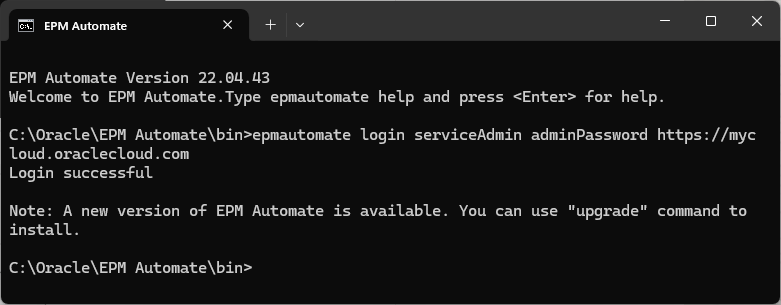
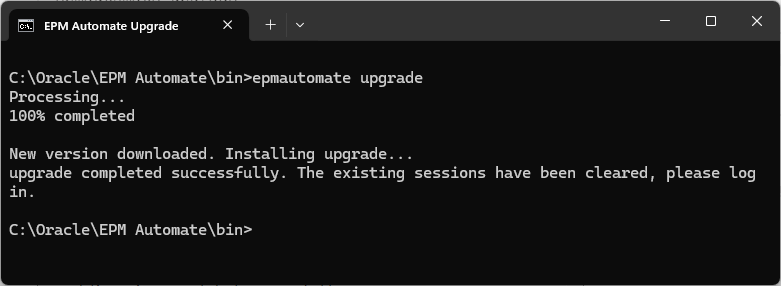
- Optional: If you receive a message that a newer version of EPM Automate is available, upgrade EPM Automate:
epmautomate upgrade
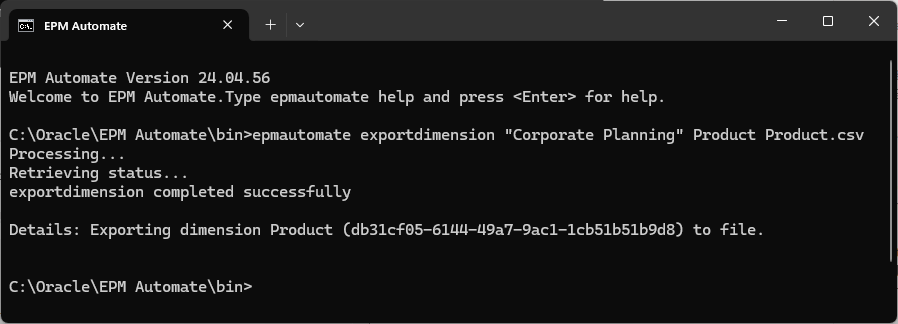
- Export the Product dimension from the Corporate Planning application to the
Product.csvfile in the Enterprise Data Management Cloud staging area:epmautomate exportdimension "Corporate Planning" Product Product.csv
Tip:
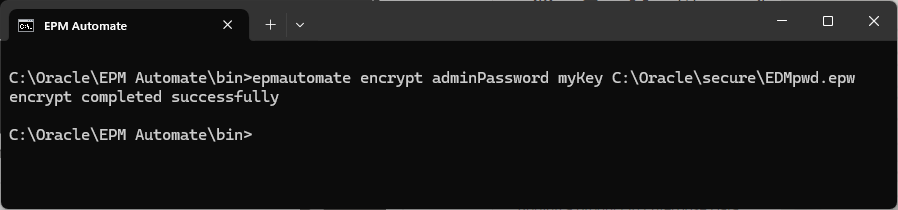
If you have already set up a connection to your Planning instance, you can export the dimension directly to Planning inbox by adding theconnection=NAMEparameter to theexportdimensioncommand, which lets you skip steps 6 and 9 below. - Create an encrypted password file called
EDMpassword.epwfor your Enterprise Data Management password:epmautomate encrypt PASSWORD KEY FILE_PATH\EDMpassword.epw
- Replace
PASSWORDwith your password. - Replace
KEYwith your private key that is to be used to encrypt the password (for example,myKey). - Replace
FILE_PATHwith a path to a folder on your file system to store your encrypted password file (for example,c:\Oracle\secure\)
Note:
The encrypt command uses Advanced Encryption Standard (AES) to encrypt an EPM Cloud password, and optionally, the internet proxy server password, and stores it in a password file. Encrypting a password is a one-time process.
An encrypted password file is required to copy an export file from Enterprise Data Management Cloud to your Planning instance. It is also a recommended best practice to avoid using clear passwords in an unsecure file if you are creating batch files for EPM Automate.
For more information about theencryptcommand, see the documentation. - Replace
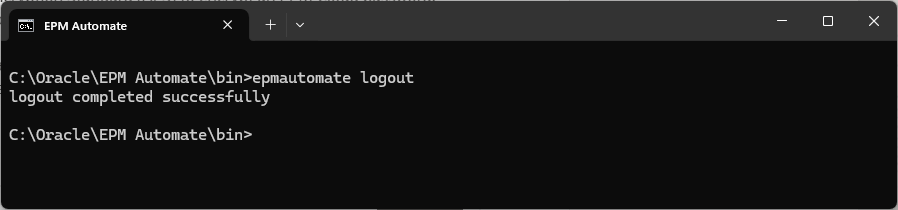
- Log out of Enterprise Data Management Cloud:
epmautomate logout
- Log in to your Planning instance using the EPM Automate
logincommand.Tip:
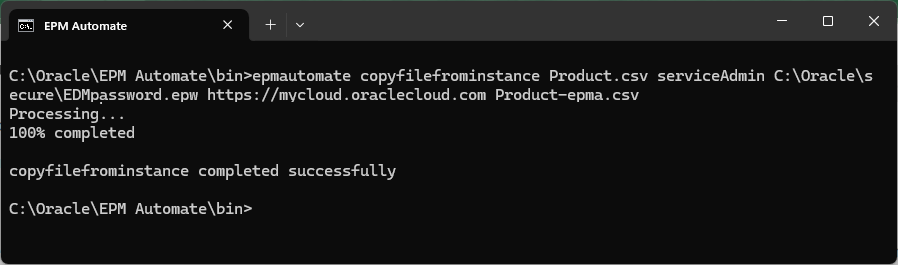
Refer to step 3 above for the command syntax and sample. - Copy the exported file from the Enterprise Data Management Cloud environment to the Planning environment:
epmautomate copyfilefrominstance SOURCE_FILE_NAME EDMC_USER_NAME PASSWORD_FILE EDMC_URL TARGET_FILE_NAME
- Replace
SOURCE_FILE_NAMEwith the export filename in Enterprise Data Management Cloud staging area (for example,Product.csv). - Replace
EDMC_USER_NAMEwith your Enterprise Data Management Cloud user name (for example,serviceAdmin). - Replace
PASSWORD_FILEwith the name and location of the file containing the encrypted password for your Enterprise Data Management Cloud user (for example,C:\Oracle\secure\EDMpassword.epw). - Replace
EDMC_URLwith the URL for your Enterprise Data Management Cloud instance (for example,https://mycloud.oraclecloud.com). - Replace
TARGET_FILE_NAMEwith the file name in Planning(for example,Product-epma.csv).
- Replace
-
Import the Product dimension metadata to Planning:
epmautomate importmetadata Import_Product
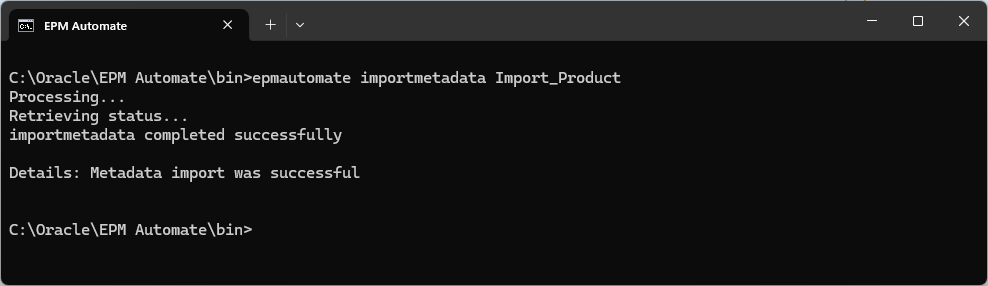
Note:
This command calls the saved import job Import_Product that you created in the "Creating an import job in Planning" section.
For more information about theimportmetadatacommand, see the documentation. - Log out of Planning using the EPM Automate
logoutcommand.Tip:
Refer to step 7 above for the command syntax and sample.
Viewing import results
In this section, you return to Planning and verify that the new product was imported in the Product dimension.
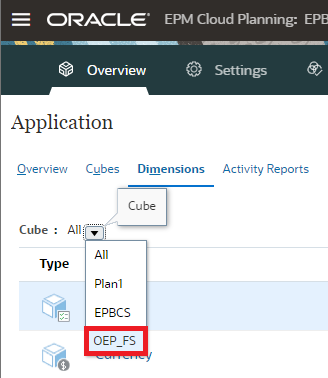
- From the Planning home page, click Application, and then click Overview.
- Select the Dimensions tab.
- In the Cube drop-down, select OEP_FS.
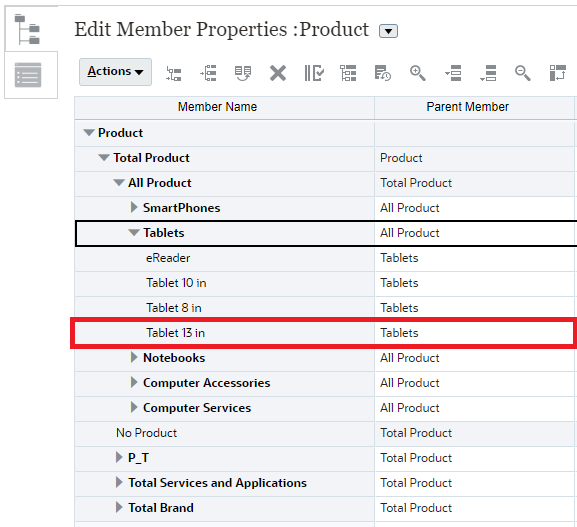
- Click Product to view the Product dimension.
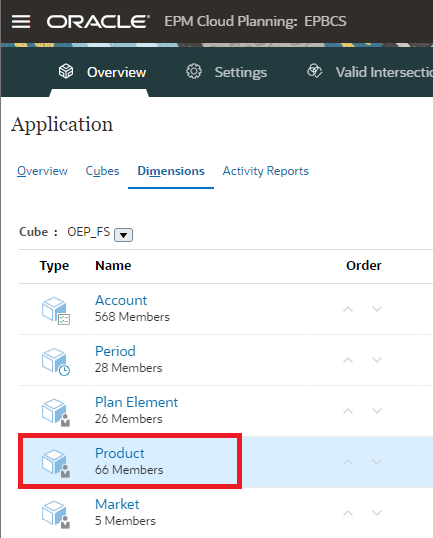
- Expand Total Product, then All Product, and then Tablets. Verify that the new product, Tablet 13 in, was added to the dimension.
Next Steps
Related Links
Integrating dimension metadata from Enterprise Data Management Cloud with Planning using EPM Automate
F41674-02
April 2024