Steps to Complete in the Source Identity Domain in IAM Interface
Download Oracle Identity Domain application from the App Catalog of the target domain to enable and configure connectivity for synchronization.
Before you begin, note the Client ID and Client Secret in General Information of the application in the target identity domain. See Steps to Complete in the Target Identity Domain in IAM Interface
- Sign into IAM Interface as an Identity Domain Administrator in the source domain. See: Accessing the IAM Interface.
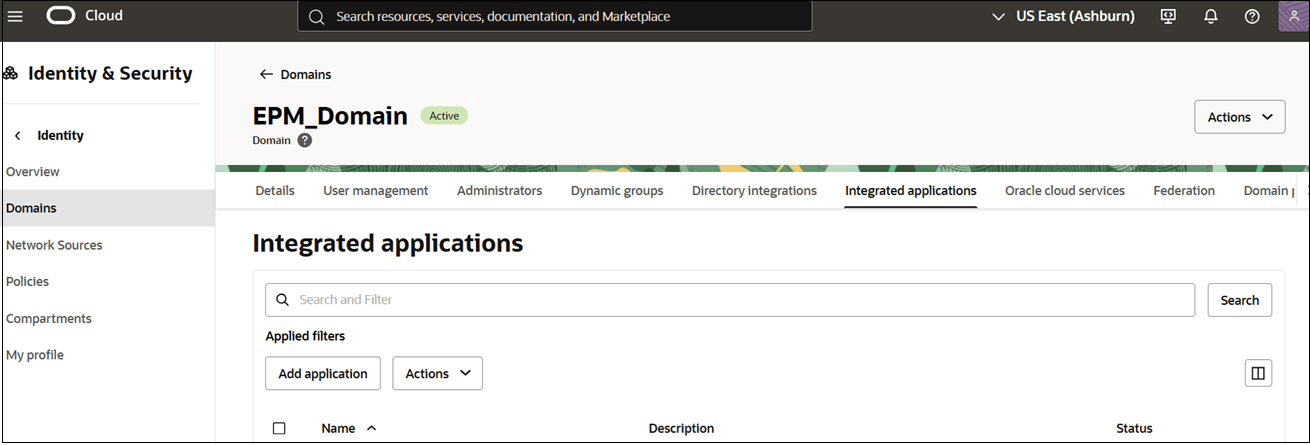
- Navigate to the Integrated applications tab.

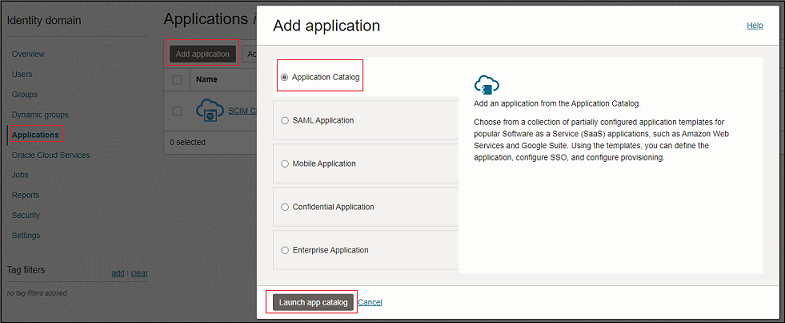
- Click Add application.
- On the Add application page, click Application
Catalog, and then click Launch
workflow.

- Search for Oracle Identity Domain in App Catalog, and click Oracle Identity Domain.
- Search for Oracle Identity Domain in App Catalog, and click
Add next to Oracle Identity
Domain.

- On the Add Oracle Identity Domain page, enter the required application details, and click Submit.
- On the application page, navigate to the Provisioning
tab.

- Click Ellipses (…) button next to Provisioning header, and select Edit provisioning.
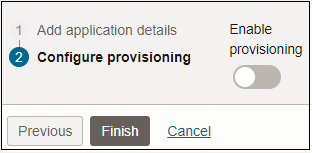
- Click Enable Provisioning.
- Click Confirm to close the confirmation message.

- In Configure Connectivity, enter the values for the following
parameters:
Parameter Description and Value Information Host Name If the SCIM interface's URL is https://idcs.example.com/abc, then the host name isidcs.example.com. This is the URL of the target identity domain.Client Id Client ID of the confidential application your created in the target identity domain. Client Secret Client Secret of the confidential application your created in the target identity domain. Scope Use urn:opc:idm:__myscopes__as the scope of your application.Authentication Server Url The URL of your authentication server in the target domain.
Example:
https://idcs.example.com/oauth2/v1/token - Click Test Connectivity to verify the configuration.
- Under Select Provisioning Operations, choose Authoritative Sync.
- Select Enable Synchronization, then click Submit.
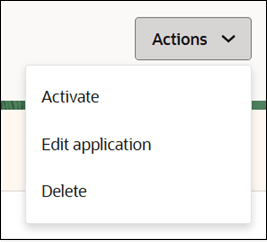
- Back on the application page, click Actions, and select
Activate.

- On the confirmation dialog, click Activate application.