Process Description for EPM Integration Agent Write-Back
To write back to an on-premises database using the EPM Integration Agent:
-
Download the EPMAgent ZIP.
If this is your first installation of the EPM Integration, see Installing and Configuring the EPM Integration Agent.
If you have an existing installation of the EPM Integration Agent, download and unzip the EPMAgent.ZIP. You do not need to update the ini file or certificate.
-
Optional: You can execute two event scripts during the write-back execution including the BefExport and AftExport.
Using a BefExport event, you can perform any action before inserting data to the table or you can override the default insert processing. Using an AftExport event, you can perform any post processing cleanup after inserting data to the table.
-
Register the data export to an on-premises application.
For more information, see Registering the Data Export to On-Premises Application.
-
Go to Application Details Dimensions tab for the data export application and verify that the column names in the header record must exactly match the column name or column alias in the table to which you are loading data.
Names are case-sensitive.
For more information, see Setting the Application Detail Dimensions for the Write-Back.
-
Designate the "Amount" column in the Target Dimension Class and clear the Data Column Name column.
-
Go to the Application Details Options tab for the data export to on-premises application and specify how you want to handle loading data. You can specify the table name and have the system generate the INSERT statement automatically. You can also write an INSERT query in the query definition page and use the statement as the method for loading data.
You also need to specify any credentials, JDBC connection information, and user name and password for the on-premises database.
For more information, see Defining Application Details for A Data Export Application.
-
Integrate the Oracle Fusion Cloud Enterprise Performance Management application with the data export file by completing the following tasks.
Task Description More Information General Add or edit an integration for file-based and direct integration sources. Defining a Data Integration Map Dimensions Map the columns in the data source to dimensions in the target application. Map Members Map dimensions to identify how source field values translate to target dimension members. Mapping Members Options Define options for importing and exporting data. Also, define any source filters. Setting Data Integration Options -
Run the integration.
For information on running an integration, see Running an Integration.
When the integration is executed, the EPM Integration Agent initiates the export process in the Cloud EPM. The agent downloads the export data. Based on the selected method, the agent also constructs the appropriate INSERT statement and loads the data to the target table.
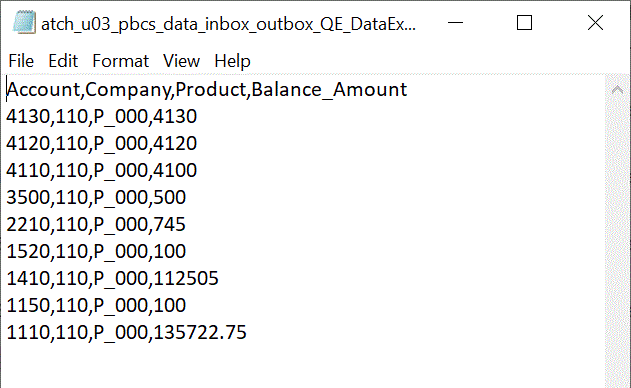
You can review the exported data by downloading the output file from the Process Details. The database column names for the write-back are specified as the column headers in the generated file as shown below.

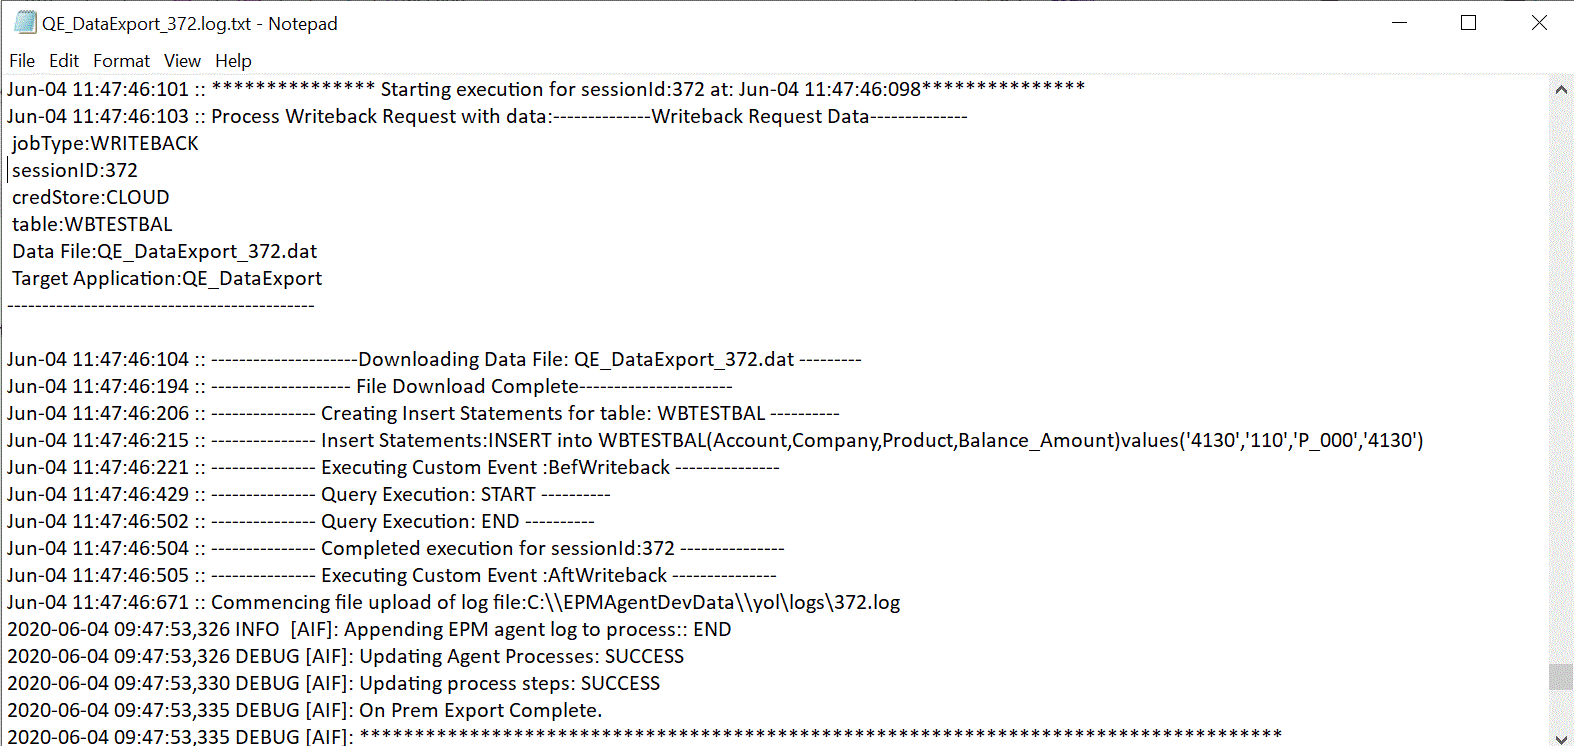
You can view the details of running the write-back by opening the log file for the job from Process Details as shown below:
