Tagging Cells in the Regulator Template
After you register and load your taxonomy and configure your Document Entity Information (DEI), you can begin tagging your cells in the regulator template. You can select a single cell or a range of cells when tagging.
Before you begin the tagging process, scan all of the worksheets in the template and gather the following information about each cell or range of cells:
-
What type of tag should be applied
-
Which parameters should be applied for each tag
The recommended order of tagging is as follows:
-
First, tag Data element cells
-
Next, tag Header element cells such as: Concepts, Dimensions, Context and Units
-
Finally, tag Table element cells such as: Table Begin and Table End
Note:
Tagging in this order can help avoid tagging issues during validation.
Oracle recommends that you validate the tags after tagging each worksheet. You can validate the tags either by using Arelle or by filing with the regulator.
Applying Tags to Cells in the Regulator Template
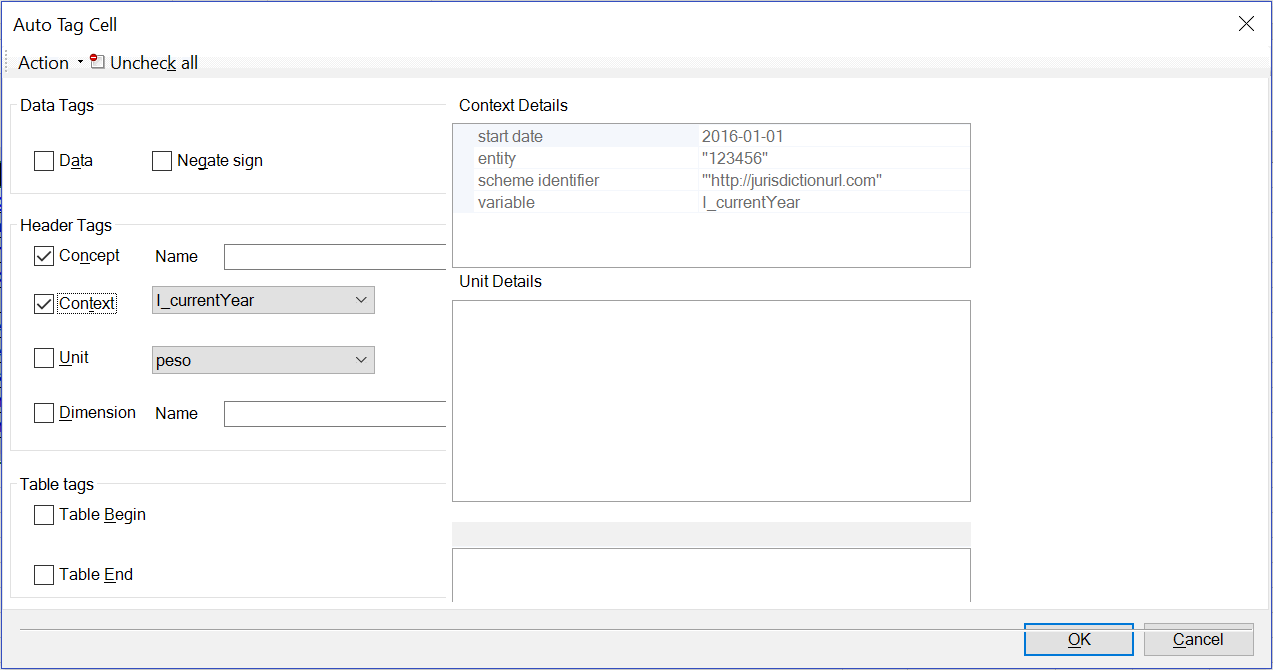
To apply tags for a cell or range of cells in the Taxonomy template, perform these steps:
Follow these rules to apply tags to each cell:
Tag Name: Data tag
This defines that the cell is a data cell. 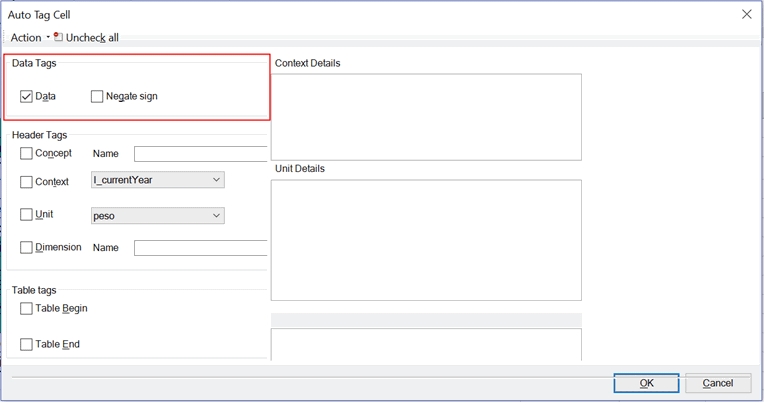
Tag Type: #DATA comment in the cell. Select Negate Sign to flip the sign of the numeric cell. For example, if the value is 500 and Negate Sign is selected, then the value is reported as -500.
Tag Name: Concept
This labels a cell as a concept header.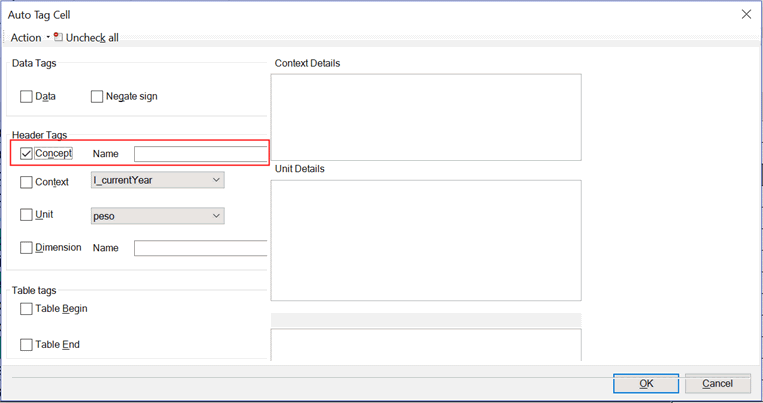
Tag Type: #CON comment in the Excel cell.
Tag Name: Context
This defines the context of the cell.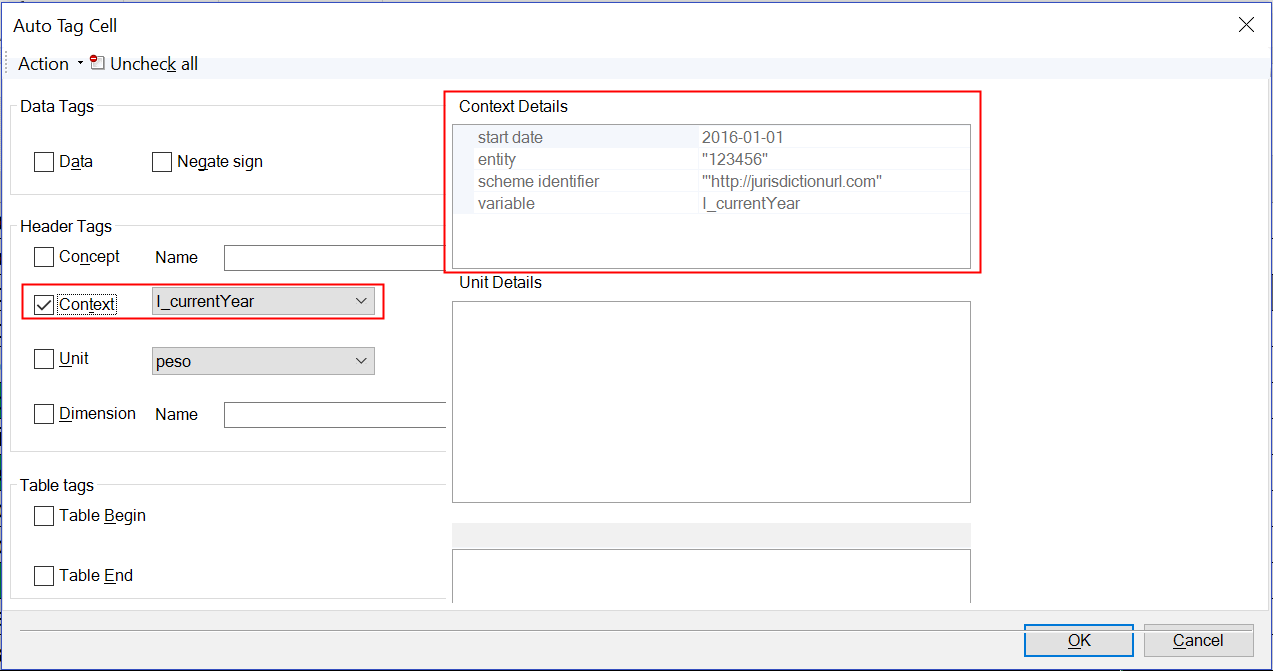
Tag Type: #CTX comment in the cell.
Tag Name: Unit
This defines that the cell is represented as a unit, such as: "shares" , "pure", or "USD". 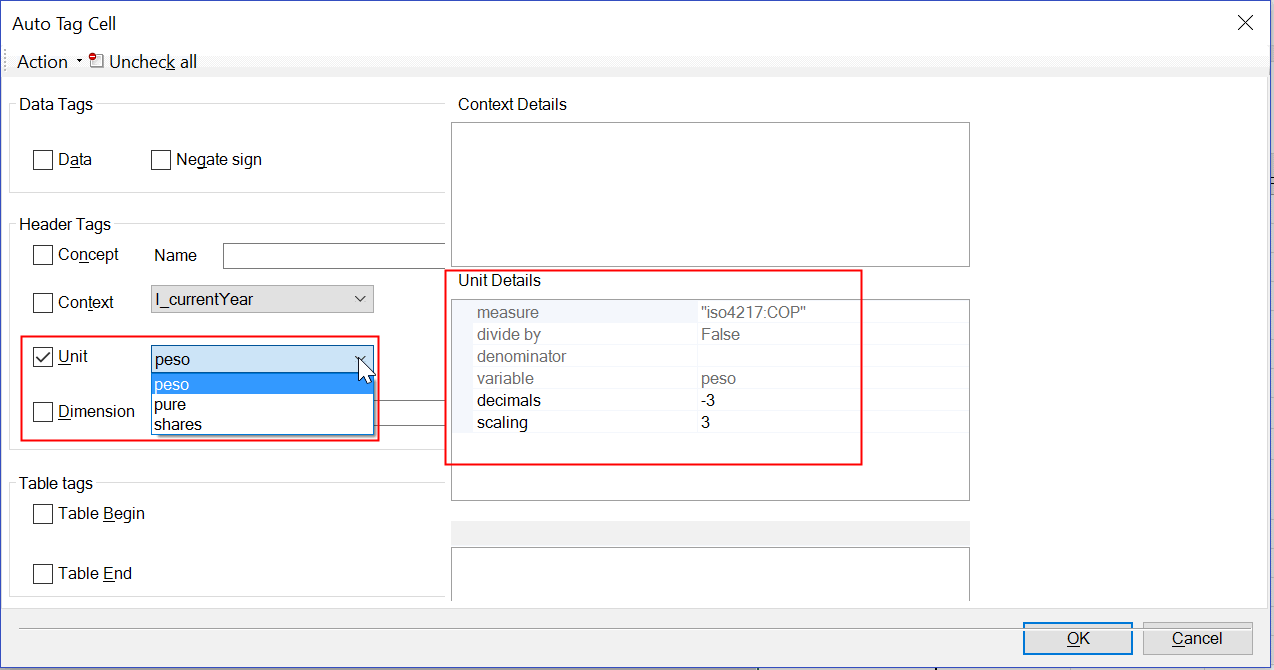
Tag Type: #UNT comment in the cell. Optional: Unit parameters such as "decimals" and "scaling" can be defined in the #UNT tag.
For example: #UNT($cop,decimals=
""
3
""
,scaling=
""
-3
"")
Note:
If decimals or scaling attributes are not defined, then the default values are taken from the DEI worksheet.
Tag Name: Dimension
This defines that the cell is an explicit dimension label. 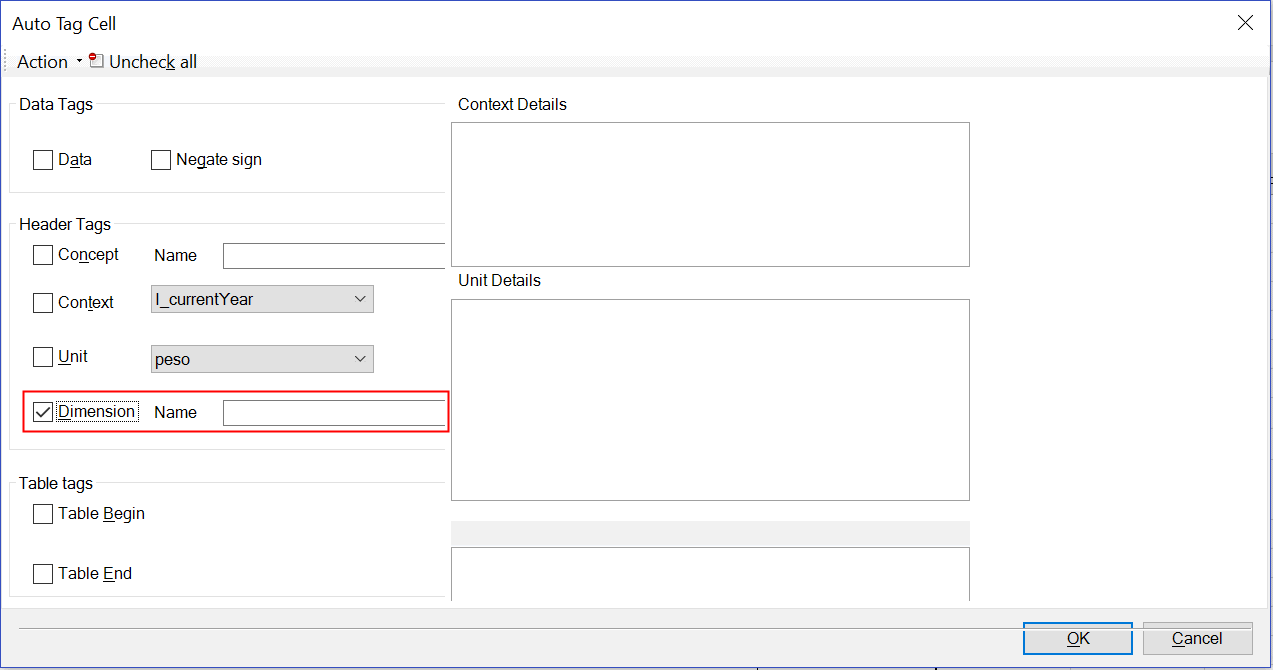
Tag Type: #DIM comment in the cell.
Tag Name: Table Begin
This marks the beginning of a table. This tag is used to delineate a clear section in the sheet. You can tag the beginning of a table or a text block.
Tag Type: #TABLEBEGIN comment in the Excel cell.
Tag Name: Table End
This marks the ending of a table. This tag is used to delineate a clear section in the sheet. You can tag the end of a table or a text block. 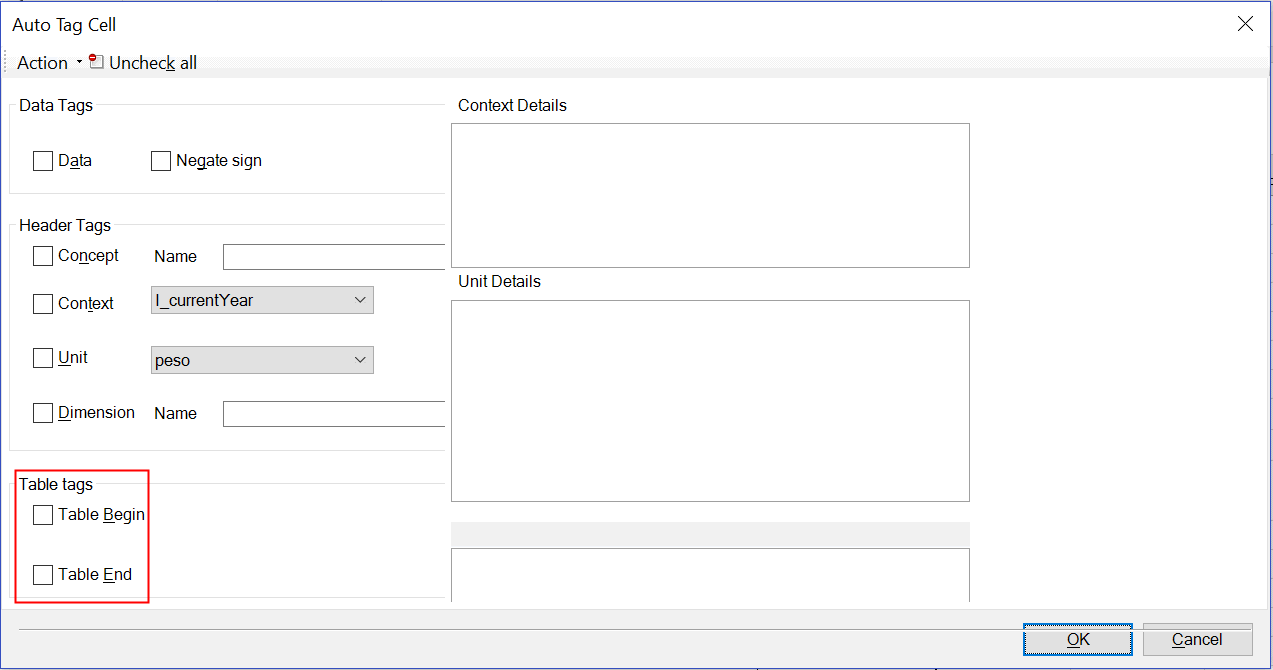
Tag Type: #TABLEEND comment in the Excel cell.
Note:
You can tag a cell with either #TABLEBEGIN or #TABLEEND, but not both.
Note:
In workbook, the primary concepts displayed in rows and the dimensions are in columns for most of the network worksheets; however, these two networks worksheets: 822390-21 and 822390-22 the primary concepts displayed in columns and the dimensions are in rows. As a workaround, you need to re-tag these two networks and regenerate intermediate mapping files.
