Demonstration: Ingest Data for a Directly Connected Device
We demonstrate creating an asset and ingesting IoT data for the asset sensor attributes using HTTPS.
-
Create the asset type.
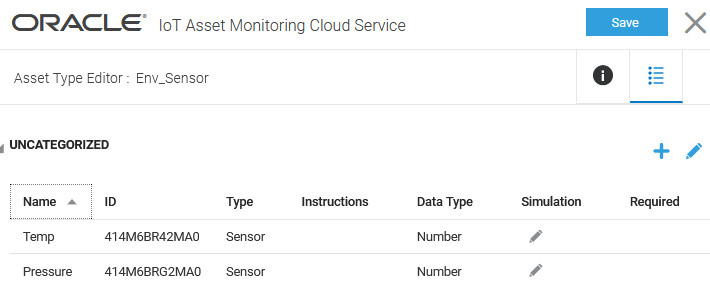
We create an asset type,
Env_Sensorwith sensor attributes for temperature and pressure. -
Create an asset for the asset type, and set the data source for the sensor attributes to Direct.
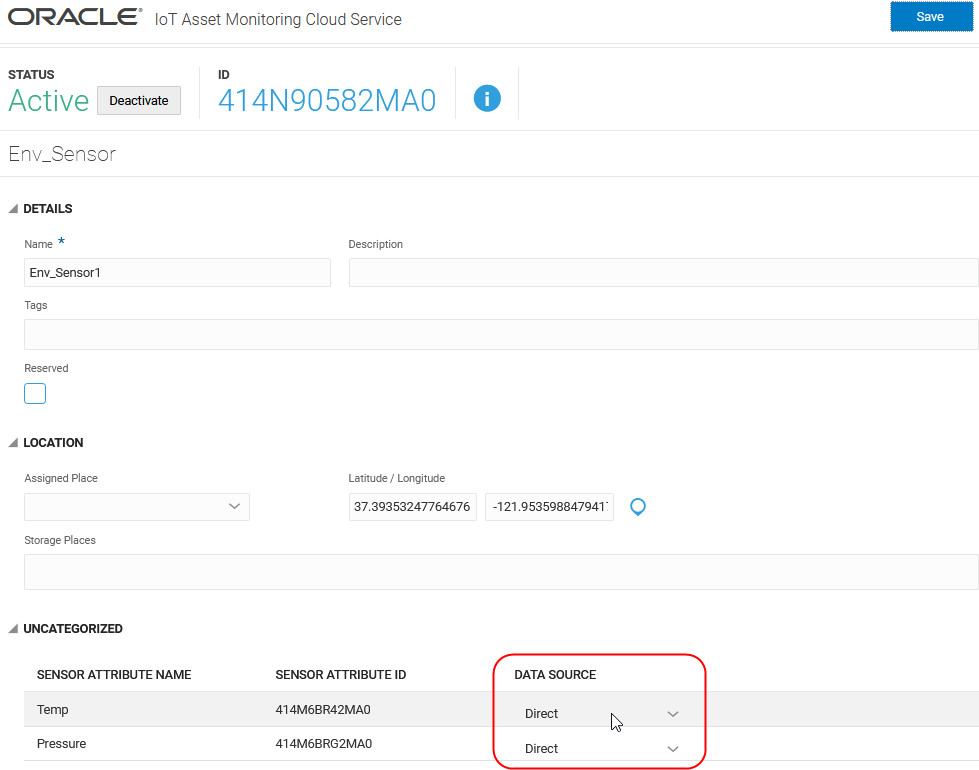
We create an asset,
Env_Sensor1for the asset type, and set the Data Source value for the sensor attributesTempandPressureto Direct. -
Set the Direct Data Source Options for the asset in the Asset Editor.
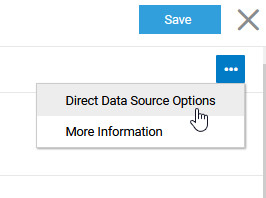
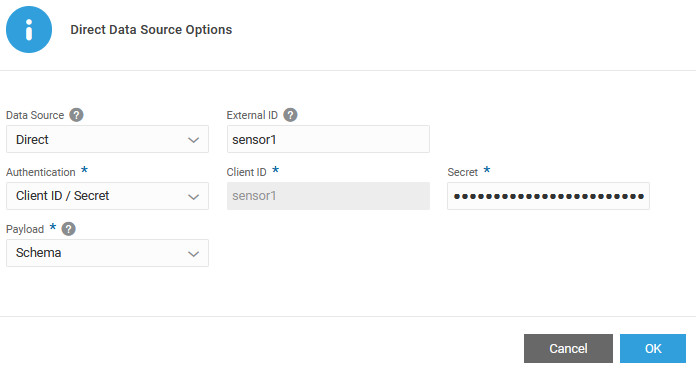
As this is a directly connected device, we choose the Direct under Data Source. We specify an external ID,
sensor1. The External ID is used as the Client ID when the device sends data to the IoT server. We set the authentication method to use Client ID/Secret and specify a secure secret password. As we do not need a custom schema, we leave the payload set to the default schema. -
Generate a sample schema for the asset from the Asset Inventory page.
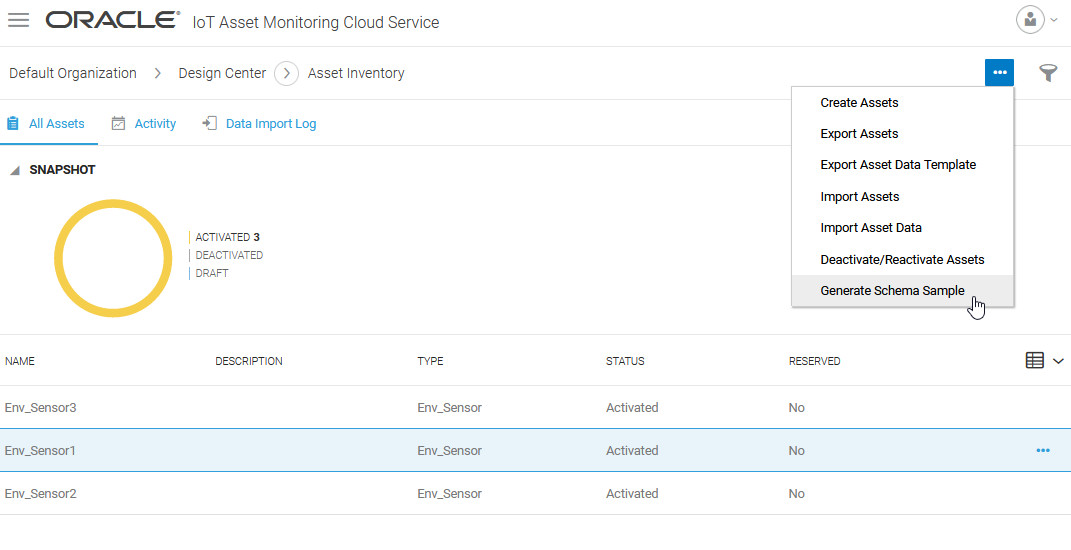
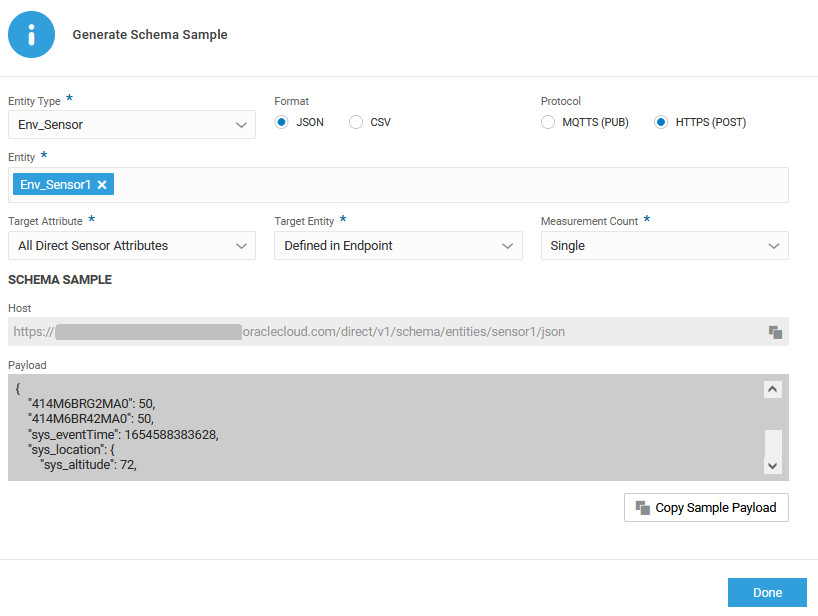
We choose a JSON schema and the HTTPS (POST) protocol. We select the sensor and choose to generate a sample payload for all its sensor attributes. The sensor ID is included in the endpoint here, but you could also choose to include it as part of payload. We generate a sample schema for a single measurement.
The payload contains sample values for the sensor attributes. Note that the sensor attribute IDs that appear in the payload can be traced to their respective sensor names in the asset editor.
When sending data, say using a REST client or curl command, copy the host, endpoint, and payload from the Sample Schema dialog. Use the client ID as the user name and the secret, set earlier, to authenticate. Edit the payload, as required.
-
Send data using a REST client.
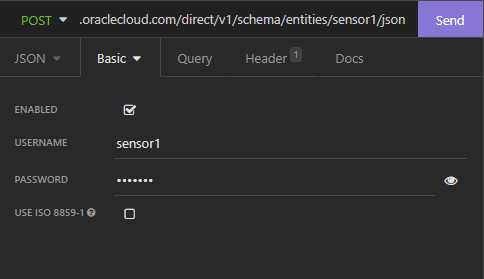
We use the host copied from the sample schema dialog for the POST request. We use the client ID and secret values specified in the Direct Data Source Options dialog, as the user name and password in the REST client.
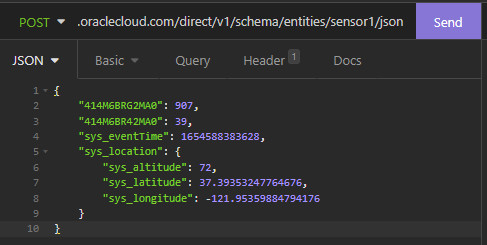
We copy and edit the sample payload from the Direct Data Source Options dialog, and use it as the data for the POST request.
The following shows a sample curl command for the POST request:
curl --request POST \
  --url https://iothost.oraclecloud.com/direct/v1/schema/entities/sensor1/json \
  --header 'Authorization: Basic c2Vuc29yMTpTZWNyZXQx' \
  --header 'Content-Type: application/json' \
  --data '{
    "414M6BRG2MA0": 907,
    "414M6BR42MA0": 39,
    "sys_eventTime": 1654588383628,
    "sys_location": {
        "sys_altitude": 72,
        "sys_latitude": 37.39353247764676,
        "sys_longitude": -121.95359884794176
    }
}'
You may choose to use the curl command directly in place of a REST client.
-
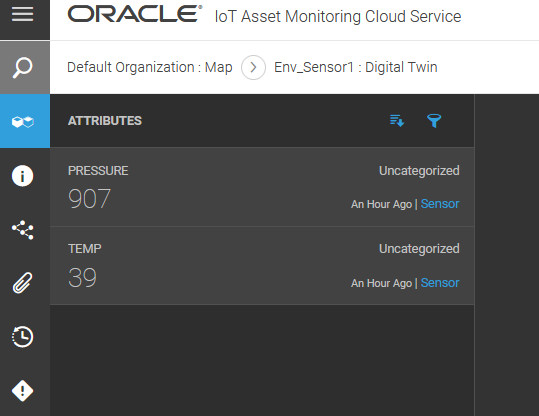
Verify that the sent data appears in Operations Center.
