18 Create and Detect Geofence Violations
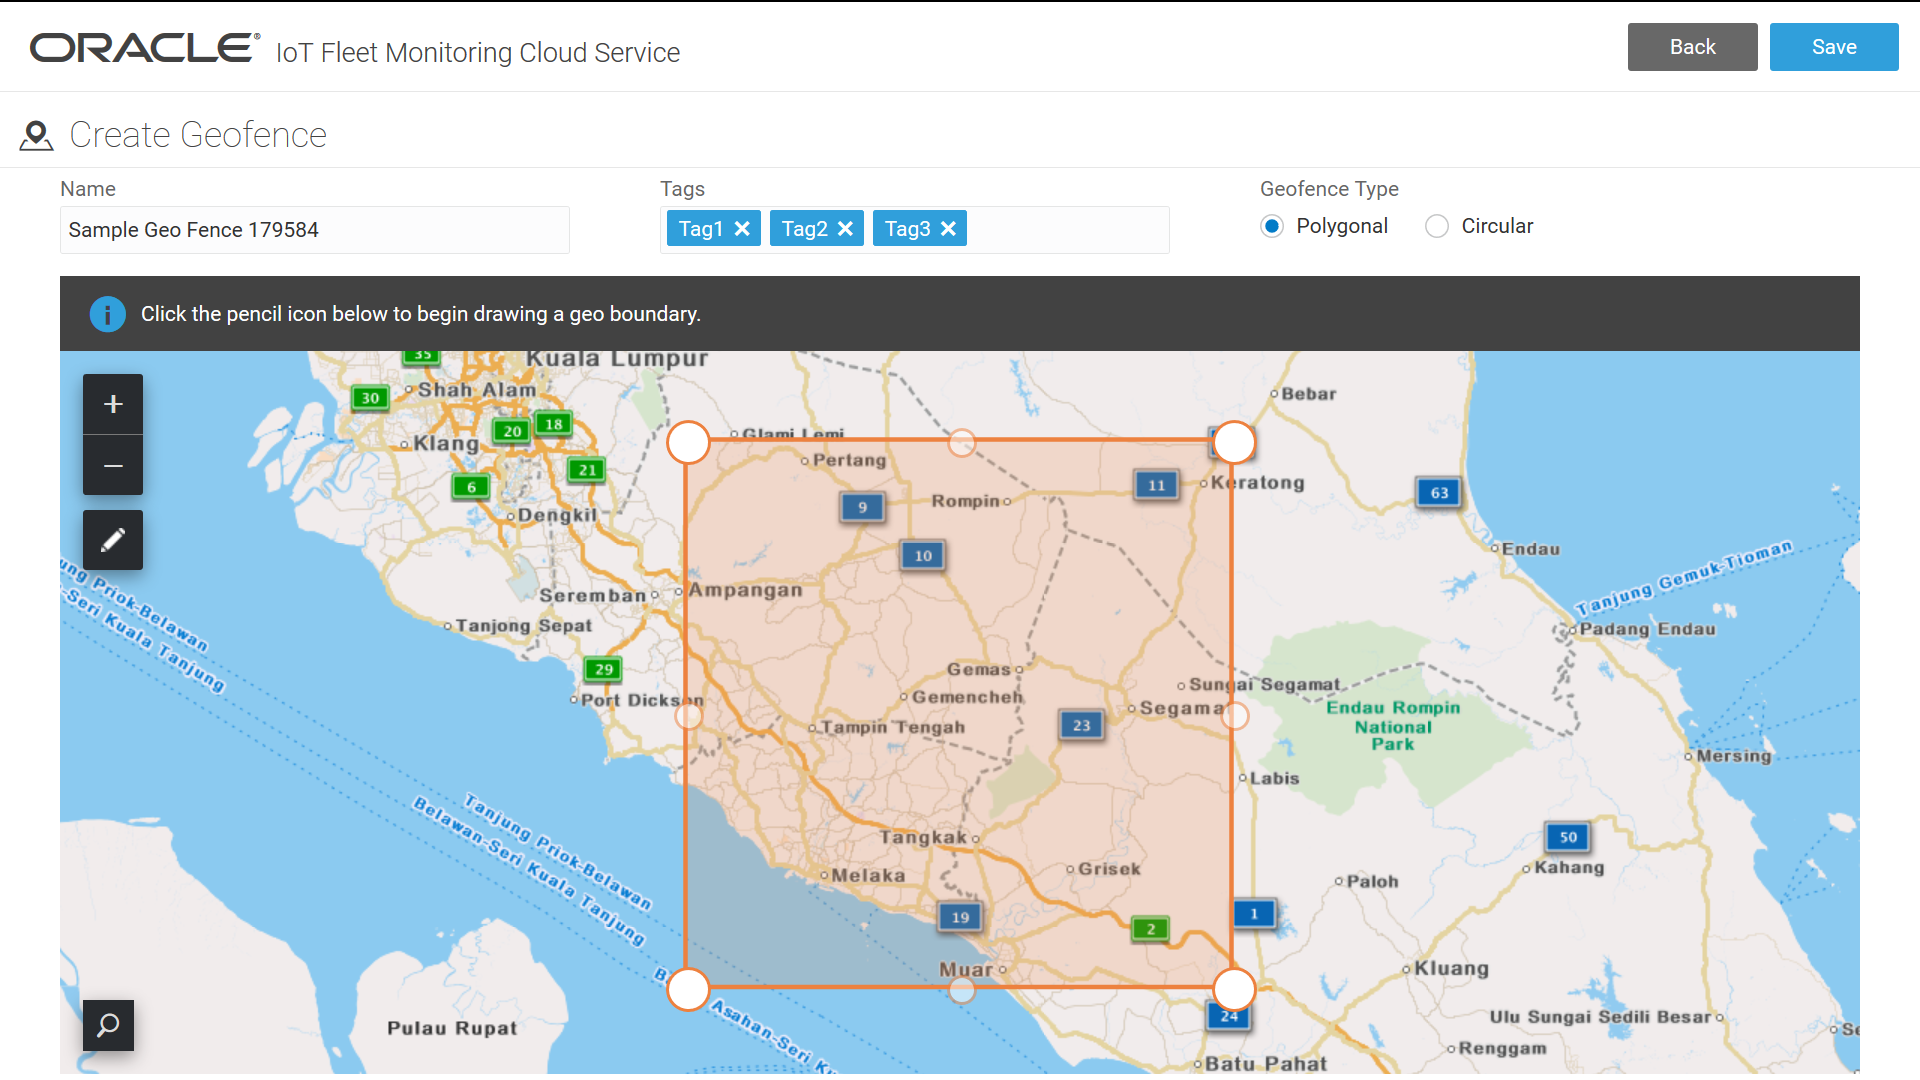
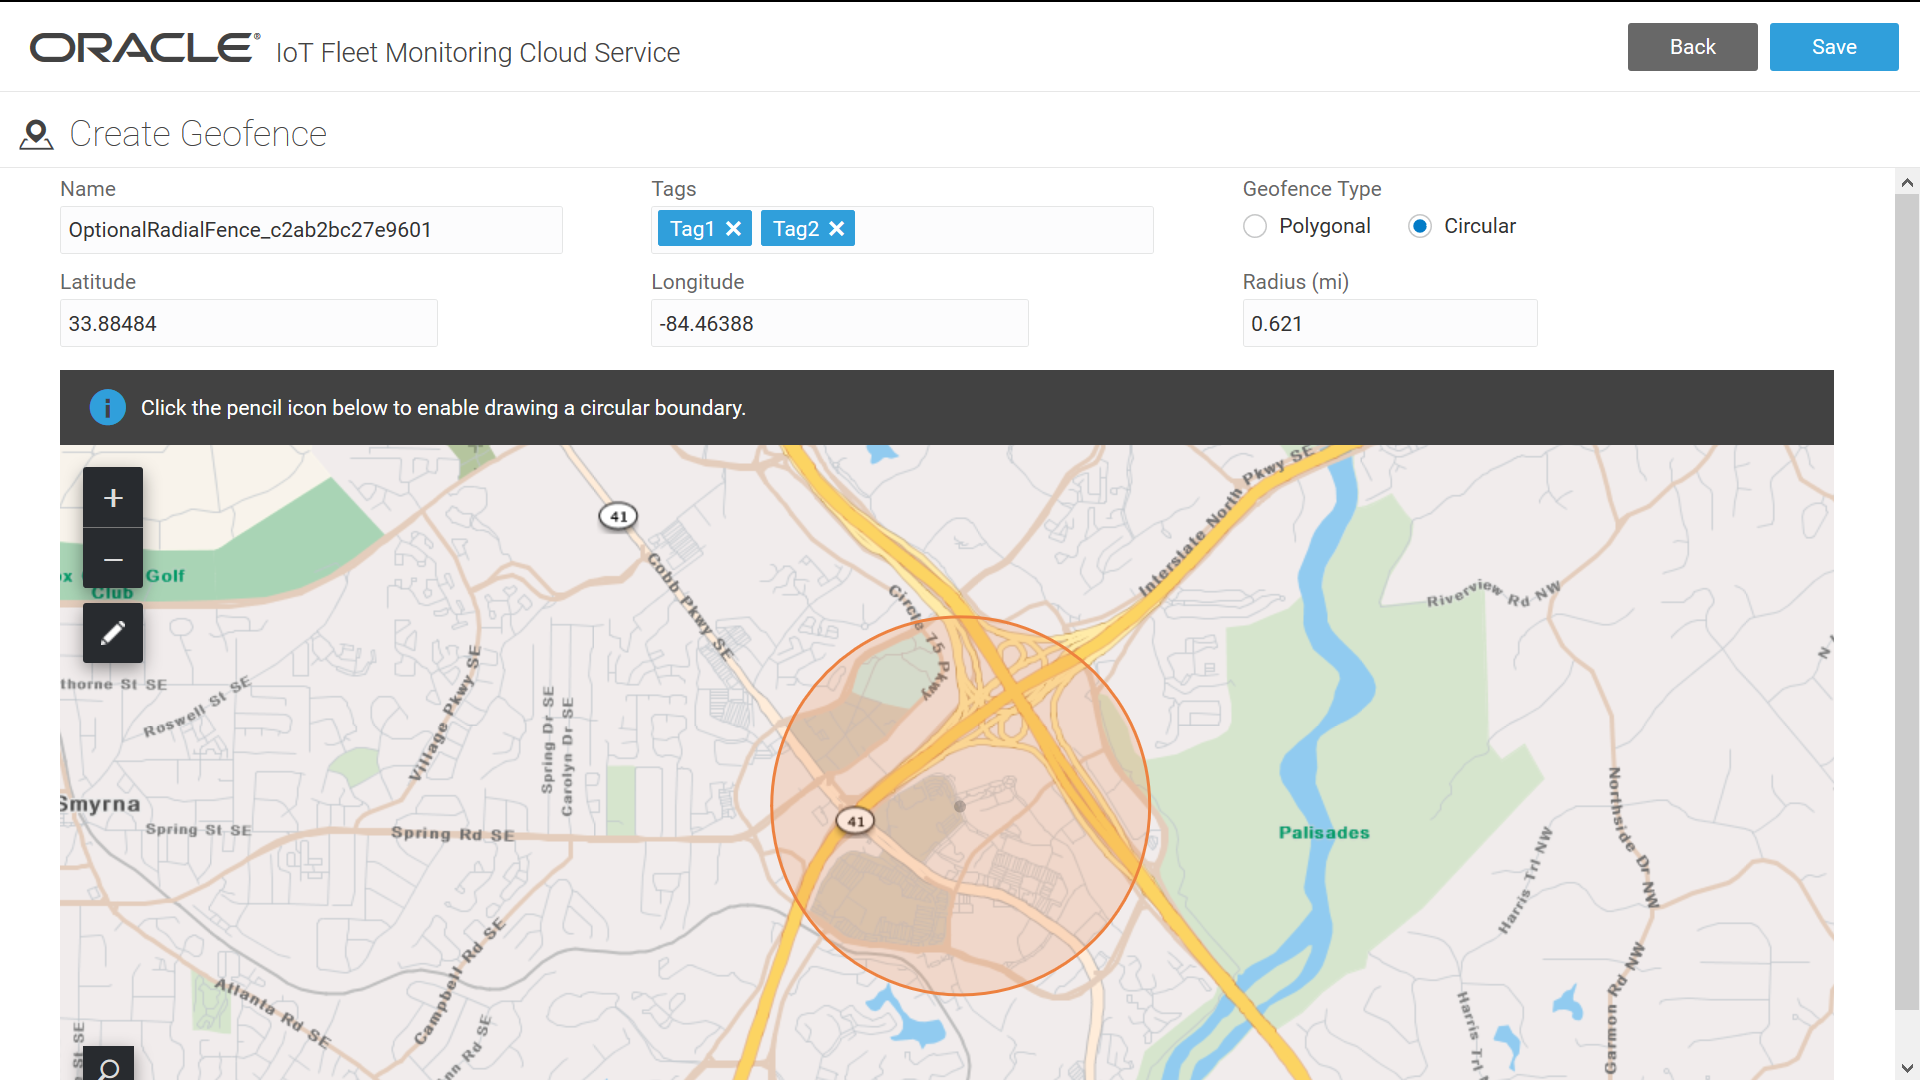
A geofence is a virtual geographic boundary defined by Global Positioning System (GPS) coordinates that restricts a fleet vehicle to a specific, real-world geographic area. When a vehicle enters or leaves the geofence boundary, its current position is sent from the vehicle's sensor device to the Oracle IoT Fleet Monitoring Cloud Service instance. A rule created in the instance detects the position changes and notifies the administrator and users.
To detect fleet vehicles moving outside of its designated geofence, you can create rules that would generate alerts and notify you immediately. This can help you recover stolen vehicles quickly, improve fuel management, reduce liability, and identify unexpected route deviations.
A geofence also lets you monitor and prevent unauthorized after hours use of your fleet vehicles. Rules help you generate alerts that notify you when a vehicle departs from a garage's geofence and arrives at a customer location's geofence. This can help you determine the average time spent traveling to and from the departure location.
Create a New Geofence
Create a geofence to define a geographic area for a fleet asset of an organization.
Note:
If you are using HERE maps, then you can create geofences not only in the standard map view, but also in the satellite image view of your location.Show or Hide Geofences in the Map View
Show a geofence in the map view to quickly view the geofences in the current map view. Hide geofences in the map view to reduce the information displayed in the current map view.
Note:
The Shipment business object will be deprecated in a future release. Hence it is recommended to use Trips for real-time monitoring of in-transit movements.- From the Operation Center click Fleet Map (
 ) or click Shipment Map (
 )
) - Click Map Layers (
 ) that appears below the Zoom Out icon.
 - Select one of these options:
- Select the Geofences checkbox to show geofences in the current map view.
- Clear the Geofences checkbox to hide geofences in the current map view.
Enable Route Geofencing
Enable route geofencing to receive rule based notifications when a vehicle moves beyond the route corridor width and when the route deviation tolerance value is met or exceeded. You enable this setting at the organization level and it applies to all the geofences that you've created in that organization.
- Click Menu
 and then click Design Center.
 - Click Organization and then Settings
 .
. - Click Enable Route Geofencing in the Route Geofence Settings area.
- (Optional) Edit these settings:
- Route Corridor Width: Enter a value to define the width of the trip corridor in miles or kilometers. When a vehicle moves beyond the corridor value, a notification is sent to the Fleet Administrator.
- Route Deviation Tolerance: Enter a value to define the number of times a vehicle can deviate from a defined trip route. When the vehicle meets or exceeds the defined value, a notification is sent to the Fleet Administrator.
Set the Route Corridor Width Value
When route geofencing is enabled, the route corridor width defines the width of the trip corridor in miles. The larger the value, the greater the allowable deviation. When a vehicle moves beyond the corridor value, a geofence violation occurs which can be tracked by a rule that can then send a notification to the administrator.
- Click Menu
 and then click Design Center.
 - Click Organization and then Settings
 .
. - In the Route Geofence Settings area, enter the width of the trip corridor in miles in the Route Corridor Width field.
Set Route Deviation Tolerance Value
When route geofencing is enabled, the route deviation tolerance defines the number of times a vehicle can deviate from a defined trip route. The higher the value, the more times a vehicle can deviate from a planned route. When a vehicle meets or exceeds the deviation tolerance value, a geofence violation occurs which can be tracked by a rule that can then send a notification to the administrator.
- Click Menu
 and then click Design Center.
 - Click Organization and then Settings
 .
. - In the Route Geofence Settings area, enter a value in the Route Deviation Tolerance field to define the number of times a vehicle can deviate from a defined trip route.

