5 Use the Oracle IoT Connected Worker Mobile Application
Use the Oracle IoT Connected Worker Mobile Application to report safety issues, identify your location, and communicate with co-workers and management.
How to Access the Oracle IoT Connected Worker Mobile Application
Use the Oracle IoT Connected Worker Mobile application to report safety issues, identify your location, and communicate with co-workers and management on a mobile device. Before you log in to the Oracle IoT Connected Worker Mobile Application, you must have a user account.
Note:
The steps in the following sections use the Android application. The Connected Worker mobile app is now also available for the iOS platform. The steps for the iOS platform are similar.Manually Provision the Oracle IoT Connected Worker Mobile Device
An Oracle IoT Connected Worker Cloud Service administrator can also use a provisioning file and password to securely provision a user's device.
Note:
If you have previously installed the Oracle IoT Connected Worker mobile application, open the application and then complete steps 4 to 6 of this procedure. You cannot open the application if you have not registered the mobile device, downloaded the provisioning file to the mobile device, and provisioned the mobile device. See Register a Single Device Using the Management Console.- Register your mobile device and download the provisioning file to the mobile device. See Register a Single Device Using the Management Console.
- Install the Oracle IoT Connected Worker Mobile and IoT Connected Worker Service applications:
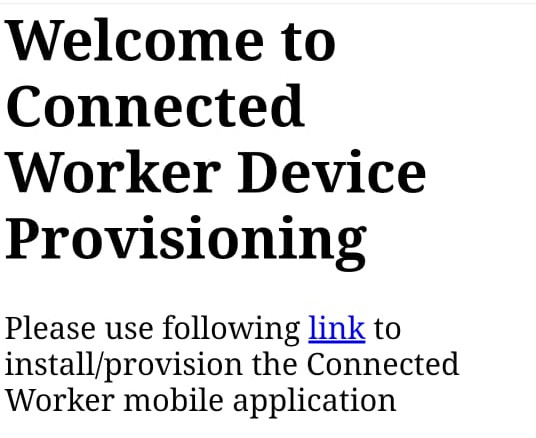
- Open an internet browser on your mobile Android device.
- Browse to Google Play.
- Search for Oracle IoT Connected Worker.
- Install the Oracle IoT Connected Worker Mobile Application on your mobile device.
- Provision the device on which the Oracle IoT Connected Worker Mobile Application is installed:
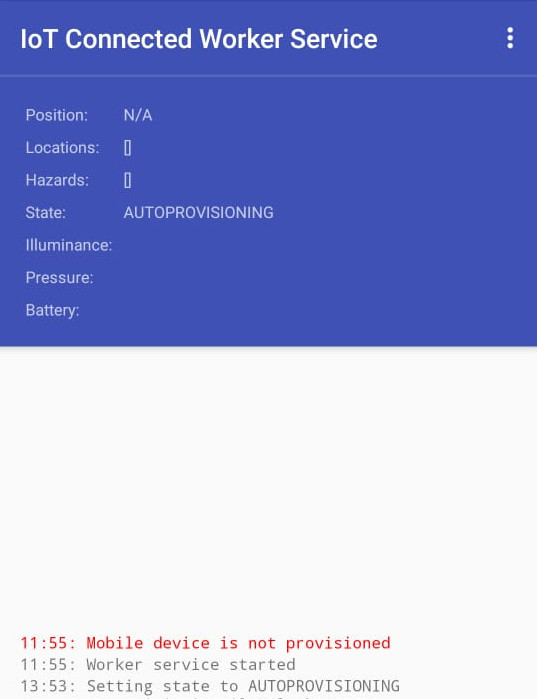
- Open the IoT Connected Worker Service application on your mobile device.
- Tap Menu
 and then Settings.
 - Tap Provision Mobile Device.
- Tap Select Provisioning File, browse to the location of the provisioning file you downloaded in step 1, and then tap the provisioning file.
- Enter the provisioning file password and then tap OK.
- Open the Oracle IoT Connected Worker Mobile Application and then read and agree to the legal terms.
- Enter the user name for the Oracle IoT Connected Worker Cloud Service user account in the Username field.
- Enter the password for the Oracle IoT Connected Worker Cloud Service user account in the Password field.
- Tap the Login (
 ) icon.
Search for a Worker in the Mobile Application
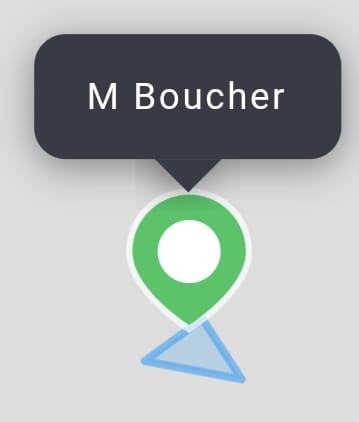
Search for a worker to determine the worker’s current location.
Change Your Status in the Mobile Application
Change your status to inform the supervisor or project manager of your current status. Knowing your status helps the supervisor or project manager better manage staff allocation and emergencies. When you enter a geofence boundary, your status is automatically updated to on duty and on site.
- Tap Worker
 .
. - Select one of these options in the Status list:
- Off Duty: Select this option to indicate you are off duty.
- On Duty: Select this option to indicate you are on duty.
- On Break: Select this option to indicate you are taking a break. Update your status when you finish your break.
- If work shifts are assigned to the project and you selected On Duty, select a work shift and click Select.
View Notifications in the Mobile Application
View notifications to view hazard notifications and messages from co-workers.
- Tap the Chat (
 ) or Message (
 ) icons.
 - Tap a message to accept the message and view additional notification details.
- (Optional) Respond to a notification:
- Tap the Pencil (
 ) icon.
 - Tap in the Search field and then select a location.
- Tap in the Priority field and then select the message priority.
- Tap in the To field and then select a message recipient.
- Tap in the Your message goes here area and then enter the message text.
- Tap the Send (
 ) icon.
 - Tap OK.
- Tap the Pencil (
Send a Message in the Mobile Application
Send messages to co-workers to notify them of important information or workplace hazards.
- Tap the Chat (
 ) or Message (
 ) icons.
 - Tap the Pencil (
 ) icon.
 - Tap in the Search field and then select a location.
- Tap in the Priority field and then select the message priority.
- Tap in the To field and then select a message recipient.
- Tap in the Your message goes here area and then enter the message text.
- Tap the Send (
 ) icon.
 - Tap OK.
View Hazard Notifications in the Mobile Application
View hazard notifications to view important information about workplace hazards.
- Tap the Hazard (
 ) icon.
 - Tap a hazard notification to view the hazard location.
Report a Hazard in the Mobile Application
Report a workplace hazard to inform co-workers about a hazard that could cause personal injury or requires a specific action such as wearing hearing protection or a respirator.
- Tap the Hazard (
 ) icon.
 - Tap Report Hazard.
- Select one of these options to identify the location of the hazard:
- Tap the Area field and then select the hazard location.
- To search for a hazard location, tap Location (
 ), enter a location in the Search field, tap a location in the list, and then tap Confirm.
- Tap the Severity field and then select the hazard severity.
- Tap the Subject field and then select a subject that identifies the hazard.
- Tap the Action field and then select the action a worker takes when they encounter the hazard.
- (Optional) Tap in the Optional Custom Message area and then enter optional message text.
- Tap the Send (
 ) icon.
 - Tap OK.
Respond to a Location Alert Message in the Mobile Application
When you leave an assigned work area, an alert message appears on your device. You must identify your status in the Status list.
- Select one of these options in the Status list:
- Off Duty: Select this option to indicate you are off duty.
- On Duty: Select this option to indicate you are on duty.
- On Break: Select this option to indicate you are taking a break. Update your status when you finish your break.
- Tap OK.


