Creating accounts
Note: We're updating our help center to reflect the new Redwood experience. During the transition, some content reflects the previous version of the UI.
You can create a record for a single account in your marketing database by entering the account's data in the New Account window, or you can upload data for multiple accounts at once using the account upload wizard.
To create a single account:
- Navigate to Audience
 , then click Accounts.
 - Click New. The New Account configuration window opens.
-
Select an account view option from the drop-down list in the upper-left corner of the window.
Classic UI

Redwood Experience

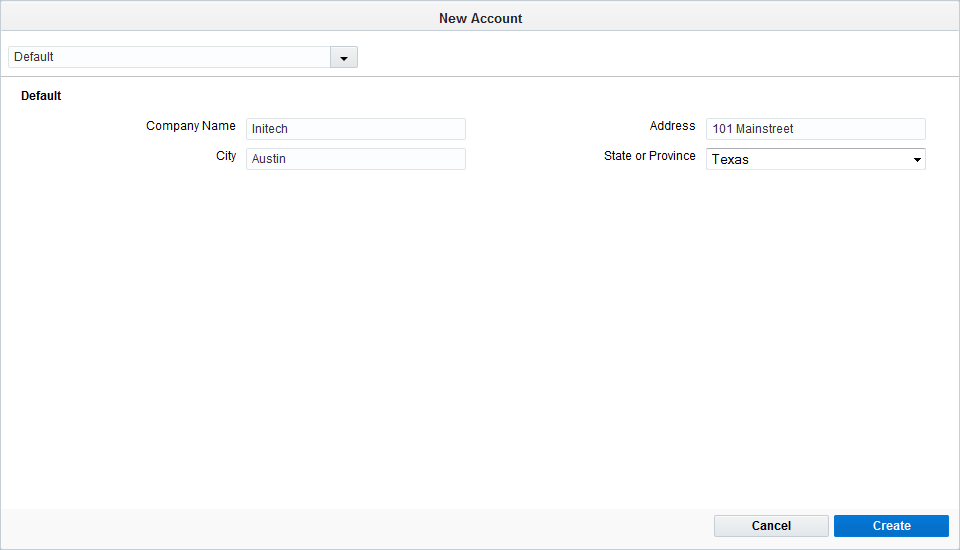
Note: An account view is a preset of account fields used to define your account. The Default account view will have the Company Name, Address, City, and State or Province account fields to define. Different account views can have different combinations of account fields.
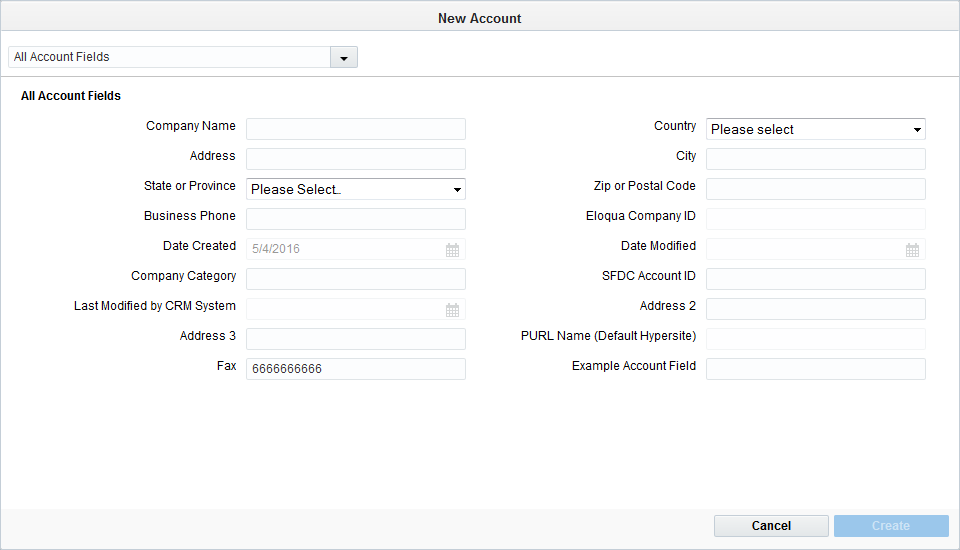
An administrator can create and edit account views and fields. Consult creating account views and creating account fields for more information. -
Enter the values for each account field in the selected account view.
Classic UI
Redwood Experience
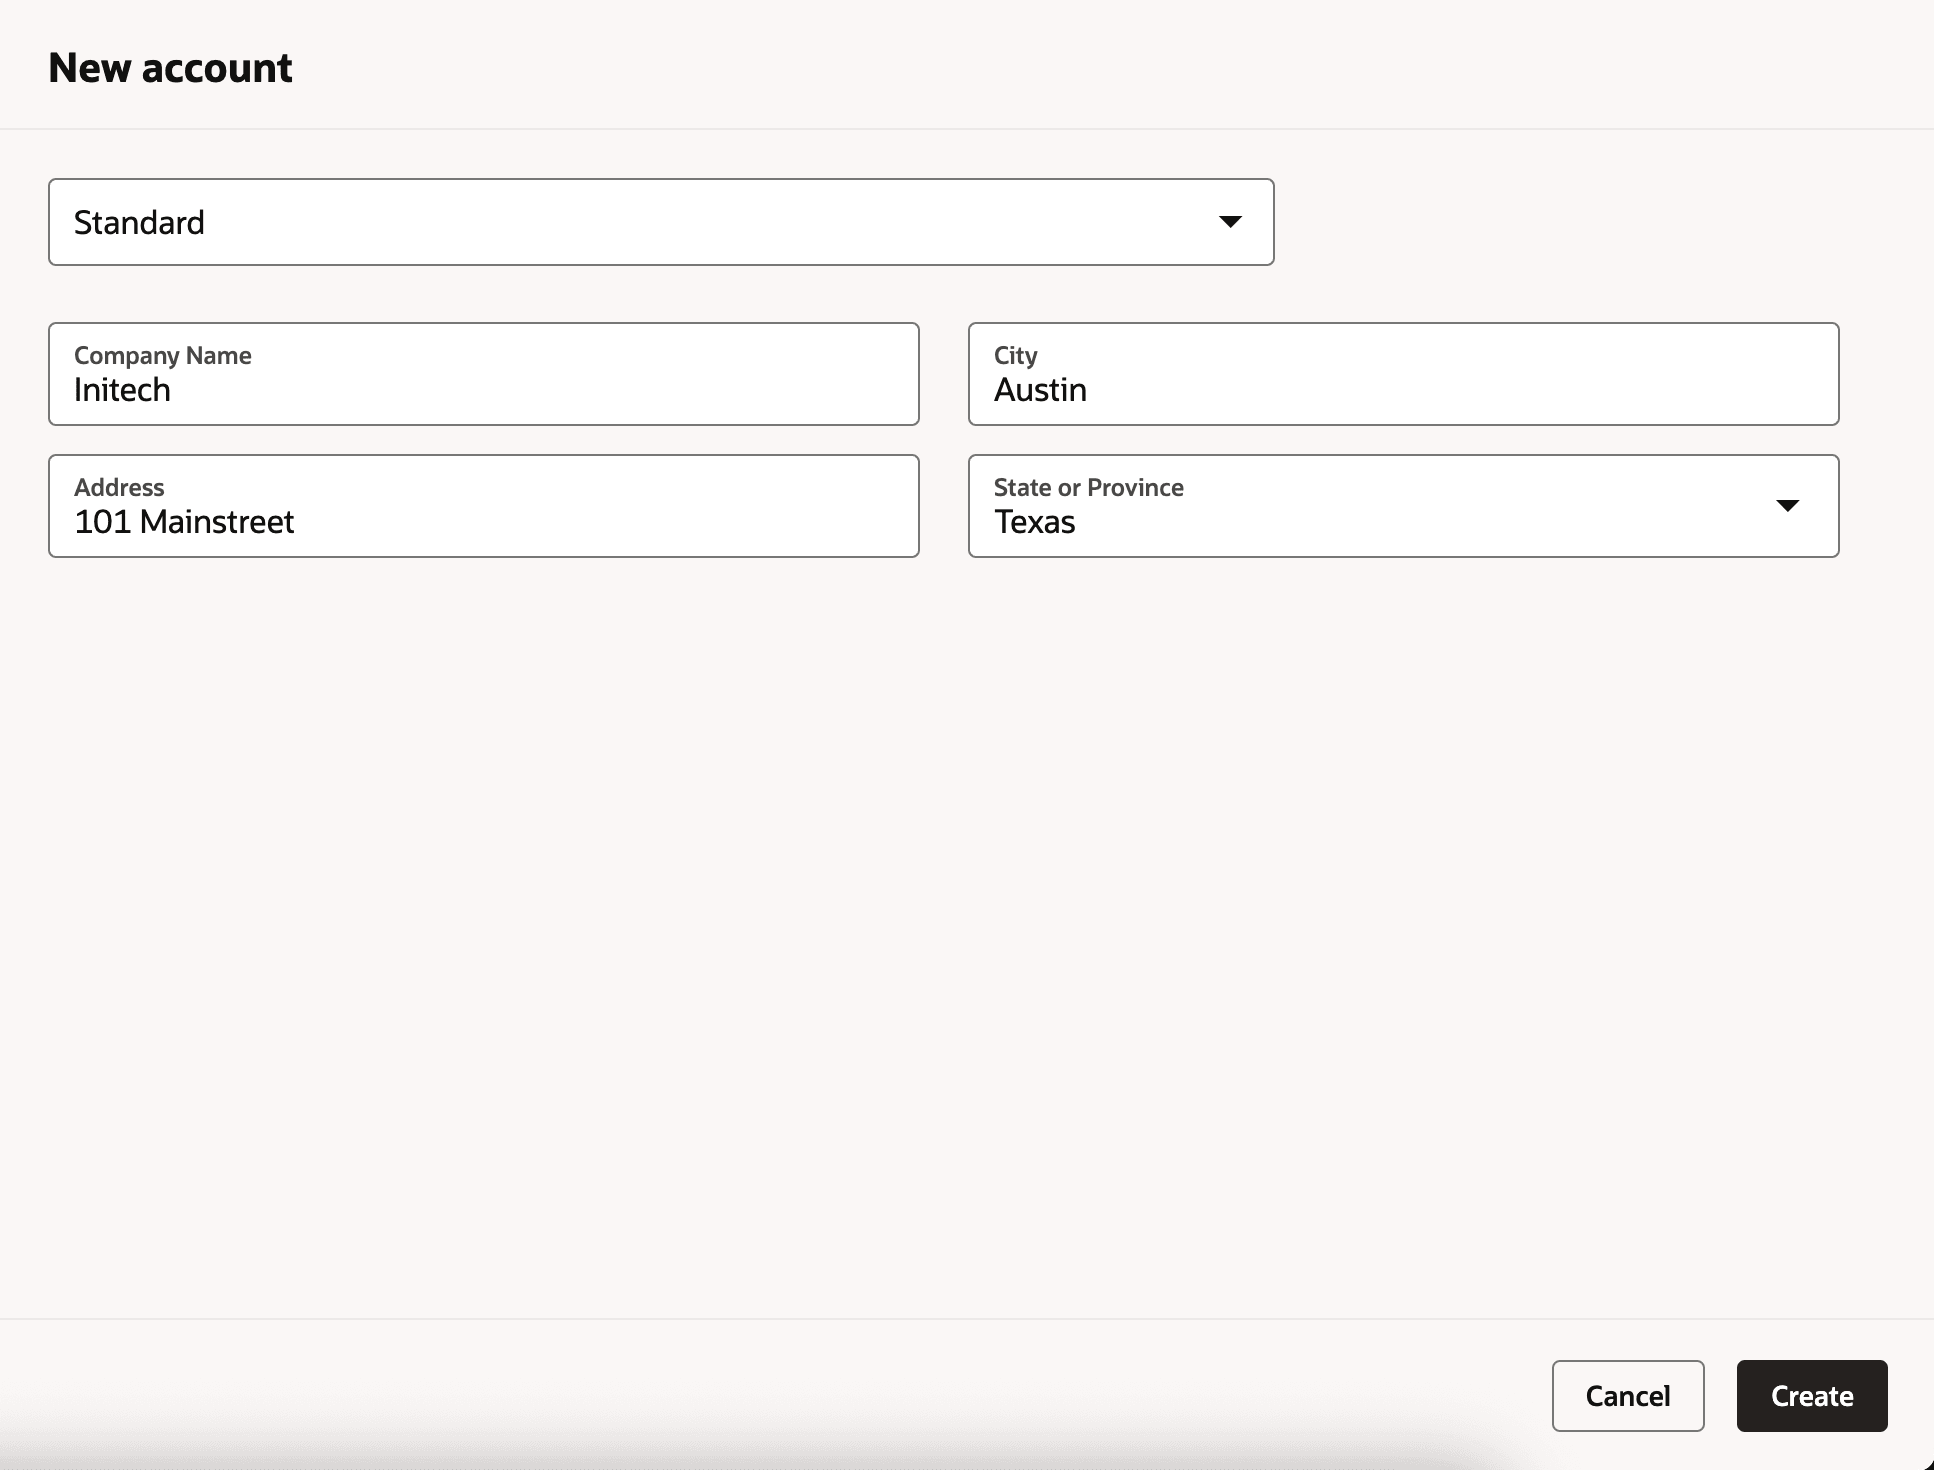
- Click Create.
The account is saved to your Eloqua database. The next logical steps include creating account fields for further account definition, configuring a data import schedule to update account info via a file transfer protocol, and linking accounts to contacts.
Notes:
- You may not be able to enter data in some fields (for example, Date Created and Date Modified) because the values are drawn from system functions. Similarly, if you set up a CRM integration, then the CRM account ID is sourced from your CRM.
- If values are entered in a Date/Time or Numeric field (according to data type), then the format of the values entered must correspond to the allowable formats set in your application. Furthermore, the value will be changed in the field to the default format used in the database (for example, for a Date/Time: yyyy-MM-dd HH:mm:ss, with HH:mm:ss set to "00:00:00" if no values are entered). Contact your Customer Administrator if you need more information.